
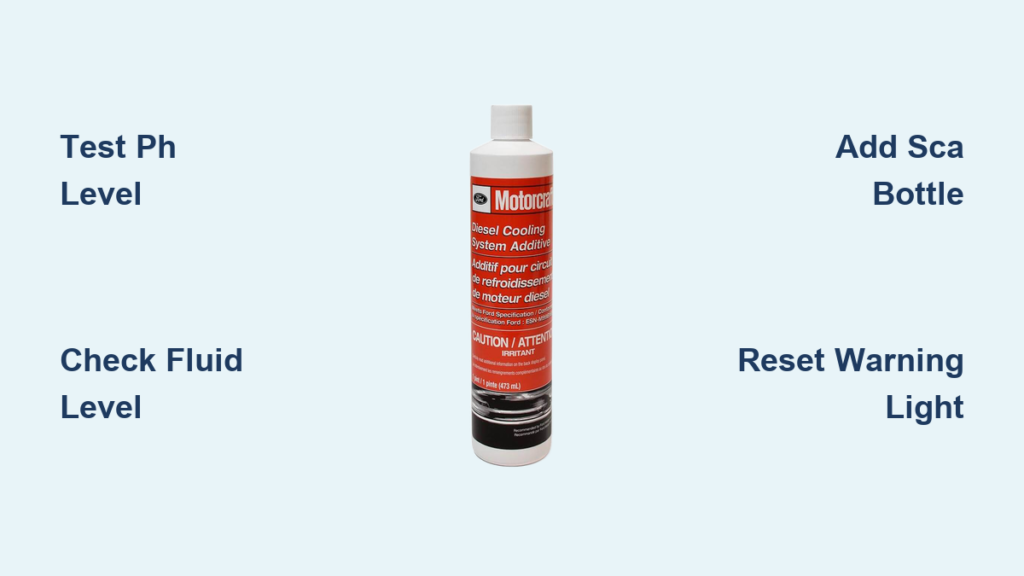
Seeing the “Check Coolant Additive” message on your Ford F-350 dashboard can be alarming, but it is a scheduled maintenance reminder rather than an emergency signal. This alert indicates that the Supplemental Coolant Additives (SCA) protecting your 6.7L Power Stroke engine from cavitation and corrosion may be depleted. Ignoring this warning risks severe internal damage like pitted cylinder liners or overheating during heavy towing.
This guide explains exactly how to check coolant additive F350 trucks require to stay healthy. You will learn to safely inspect fluid levels, test pH concentration with strips, add the correct 16oz bottle of additive, and reset the dashboard warning light. Follow these steps to protect your investment and ensure your diesel runs smoothly for years.
Decode the Check Coolant Additive Warning Signal
The “Check Coolant Additive” message appears based on a dual-trigger algorithm monitoring your truck usage. It typically activates every 13,000 miles or after 600 engine hours of operation. This system tracks chemical health rather than just fluid volume. Diesel engines create extreme heat and pressure that cause tiny vapor bubbles to form near cylinder liners. These bubbles collapse violently in a process called cavitation, which erodes metal surfaces without proper protection.
Why Diesel Engines Need SCA Protection
Gasoline trucks often lack this specific alert because their cooling demands differ significantly. The 6.7L Power Stroke relies on conditioned coolant to survive heavy loads and long idling periods. Ford EEC-V coolant contains organic acid technology and SCA to prevent rust in iron and aluminum components. These additives also inhibit scale buildup in radiators and EGR coolers while maintaining a stable pH between 8.0 and 10.0. Visual inspection cannot determine if these chemicals are spent, making testing essential.
Safety Protocols Before Opening Cooling System
Working on a hot diesel cooling system poses serious burn risks due to high pressure and temperature. Pressurized coolant can exceed 250°F and erupt violently if you remove the cap while the engine is warm. You must wait until the engine is completely cool, preferably after sitting overnight or for several hours. Never attempt to open the system immediately after shutting down the truck.
Secure Hood Access and Prepare Work Area
- Pull the interior hood release lever located between the “R” and “D” markings on the driver side dash.
- Walk to the front of the truck and lift the hood fully to engage the prop rod.
- Clear any debris from the engine bay to prevent contamination of the coolant reservoir.
- Wear safety glasses and gloves since coolant is toxic to pets and the environment.
Have a clean rag and funnel ready before starting. Ensure your work area is well-ventilated and flat to prevent spills.
Inspect Coolant Level and Fluid Condition
Locate the primary coolant expansion tank at the front of the engine bay near the radiator. This translucent plastic reservoir is your main access point for checking levels and sampling fluid. Do not confuse it with the washer fluid tank, as coolant is typically bright orange per Ford EEC-V specifications. Some models have a secondary tank near the firewall, but you should focus testing on the front primary tank.
Verify Fluid Levels Between MIN and MAX Marks
With the engine cold, look at the side of the tank for the MIN and MAX indicator lines. The coolant level should sit clearly between these two marks. If the level is below MIN, you will need to top it off after testing and adjusting additives. If the fluid is above MAX, mark the overflow level because overfilling can cause pressure issues when the engine heats up.
Identify Signs of Contamination
Remove the cap carefully and inspect the fluid inside for clarity and color. Healthy coolant appears clear and bright orange with no visible particles. Trouble signs include muddy brown fluid indicating oxidation or an oily film suggesting an EGR cooler leak. Sludge or debris means you need a full system flush rather than a simple additive top-off.
Test Additive Concentration and pH Levels

Visual checks cannot measure chemical strength, so you must test the pH level and SCA concentration directly. The recommended method uses coolant test strips available at auto parts stores or online. These strips provide instant and reliable readings when used correctly with the right tools. You will need a test strip kit with pH and SCA indicators plus long needle-nose pliers for tight engine bay clearance.
Dip Test Strip and Wait One Minute
- Ensure the engine is completely cool before removing the coolant reservoir cap.
- Use pliers to fully submerge a fresh test strip in the fluid without touching dirty surfaces.
- Remove the strip immediately and wait exactly one minute for the color to develop.
- Compare the strip pads to the reference chart on the bottle for accurate results.
The critical pH range must be between 8.0 and 10.0. Readings below 8.0 indicate acidic and corrosive conditions, while levels above 10.0 suggest over-concentration.
Interpret Color Zones for Action
- Green Zone: pH 8.0 to 10.0 means ideal additive status with no action needed.
- Yellow Zone: pH 7.5 to 8.0 or 10.0 to 10.5 indicates marginal levels requiring replenishment.
- Red Zone: pH below 7.5 or above 10.5 signals critical issues needing a full system flush.
If your result falls in the yellow or red zone, add Supplemental Coolant Additive immediately even if the fluid level looks fine.
Replenish Additive and Adjust Coolant Level
For 2011 to 2016 F-350 6.7L models, Ford specifies adding the entire 16 oz bottle of approved coolant additive when levels are low. You must use only Ford-approved SCA or equivalent meeting EEC-V standards. Universal additives may not provide adequate cavitation protection for your diesel engine. Pour the additive directly into the coolant reservoir without draining fluid unless the system is overfilled.
Avoid Mixing Incompatible Coolant Types
Never mix traditional green IAT coolant with OAT-based orange EEC-V fluid. Doing so can cause gel formation, clogs, and water pump failure. If you are unsure what type of coolant is currently in the system, perform a complete flush before switching types. This prevents chemical reactions that could damage your cooling system components.
Adjust Fluid Level After Addition
Recheck the fluid level in the reservoir after adding the SCA bottle. If the level is above MAX, carefully drain excess using a turkey baster or suction tool. If the level is below MIN, top off with pre-mixed Ford EEC-V coolant. Do not use plain water because it dilutes additives and lowers freeze protection capabilities.
Circulate Mixture and Re-Test Results
Start the engine and let it idle for 10 to 15 minutes to ensure the new additive disperses evenly. This duration allows the thermostat to open and the water pump to circulate the mixture through the block, radiator, and heater core. Keep the engine in Park or Neutral without revving during this process.
Cool Down and Confirm Green Zone Reading
- Shut off the engine and wait at least one to two hours for it to cool completely.
- Reopen the reservoir and repeat the test strip procedure exactly as before.
- Verify that the strip shows a green zone reading with pH between 8.0 and 10.0.
If the result is still low, you may need a second treatment. Repeated failures suggest contamination or a system leak requiring professional attention.
Reset Dashboard Warning Message
After confirming proper additive levels, you must reset the warning so it does not return at the next startup. Use the steering wheel controls to navigate the menu system. Press OK to dismiss the current message, then use the left and right arrows to go to Settings. Scroll down to Vehicle, press OK, select Maintenance, and choose Coolant.
Hold OK Button to Confirm Reset
Press and hold the OK button until a confirmation message appears stating “Coolant maintenance reset.” Turn the truck off, wait 10 seconds, then restart the engine. The “Check Coolant Additive” message should now be gone. If you skip this step, the alert will reappear because the system still thinks maintenance is overdue.
Follow Recommended Maintenance Intervals
Ford recommends a full coolant flush every 120,000 miles under ideal conditions. However, real-world use often demands more frequent care to ensure engine longevity. You should test your coolant every 2 to 3 years regardless of mileage since additives degrade over time.
Customize Schedule for Severe Duty Use
Follow a conservative 60,000-mile or 2-year rule if you regularly tow heavy loads or idle for long periods. These conditions accelerate additive depletion and increase cavitation risk significantly. Stop-and-go traffic and extreme temperatures also require more frequent monitoring than standard schedules suggest.
Troubleshoot Common Coolant Issues
If the warning returns shortly after resetting, re-test the pH to ensure the additive took effect. Low readings might indicate a coolant leak introducing plain water or a contaminated system needing a full flush. A recurring alert is a red flag that requires immediate investigation to prevent engine damage.
Address Cloudy or Oily Coolant Signs
Stop immediately if the fluid looks milky, oily, or sludgy. This indicates a potential EGR cooler leak, head gasket failure, or oil intrusion. A simple top-off will not fix these mechanical issues. Schedule a full system inspection and flush to diagnose the root cause properly.
Solve Hard-to-Reach Reservoir Problems
The F-350 engine bay is tight, making standard test strips hard to dip without touching dirty surfaces. Use long needle-nose pliers to grip the strip and submerge it cleanly. This prevents false readings from contamination and ensures accurate results.
Keep These Tools On Hand for Maintenance

Stay prepared by keeping essential items in your garage or truck for quick access. You need a coolant test strip kit with pH and SCA indicators plus a 16 oz bottle of Ford-approved SCA. Keep pre-mixed EEC-V coolant for topping off and long needle-nose pliers for safe sampling.
- Coolant test strip kit
- 16 oz bottle of Ford-approved SCA
- Pre-mixed EEC-V coolant
- Long needle-nose pliers
- Funnel for spill-free filling
- Turkey baster for level adjustment
Having supplies ready means you can act fast when the warning appears without waiting for parts.
Frequently Asked Questions About Coolant Additive F350
How often does the Check Coolant Additive message appear?
The message triggers approximately every 13,000 miles or every 600 engine hours. This dual-trigger system ensures regular monitoring regardless of whether you drive long distances or operate the truck for many hours at low speeds.
Can I use regular antifreeze instead of Ford EEC-V coolant?
No, you must use Ford-approved EEC-V coolant or equivalent OAT-based orange fluid. Mixing traditional green coolant with orange EEC-V can cause gel formation and system failure. Always verify compatibility before adding any fluid.
What happens if I ignore the coolant additive warning?
Ignoring the warning allows additive levels to drop, leading to cavitation and corrosion inside the engine. This can cause pitted cylinder liners, overheating, and eventual engine failure requiring expensive repairs.
Do I need to drain coolant before adding the additive bottle?
No, you do not need to drain the system unless it is overfilled. Simply pour the entire 16 oz bottle of approved additive directly into the coolant reservoir. Adjust the final fluid level only if necessary after addition.
Why does my coolant test strip show a red result?
A red result means pH levels are outside the safe 8.0 to 10.0 range. This indicates either severe additive depletion or contamination. You likely need a full system flush rather than just an additive top-off to restore protection.
Key Takeaways for Checking Coolant Additive F350
Checking coolant additive F350 trucks require is a simple yet critical maintenance task. Regular testing prevents costly engine damage from cavitation and corrosion while extending the life of your 6.7L Power Stroke. Always test pH levels, add the full 16 oz bottle when needed, and reset the dashboard warning to keep your system protected.
Start by gathering your test strips and approved additive today. Perform this check every time the warning appears or at least every two years. Your engine will thank you with reliable performance and fewer repair bills down the road.


