

If your 2006 F150 AC clutch is not engaging, you’re likely dealing with a system that won’t cool despite the A/C button turning on. The compressor pulley spins freely, but there’s no click, no magnetic engagement, and no cold air. This issue is common across 5.4L V8 models and stems from electrical faults, refrigerant pressure problems, mechanical wear, or control module failures. The good news? Most causes can be diagnosed and fixed without replacing the entire compressor. In this guide, you’ll learn how to pinpoint the exact problem, whether it’s a blown fuse, bad relay, incorrect air gap, or failed sensor, and restore full A/C function quickly and cost-effectively.
Check Fuse 11 First
The 10A Fuse 11 in the right-hand kick panel fuse box is the number one culprit when the 2006 F150 AC clutch won’t engage. This fuse supplies power directly to the compressor clutch circuit. Using a multimeter or test light to check for voltage on both sides of the fuse with the key ON will confirm whether it’s the source of your problem.
Confirm Power at Fuse Box
Use a multimeter or test light to check for voltage on both sides of Fuse 11 with the key turned to the ON position. If only one side has power, the fuse is blown and needs replacement with a 10A fuse. If it blows again immediately after replacement, suspect a shorted clutch coil or wiring fault downstream.
These points are important when checking the fuse:
- Fuse 11 is located in the right-hand kick panel fuse box
- Check both sides of the fuse with the key ON
- A blown fuse often indicates an overcurrent draw from a failing clutch coil
Inspect Related Fuses
While Fuse 11 is the primary concern, also verify the condition of other related fuses. Check Fuse 5 for PCM power, Fuse 22 for HVAC control, Fuse 24 for relay control, and Fuse 105 for the high-current A/C circuit. No power at these locations means you need to trace back to the battery and junction block to find the source.
Test the AC Clutch Relay
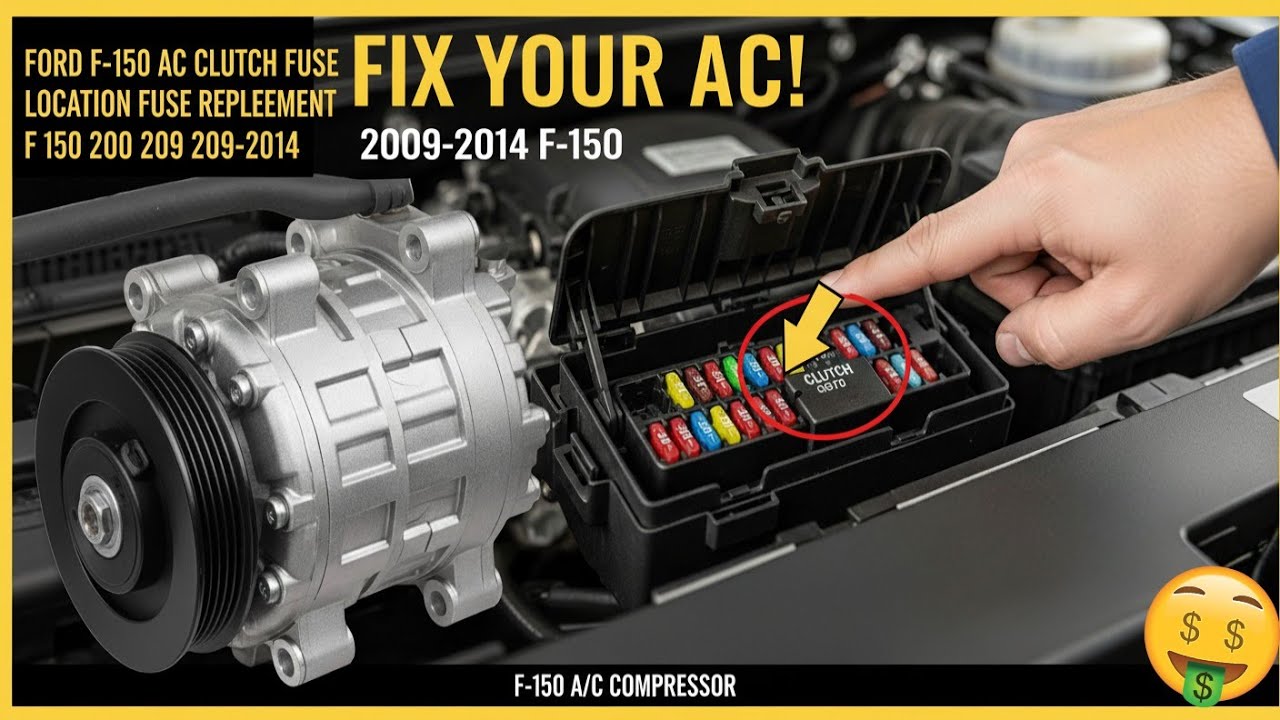
The AC clutch relay lives in the under-hood fuse and relay box. It’s commonly misdiagnosed, so testing it properly is essential for accurate diagnostics.
Swap to Verify Function
To test the relay, turn the key OFF and remove the relay from its socket. Swap it with a known good relay such as the horn relay or fuel pump relay. Turn the A/C ON and check if the clutch engages. If it works after the swap, the original relay was faulty. If the fuse blows again, the problem is downstream of the relay, likely the clutch coil or wiring.
Check Relay Socket Voltage
With the relay removed, use a multimeter to check voltage at each terminal. Terminal 30 should have 12V constant, terminal 85 should be grounded by the PCM when A/C is requested, terminal 86 should have switched 12V from the fuse, and terminal 87 outputs to the clutch. No ground at terminal 85 indicates a PCM or control circuit issue. No power at terminal 30 means you need to check fuses and battery feed.
Measure Voltage at Compressor
Checking voltage at the compressor connector tells you whether power is actually reaching the clutch assembly.
Check Power and Ground
Disconnect the two-pin connector at the compressor clutch and turn the A/C ON via the climate control. Test with a multimeter. The power pin should read 12V DC, and the ground pin should show continuity to chassis ground with less than 1 ohm resistance. No voltage but good ground indicates a problem in the power supply path through the fuse and relay. No ground means the PCM isn’t commanding the clutch due to safety lockouts or internal failure.
Bypass Pressure Switches
The AC clutch cycling switch on the low-side and the high-pressure cut-off switch prevent engagement if pressure is too low or too high.
Jump Low and High-Side Sensors
Unplug one switch at a time and use a fused jumper wire or paper clip to bridge the connector. Turn the A/C ON. If the clutch engages after jumping, the switch is faulty or system pressure is out of range. This diagnostic approach helps you quickly isolate sensor issues from clutch problems.
Read System Pressures
Use manifold gauges to verify proper system pressures. The low-side should read 25 to 40 psi depending on ambient temperature, and the high-side should read 180 to 250 psi while driving, up to 280 psi in hot conditions. Low readings indicate a possible refrigerant leak, while high readings suggest a blockage or poor condenser airflow.
Direct Power Test the Clutch
Applying direct battery power confirms whether the clutch assembly itself is functional.
Apply 12V to Confirm Operation
Disconnect the clutch connector and run a jumper from battery positive to the clutch power terminal. Ground the compressor body to battery negative. If the clutch clicks and locks, it’s functional. If it doesn’t engage, the clutch coil is open or shorted. Use a multimeter to test coil resistance. Normal readings are 3 to 5 ohms, infinite resistance indicates an open circuit, and near 0 ohms indicates a short.
Adjust the Clutch Air Gap

An excessive air gap between the clutch plate and pulley face is a commonly overlooked fix. Over time, wear increases the gap and prevents magnetic engagement.
Measure with Feeler Gauges
The specification for air gap is 0.020 to 0.030 inches. Measure this using feeler gauges to determine if the gap is out of specification.
Perform Gap Adjustment
Start the engine and turn the A/C ON to energize the clutch and lock the rotor. Remove the 8mm center bolt from the clutch hub, then turn the A/C OFF so the clutch plate releases and pops out. Remove the plate and inspect the shims behind it, usually two or more. Remove one shim to decrease the gap or add a shim to increase it. Reinstall the plate, hand-tighten the bolt, recheck the gap with feeler gauges, and torque the bolt to 7 to 10 foot-pounds. Test the A/C to confirm proper engagement.
Scan for PCM Commands
The PCM controls the clutch relay based on inputs from various sensors throughout the system.
Use OBD2 with Active Test
Use an OBD-II scan tool with live data and active command capability. Monitor the AC Clutch Command status, AC Clutch Status, and Pressure Switch State. Perform an active test to command the clutch ON. If the PCM says command ON but the clutch doesn’t engage, the fault is electrical or mechanical downstream. If the PCM won’t command ON, check the inputs including pressure, HVAC signal, and temperature sensors.
These diagnostic codes may appear:
- P1461 indicates A/C refrigerant pressure sensor range issues
- P1469 indicates A/C system pressure too low
- U0126 indicates lost communication with the HVAC module
Test HVAC Control Module
The HVAC control module sends signals to the PCM for manual or automatic climate control systems.
Check Signal to Pressure Switch
For manual climate control, it sends 12V through pressure switches to the PCM. For automatic electronic systems, it communicates digitally via CAN bus. At the high-pressure switch connector, expect approximately 5.5V reference signal from the HVAC module. No voltage with good fuse and relay indicates a failed HVAC control unit that requires complete replacement.
When to Replace the Compressor

Sometimes the compressor itself is the problem and requires replacement.
Diagnose Internal Failure
Replace the compressor if the clutch coil is open or shorted, if repeated fuse blowouts occur after replacement, if there is bearing noise, wobble, or oil leaks, or if metal shavings are found in the system indicating internal damage.
Post-Replacement Steps
After replacing the compressor, evacuate the system for 30 to 60 minutes to remove moisture. Recharge with R134a, typically 24 to 32 oz depending on system capacity. Add UV dye if a leak is suspected, and recheck all electrical connections.
Tools You Will Need
Having the right tools makes this diagnosis much easier and safer.
- Multimeter for testing voltage, continuity, and resistance
- Feeler gauges for setting clutch air gap
- OBD2 scan tool for reading codes and commanding clutch
- A/C manifold gauges for checking low and high-side pressures
- Fused jumper wires for safe switch bypass
- 8mm socket or wrench for removing clutch center bolt
- Safety glasses and gloves for protection during electrical and refrigerant work
Frequently Asked Questions About 2006 F150 AC Clutch Not Engaging
Why won’t my 2006 F150 AC clutch engage even though the A/C button is on?
The most common cause is a blown Fuse 11 in the right-hand kick panel fuse box. This 10A fuse supplies power to the compressor clutch circuit. Other frequent causes include a failed AC clutch relay, faulty pressure switches, incorrect air gap, or a shorted clutch coil.
How do I test if my AC clutch relay is bad?
Remove the relay from the under-hood fuse box and swap it with a known good relay of the same type, such as the horn relay. Turn the A/C ON and see if the clutch engages. If it works after the swap, the original relay was faulty. If the fuse blows, the problem is downstream in the clutch coil or wiring.
Can I drive my 2006 F150 with a non-engaging AC clutch?
Yes, you can drive the vehicle, but the A/C won’t cool. The clutch not engaging is a protective feature that prevents compressor damage when system conditions aren’t safe. However, you should diagnose and repair the issue promptly to avoid more serious problems.
What is the correct air gap for a 2006 F150 AC compressor clutch?
The correct air gap specification is 0.020 to 0.030 inches. This is measured using feeler gauges between the clutch plate and pulley face. An excessive gap prevents magnetic engagement and is a common cause of clutch failure.
How much does it cost to replace a 2006 F150 AC compressor clutch?
If only the clutch assembly needs replacement, parts cost around $150 to $300. If the entire compressor must be replaced, including labor, evacuation, and recharge, costs range from $600 to $1,200. Many issues can be fixed for free by adjusting the air gap or replacing a cheap fuse or relay.
Key Takeaways for Fixing Your 2006 F150 AC Clutch
The 2006 F150 AC clutch not engaging issue is rarely a mystery when you follow a logical diagnostic path. Start by checking Fuse 11 since it’s the most common cause and takes seconds to verify. Test the relay and pressure switches, then jump the circuit to isolate whether the problem is electrical or mechanical. Direct-power the clutch to verify it functions, and check the air gap since this often-overlooked adjustment can fix the problem in 10 minutes with zero parts cost. By diagnosing step-by-step, you’ll avoid unnecessary compressor replacements and get your truck cooling fast. Always verify PCM commands with a scan tool, and remember that HVAC control module failure requires complete unit replacement rather than repair.


