
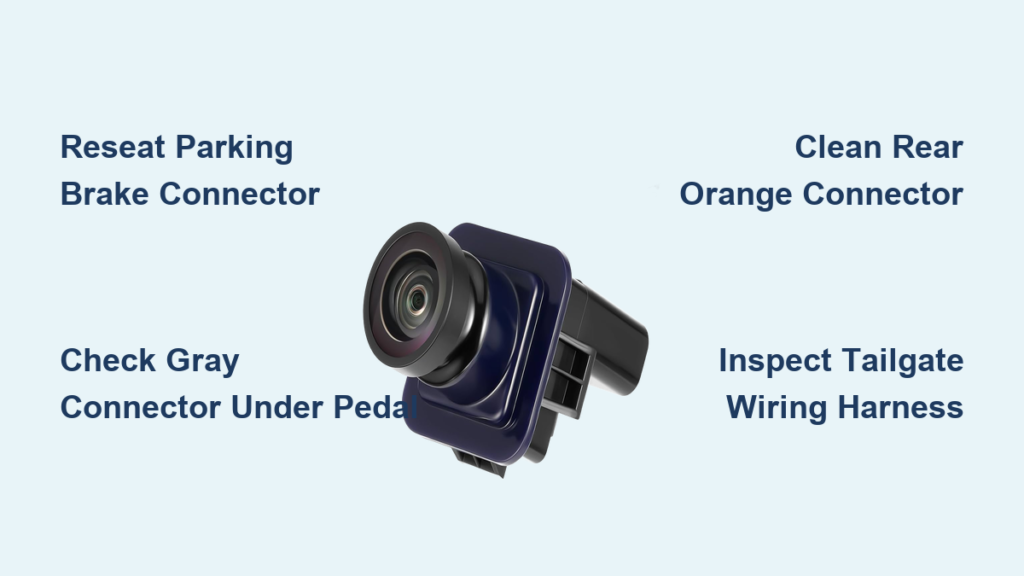
Is your F350 backup camera not working when you need it most? Many Super Duty owners face blank screens or fuzzy images caused by loose interior connectors and corroded rear wiring.
You can fix these common electrical glitches without expensive dealer visits. This guide details every step to diagnose wiring flaws and restore your video feed quickly.
Reseat the Parking Brake Connector Above the Lever

A loose connector directly above the parking brake lever causes many camera failures. The mechanical action of releasing the brake often jars this large harness loose over time.
Why This Connector Fails Frequently
Every time you release the parking brake, the lever lifts upward and hits the wire bundle above it. This repeated vibration slowly pushes the plug out of its socket. The result is an intermittent signal that disappears right when you shift into reverse.
Steps to Reseat the Harness
- Press the main brake pedal firmly to stop the parking brake lever from snapping up.
- Locate the large connector bundle sitting directly above the parking brake mechanism.
- Pull the plug out completely and push it back in until you hear a solid click.
- Shift into reverse immediately to verify the camera image returns.
This simple reseat resolves more than half of all “Camera Unavailable” errors on these trucks.
Check the Gray Connector Under the Brake Pedal
Do not overlook the smaller gray connector hidden under the main brake pedal. This plug suffers from the same vibration issues as the parking brake harness.
Locating the Hidden Plug
Crawl under the dashboard and look behind the brake pedal assembly. You will see a gray plug that resembles the interior parking brake connector but is slightly smaller in size.
Repair Procedure for Loose Plugs
- Reach behind the brake pedal to access the gray connector.
- Disconnect the plug and inspect the metal pins for any signs of corrosion.
- Push the connector back together firmly to ensure a tight fit.
- Secure the wire bundle with a zip tie to prevent future movement.
If your F350 backup camera not working issues persist after this step, the problem likely lies outside the cab.
Clean the Orange Connector Under the Rear Bumper

The external orange connector located under the rear bumper faces harsh road conditions. Road salt, mud, and water frequently corrode the pins inside this vital junction.
Where to Find the External Plug
Look beneath the rear bumper near the hitch receiver. The orange connector usually sits on the right side near the license plate or within the rear wheel well area.
How to Clean and Protect Contacts
- Crawl under the truck and disconnect the orange plug carefully.
- Use compressed air to blow all dirt and moisture out of the connector housing.
- Apply a thin layer of dielectric grease to the metal pins to seal out water.
- Reconnect the plug and ensure the locking tab clicks into place.
Regular application of dielectric grease prevents corrosion from breaking your circuit again.
Inspect the Tailgate Wiring Harness for Damage
Ford Super Duty trucks have a known design flaw involving inadequate insulation in the tailgate wiring harness. Water often enters the loom and corrodes the exposed copper wires inside.
Signs of Harness Water Damage
Your camera may work only when the truck is dry or fail completely during cold weather. Moisture freezing inside the wire loom breaks the electrical connection temporarily or permanently.
Accessing the Internal Wires
- Pop out the small access tab at the bottom of the tailgate panel.
- Remove the two long bolts securing the interior cover to the tailgate.
- Pull the wire bundle down from the tailgate cavity to expose the black loom.
- Cut open the wire sleeve carefully to inspect the internal wires.
Look for green corrosion or sections where factory tape has failed to protect the copper.
Repair Damaged Wires in the Tailgate
Wrapping corroded wires with new tape is only a temporary fix for your F350 backup camera not working problems. You must replace the damaged section to stop water intrusion permanently.
Permanent Wire Replacement Steps
- Cut out the entire corroded or poorly insulated segment of the wire.
- Strip the ends of a new 14 or 16 gauge insulated wire matching the factory gauge.
- Connect the new wire using high-quality butt splice crimp connectors.
- Slide heat-shrink tubing over each connection and apply heat to seal it tightly.
This repair creates a waterproof barrier that prevents future corrosion and signal loss.
Test Power and Ground at the Camera
Verify the camera receives proper voltage before assuming the unit itself is dead. A multimeter test at the rear connector confirms if power is reaching the device.
Multimeter Testing Procedure
- Set your multimeter to measure DC voltage.
- Place the red probe on the power pin and the black probe on the ground pin.
- Check for a reading of 12 volts to confirm power supply.
- Test continuity to the chassis to ensure a solid ground connection.
If power and ground are present but the screen remains blank, the camera unit has likely failed internally.
Scan for Diagnostic Trouble Codes
Use an OBD2 scanner to read specific codes when physical inspections reveal nothing. Generic scanners may miss body module codes, so use a Ford-compatible tool if possible.
Common Camera Error Codes
- U0401: Indicates a communication failure between the camera and the vehicle network.
- C1300: Signals a general malfunction within the camera unit itself.
- B1110: Points to an open circuit in the wiring, often due to a broken wire.
Resetting the System
Disconnect the vehicle battery for 15 minutes to reset the Body Control Module. This action clears software glitches that may cause false “Camera Unavailable” messages.
Replace Blown Fuses in the Circuit
A blown fuse will instantly kill power to your backup camera system. Check both the under-hood fuse box and the interior panel for any failed fuses.
How to Identify Blown Fuses
- Consult your owner’s manual to locate the fuse labeled “CAM” or “REAR CAM.”
- Pull the fuse and visually inspect the metal filament for a break.
- Use a multimeter continuity test to confirm the fuse is blown.
- Replace it with a fuse of the exact same amperage rating.
If the new fuse blows immediately, a short circuit exists in the tailgate harness.
Replace the Camera Unit If Necessary
Replace the camera only after confirming all wiring and power sources are functional. Physical damage or internal water ingress often destroys the sensor beyond repair.
When to Install a New Camera
- The lens is cracked from road debris impact.
- Moisture is visible inside the camera housing.
- Power and ground tests pass but no video appears.
Use an OEM or high-quality aftermarket unit and recalibrate the guidelines with a scan tool after installation.
Prevent Future Backup Camera Failures
Regular maintenance prevents most electrical failures in the F350 backup camera system. Apply dielectric grease to the rear connector every six months.
Maintenance Tips for Longevity
- Secure loose harnesses near the brake pedals with zip ties.
- Inspect tailgate clips annually and replace broken ones immediately.
- Park indoors during winter to reduce thermal stress on connections.
These simple steps keep your wiring dry and your connectors tight for years.
Avoid Aftermarket Electrical Interference
Recent modifications to your truck may interfere with the factory camera system. Aftermarket audio or alarm systems often tap into shared power grounds.
Troubleshooting Modifications
- Temporarily disconnect any recently installed aftermarket electronics.
- Test the camera to see if the image returns.
- Inspect aftermarket wiring for proper fuses and isolated grounds.
Improper installations are a hidden cause of many F350 backup camera not working complaints.
Check for Ford Technical Service Bulletins
Ford issued Technical Service Bulletins for 2012–2014 models regarding wiring defects. Your truck may qualify for a free repair under these programs.
How to Verify TSB Coverage
- Visit the official Ford Owners website.
- Enter your Vehicle Identification Number (VIN).
- Review any open recalls or TSBs related to the backup camera.
Dealers may fix tailgate harness issues at no cost if a bulletin applies to your vehicle.
Frequently Asked Questions About F350 Backup Camera Issues
Why does my backup camera work sometimes and not others?
Intermittent failure usually indicates a loose connector or water in the wiring harness. Check the parking brake connector and rear orange plug for loose fits or corrosion.
What causes the “Camera Unavailable” message to appear?
This message appears when the system loses video signal or communication with the camera module. It is often caused by a broken wire in the tailgate or a loose interior connector.
Can cold weather make my backup camera stop working?
Yes, cold temperatures cause materials to contract, which can loosen connections or freeze moisture inside damaged wire looms. This often leads to temporary failure until the truck warms up.
Do I need a special tool to reset the camera system?
You can reset the system by disconnecting the battery for 15 minutes. However, recalibrating the guidelines after replacing the camera requires a Ford-compatible scan tool.
Where is the fuse for the F350 backup camera located?
The fuse is typically found in the under-hood fuse box or the interior fuse panel. Consult your owner’s manual for the specific location and amperage rating for your model year.
Key Takeaways for Fixing F350 Backup Camera Not Working

Most F350 backup camera not working issues stem from loose interior connectors or corroded rear wiring rather than a broken camera. Reseating the parking brake connector and cleaning the rear orange plug solves the majority of these failures.
Always inspect the tailgate harness for exposed wires if simple fixes do not work. Follow the diagnostic steps in this guide to restore your camera and ensure safe reversing.


