
If your 2008 Ford F-150 is making a whining noise when turning, the steering feels stiff, or you’re losing power steering fluid, the pump may be failing. Replacing the power steering pump on your 4.6L or 5.4L V8 F-150 is a manageable DIY job with the right tools and approach. This guide provides a complete, step-by-step walkthrough for safely removing the old pump and installing a new one, based on verified procedures used on models from 2004 to 2008. You’ll avoid common pitfalls, save hundreds in labor costs, and restore smooth, quiet steering, all in about 3 to 5 hours.
Prepare the Work Area
Before starting, park on level ground and engage the parking brake. Let the engine cool completely, since hot fluid under pressure can cause serious burns. Once cooled, disconnect the negative battery terminal to prevent accidental electrical shorts when disconnecting sensors near the engine. This small step protects your electrical system during the repair.
Disconnect Battery and Cool Engine
Remove the engine cover if equipped by unclipping or unscrewing the mounting points. This gives you better access and visibility. Keep the cover and clips safe for reinstallation later.
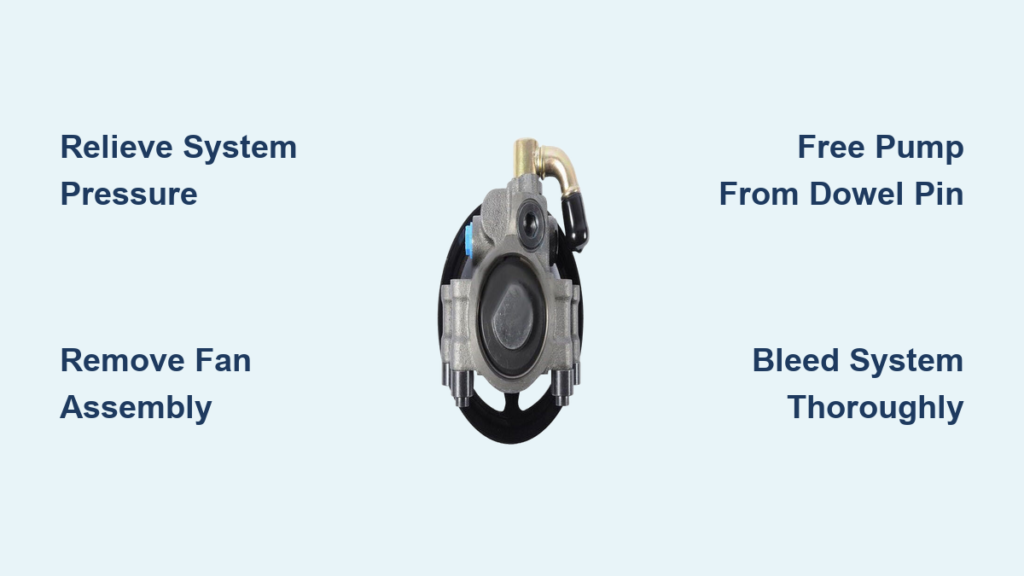
Relieve System Pressure
Even with the engine off, the power steering system holds pressure that can spray fluid when you disconnect lines. To safely release it, start the engine and let it idle. Turn the steering wheel fully left to right 5 to 10 times while stationary. Turn off the engine and remove the power steering reservoir cap to vent any remaining pressure. Now the system is safe to work on.
Remove Fan and Shroud for Access

The power steering pump sits behind the fan assembly, so you must remove it for clear access. This step is essential for reaching the pump mounting bolts and belt.
Remove Fan Nut and Shroud Bolts
Use a large crescent wrench on the fan nut. Insert a flat-tip screwdriver into the radiator fins to prevent the fan from spinning, giving you counter-pressure. If the nut is seized, tap the wrench lightly with a ball-peen hammer to break it loose. Turn the nut counterclockwise to remove it.
Next, locate the two 8 mm bolts behind the transmission cooler line that secure the fan shroud. Remove both using an 8 mm socket and extension.
Extract Fan Assembly
Carefully pull the entire fan assembly straight out. Set it aside in a safe place. This opens a clear path to the power steering pump, belt, and mounting points.
Disconnect Sensors and Hoses
To improve your workspace, unplug the mass air flow sensor and gently move the wiring aside. Also disconnect the camshaft position sensor connector, usually located near the timing cover. This gives you room to maneuver tools without damaging wires.
Unplug MAF and Camshaft Sensors
The MAF sensor is located on the air intake tube. Simply press the release tab and pull the connector free. The camshaft position sensor connector is near the timing cover on the front of the engine. Both connectors should be labeled or easily identifiable.
Optional: Loosen the upper radiator hose clamp to free up space when accessing the upper pump bolt. You don’t need to remove the hose unless it’s in the way.
Remove Serpentine Belt
The serpentine belt must be removed to access the pump pulley and eventually the pump itself.
Release Tension and Slide Off
Insert a half-inch drive ratchet or breaker bar into the square hole on the serpentine belt tensioner. Push down to release tension. While holding the tensioner, slide the belt off the power steering pump pulley, then remove it from the alternator and crankshaft damper. The belt may pass near the oil filter. Slide it straight out to avoid snagging.
Remember Belt Routing
The correct routing is critical for reinstallation. Follow this path with ribbed side down on smooth pulleys and ribbed up on grooved pulleys. The sequence goes alternator to under the tensioner to the AC compressor to the tensioner pulley to the damper to the water pump with smooth side down to the ribbed pulley to the power steering pump with ribbed side up and back to the alternator. Mark the routing with chalk or take a photo if needed. Misalignment causes squealing or premature wear.
Disconnect Power Steering Lines
Both the return hose and high-pressure line must be disconnected to free the pump.
Remove Return Low-Pressure Hose
The return hose connects to the top or side of the pump. Use a line wrench or 18 mm open-end wrench to disconnect it. If the hose is stiff or cracked, cut it carefully with a utility knife. Place a fluid drain pan under the pump. Expect some fluid leakage. Wipe the area clean to spot leaks later.
Disconnect High-Pressure Line
The high-pressure line attaches to the rear of the pump with an 18 mm flare-nut fitting. Use an 18 mm flare-nut wrench, not a regular wrench, to avoid rounding the nut. Hold the pump steady while loosening the line. Have a container ready because fluid will drip out.
Optional: Remove the bracket securing the high-pressure line to the engine with a 15 mm bolt for easier pump removal. Alternatively, disconnect the high-pressure line at the steering rack instead. Use a 10 mm socket to remove the crossmember bolt. Loosen the flange bolt and wiggle the line free. Remove the 8 mm frame bolt. This gives better clearance in tight spaces.
Warning: Aftermarket high-pressure lines like Dorman are prone to cracking when stretched. Replace with OEM for long-term reliability.
Remove Power Steering Reservoir
The reservoir is mounted on the fender. Removing it creates more working room.
Loosen Clamp and Remove Bolts
Loosen the clamp with a flat-tip screwdriver. Remove the three 8 mm bolts securing the reservoir. Disconnect the rack line using a 10 mm socket. This bolt often has heavy thread locker. Move the reservoir and bracket aside. You don’t need to disconnect the hoses unless replacing them.
Tip: If not replacing, leave hoses attached to minimize fluid loss and air entry.
Remove Mounting Bolts and Extract Pump
The pump is secured by three 10 mm bolts. Even with bolts removed, the pump may stay stuck due to a dowel pin.
Remove Three 10 mm Mounting Bolts
One bolt is on top and easily accessible. Two are on the bottom. Use a deep-well socket and swivel ratchet for the lower one. Use a universal joint and extension for tight-angle access. Remove all bolts completely.
5.4L Note: The third bolt may be obscured by wiring. Inspect carefully before assuming it’s gone.
Free Pump from Dowel Pin
Use a pry bar between the pump body and timing cover to gently pop it free. Or tap the side of the pump with a rubber mallet. User confirmed: Tapped it with a hammer and it came right off. Another said: Pry bar saved me an hour.
Warning: Do not force it. Double-check for missed bolts or hoses. Forcing can damage the timing cover.
Inspect and Prepare New Pump
Before installing the new pump, inspect critical components.
Check High-Pressure Line for Damage
Inspect the high-pressure line for cracks, bulges, or leaks. Replace if worn. OEM lines are far more durable than aftermarket versions.
Strong Recommendation: Use OEM high-pressure line. Dorman and similar brands often fail under tension.
Install Pressure Switch if Needed
Some pumps have a pressure switch that boosts idle RPM for better steering assist. If your new pump doesn’t include one, transfer it from the old pump. Lubricate the O-ring with WD-40 or power steering fluid before installing.
Install Pulley on New Pump
Critical Rule: Never install the pulley on the bench. It blocks access to the lower mounting bolt.
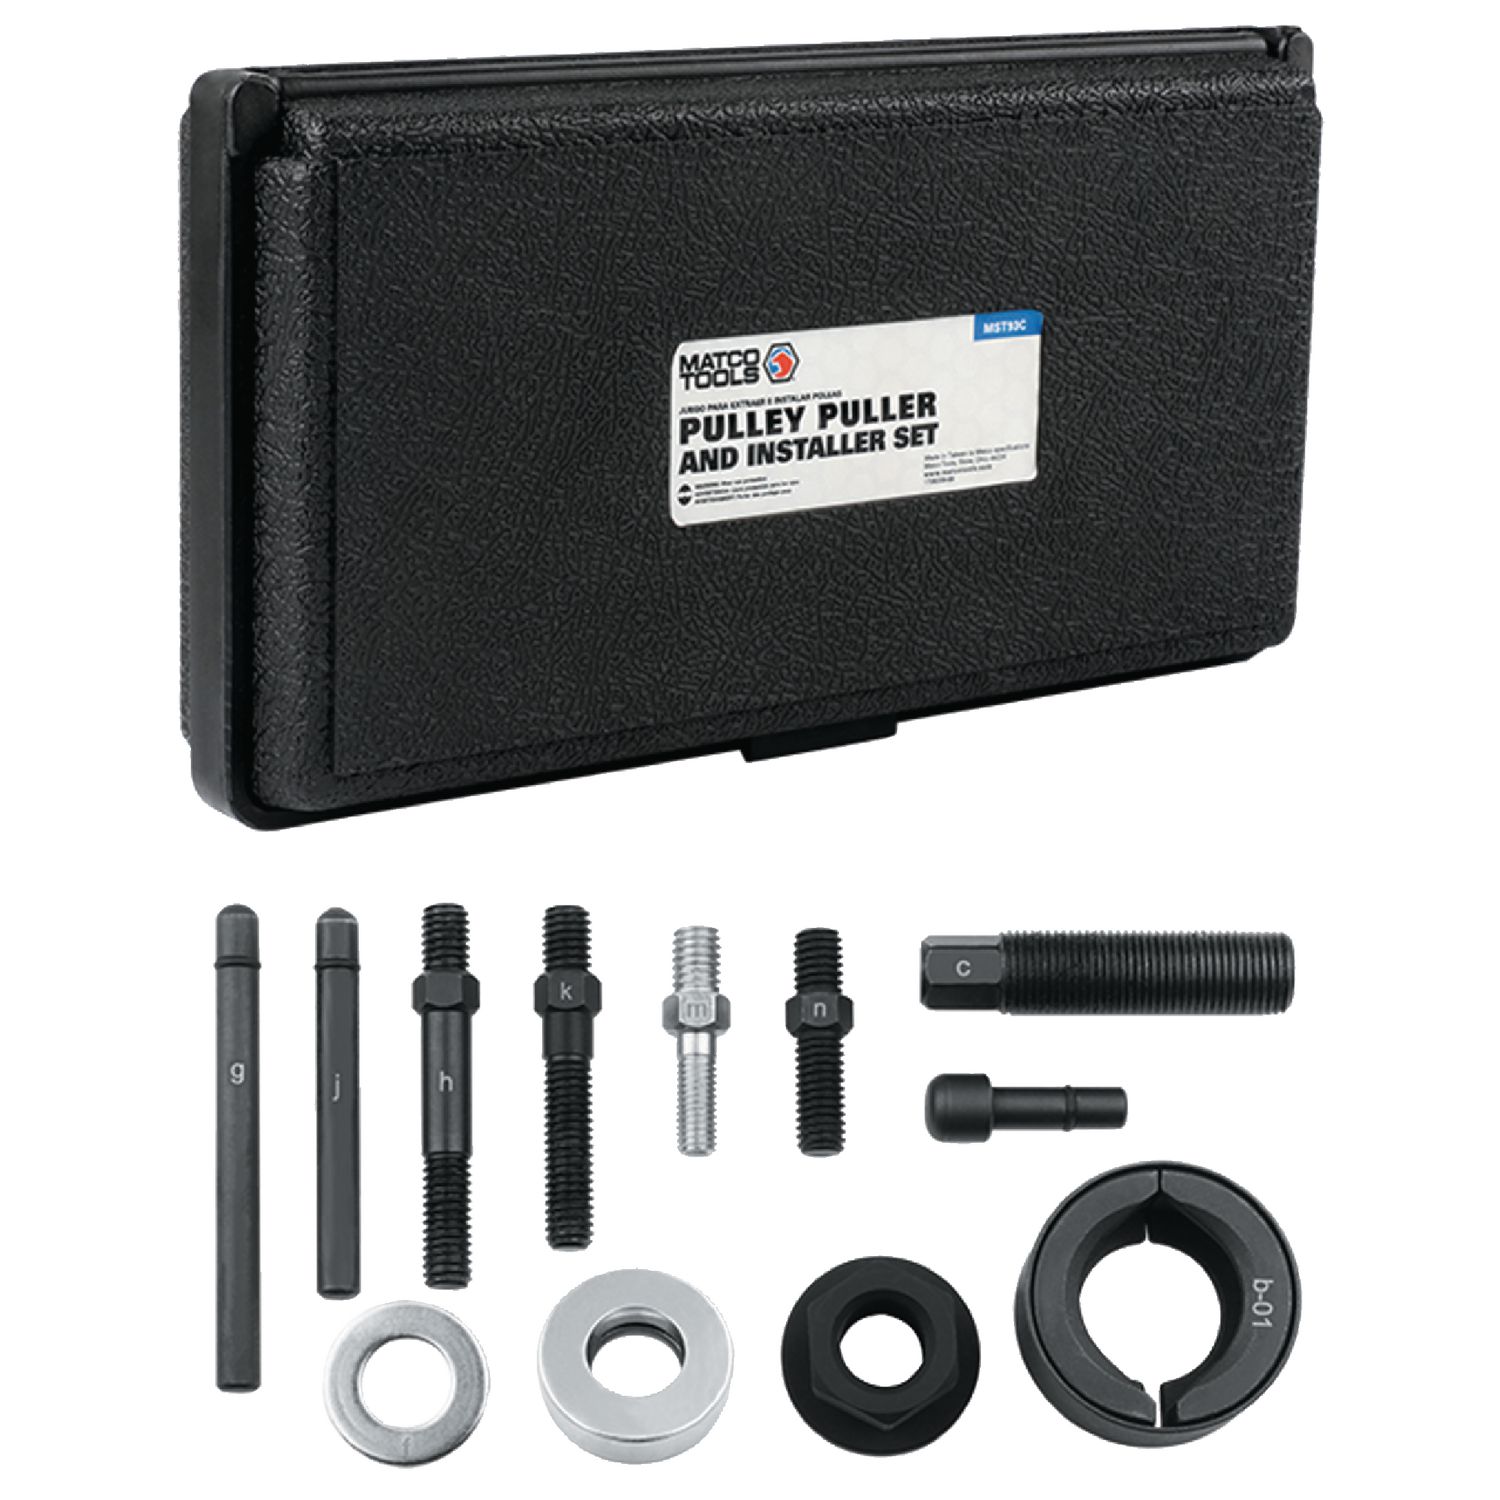
Use a Matco MST-93C or high-quality universal pulley installer. Remove the blue plastic plug from the pump snout. Slide the bearing onto the shaft. Add the washer, then the draw-through collar, which is the large nut. Insert the center alignment piece. Use a 13 mm wrench across the tool frame as a fulcrum. Tighten the collar with a crescent wrench until the pulley is flush with or slightly past the shaft end.
Pro Tip: Warm the pulley to approximately 100 degrees Fahrenheit with a heat gun or sunlight. This makes installation easier.
Never hammer the pulley on. It damages internal bearings and seals.
Tool Note: Generic kits often bend. Matco MST-93C is durable and precise.
Install New Power Steering Pump
Most Important Step: Mount the pump to the engine first, then install the pulley.
Mount Pump Before Installing Pulley
Align the new pump over the dowel pin. Insert the high-pressure line tab into the pump hole. Keep the nut loose for flexibility. Hand-tighten all three 10 mm bolts. Torque to 15 to 22 ft-lbs using a torque wrench. Use a swivel ratchet for the lower bolt.
Warning: Skipping the dowel pin alignment causes misalignment and leaks.
Reconnect Hydraulic Lines
Reattach the high-pressure line with a new Teflon or OEM Nylock seal. Tighten the 18 mm fitting to 18 to 25 ft-lbs. Reconnect the return hose. Check for kinks or twists in both lines.
Reinstall Reservoir
Reconnect the rack line using the 10 mm bolt and high-temperature thread locker like Loctite 243. Secure the reservoir with the three 8 mm bolts. Tighten the clamp and position it correctly.
Reinstall Serpentine Belt
Follow the OEM routing exactly. Use the breaker bar on the tensioner to create slack. Slide the belt into all pulley grooves.
Route Belt Correctly
The sequence goes alternator to under the tensioner to the AC compressor to the tensioner pulley to the damper to the water pump with smooth side to the ribbed pulley to the power steering pump with ribbed side and back to the alternator.
Release Tensioner and Verify Fit
Slowly release the tensioner. Double-check that the belt is fully seated and aligned on all pulleys.
Belt Tension Test: Press the belt midway. It should have approximately half an inch of deflection. No squealing means it’s correct.
Refill and Bleed Power Steering System
Air in the system causes noise and poor performance. Bleeding thoroughly is essential.
Use Correct Fluid
Fill with Mercon LV ATF, recommended, or Mercon ATF. You’ll need 1 to 2 quarts. Fill to the MAX line when the engine is cold.
Bleed Air from System
With engine off, turn the steering wheel left to right 20 to 30 times, lock to lock. This draws fluid in and starts removing air. Start the engine and let it idle. Continue turning the wheel 5 to 10 times. Never hold at full lock for more than 5 seconds because this strains the pump. Monitor fluid level as it drops from air escaping. Keep it between Min and Max. Run for 5 to 10 minutes with wheel turning. Shut off, recheck level, and top off. Optional: Jack up front wheels to reduce resistance and improve bleeding.
Expected Result: Whining noise disappears. Users report a night-and-day difference.
Warning: Skipping bleeding leads to noise, reduced assist, and early pump failure.
Reassemble Components
Reinstall Fan and Shroud
Align the shroud with side hooks. Secure with the two 8 mm bolts. Reinstall the fan, outer ring and inner hub. Tighten the fan nut with the crescent wrench and screwdriver for counter-pressure. The engine’s rotation will fully seat the nut.
Reconnect Sensors and Hoses
Reattach the MAF sensor and camshaft position sensor. Reconnect the upper radiator hose if removed. Reinstall the air intake system. Reconnect the negative battery terminal.
Final Checks and Verification
Start the engine and check for leaks at the pump mounting bolts, high-pressure line at both pump and rack ends, return hose, and reservoir connections. Look for drips or seepage. Tighten as needed.
Verify Belt Tension
Press the belt. It should have approximately half an inch of deflection. No squealing means it’s correct.
Test Drive and Monitor
Take a short test drive. Steering should feel smooth and quiet. After cooling, recheck fluid level. Monitor daily for 3 to 5 days. Level should stabilize. A drop indicates a leak.
Cost and Time Summary
Aftermarket pump costs $120 to $200. OEM pump costs $250 to $400. OEM high-pressure line costs $80 to $150. Mercon LV fluid costs $8 to $12 per quart. Total DIY cost is $120 to $200 for parts. Professional labor costs $280 to $700 or more. DIY time is 3 to 5 hours.
Savings: DIY saves $400 or more with moderate skill.
Key Tips and Warnings
Replace O-rings and seals. Never reuse old ones. Use OEM high-pressure line. Aftermarket fails under stress. Mount pump before pulley. This saves time and avoids rework. Bleed thoroughly. It prevents noise and damage. Use Matco MST-93C. Best pulley tool for durability.
Don’t hammer pulley on. It destroys internal parts. Don’t skip dowel pin check. It’s the main reason the pump won’t come off. Don’t overfill fluid. Keep between min and max. Don’t hold full lock too long. It damages the pump.
Troubleshoot Common Issues
Pump Won’t Come Off
Cause: Stuck on dowel pin. Fix: Use pry bar or rubber mallet. Verify all bolts removed.
Pulley Hard to Install
Cause: Misalignment or weak tool. Fix: Use Matco tool. Warm pulley. Ensure center alignment.
Whining After Replacement
Cause: Air in system or wrong fluid. Fix: Re-bleed. Confirm Mercon LV or ATF is used.
Leak at Pump
Cause: Loose bolts or bad O-ring. Fix: Torque to 15 to 22 ft-lbs. Replace seal.
Hard Steering
Cause: Low fluid, air, or kinked line. Fix: Refill, bleed, inspect hoses.
Maintenance and Longevity
Change fluid every 50,000 miles. Inspect hoses annually for cracks and leaks. Avoid full-lock steering to limit pump strain. Aftermarket pumps have 12 to 24 month warranty. OEM lasts longer if dealer-installed.
Pro Insight: Pre-mounting the pump before pulley installation cuts labor by 40% and prevents rework.
Tool Test: Matco MST-93C survives repeated use. Generic kits fail.
Frequently Asked Questions About Replacing the Power Steering Pump on a 2008 Ford F-150
How do I know if my 2008 Ford F-150 needs a new power steering pump?
Common signs include a whining noise that gets louder when you turn the wheel, stiff or heavy steering especially at low speeds, and visible power steering fluid leaks under the truck. If the fluid looks dark or foamy, the pump may be failing.
Can I replace the power steering pump myself on a 2008 F-150?
Yes, with moderate mechanical skills and basic tools, you can complete this repair in 3 to 5 hours. The job requires hand tools, a pulley installer tool, and about 1 to 2 quarts of Mercon LV ATF. Following the step-by-step procedure carefully yields professional results.
What tools are essential for replacing the power steering pump on a 2008 Ford F-150?
You’ll need a half-inch drive ratchet and breaker bar, 8 mm and 10 mm sockets with extensions, an 18 mm flare-nut wrench, a deep-well socket with swivel ratchet for lower bolts, and a power steering pulley installer like the Matco MST-93C. A torque wrench is recommended for proper bolt torque.
Should I use OEM or aftermarket parts for the 2008 F-150 power steering pump replacement?
OEM parts are strongly recommended, especially for the high-pressure line. Aftermarket lines like Dorman often crack under tension. For the pump itself, quality aftermarket options like Cardone remanufactured units work well, but OEM provides the longest lifespan.
How long does it take to replace the power steering pump on a 2008 Ford F-150?
The complete DIY repair takes approximately 3 to 5 hours, depending on your experience level. This includes time for draining fluid, removing components, installing the new pump, bleeding the system, and reassembling everything.
Key Takeaways for Replacing Your 2008 Ford F-150 Power Steering Pump
Replacing the power steering pump on your 2008 Ford F-150 is a cost-effective DIY project that saves $400 or more compared to professional labor. The critical steps include properly relieving system pressure before starting, removing the fan assembly for access, and using a pry bar to free the pump from the dowel pin, which is the most common reason the pump resists removal. Always use OEM high-pressure lines and seals rather than aftermarket alternatives that tend to crack under tension. Mount the pump to the engine before installing the pulley to avoid clearance issues, and bleed the system thoroughly by turning the wheel lock to lock 20 to 30 times with the engine off, then continuing with the engine running. With basic tools, 3 to 5 hours, and attention to these details, you’ll achieve smooth, quiet steering that lasts for years.


