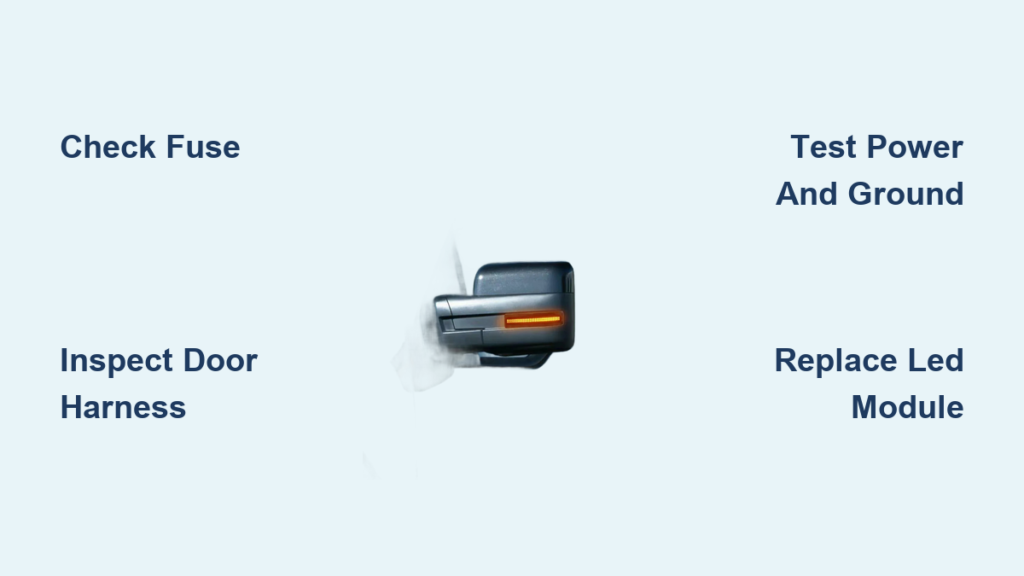
A flickering brake light or dim turn signal on your Ford F-150 isn’t just annoying, it’s a safety hazard. If you’ve noticed one side isn’t lighting up properly, the fix might be simpler than you think. Replacing an F150 tail light bulb is a quick, affordable DIY job that takes less than 30 minutes with basic tools. Whether you drive a 2009 model or a 2020 update, the process is nearly identical across model years, bolts, clips, and sockets all follow the same pattern. This guide walks you through every step from removing the housing to testing the new bulb using only verified procedures and real-world insights.
You’ll learn the correct bulb types for your specific model year, avoid common mistakes like stripped bolts or loose inserts, and ensure a secure, rattle-free reassembly. By the end, you’ll have fully functional lights and the confidence to handle future replacements.
Remove Tail Light Mounting Bolts
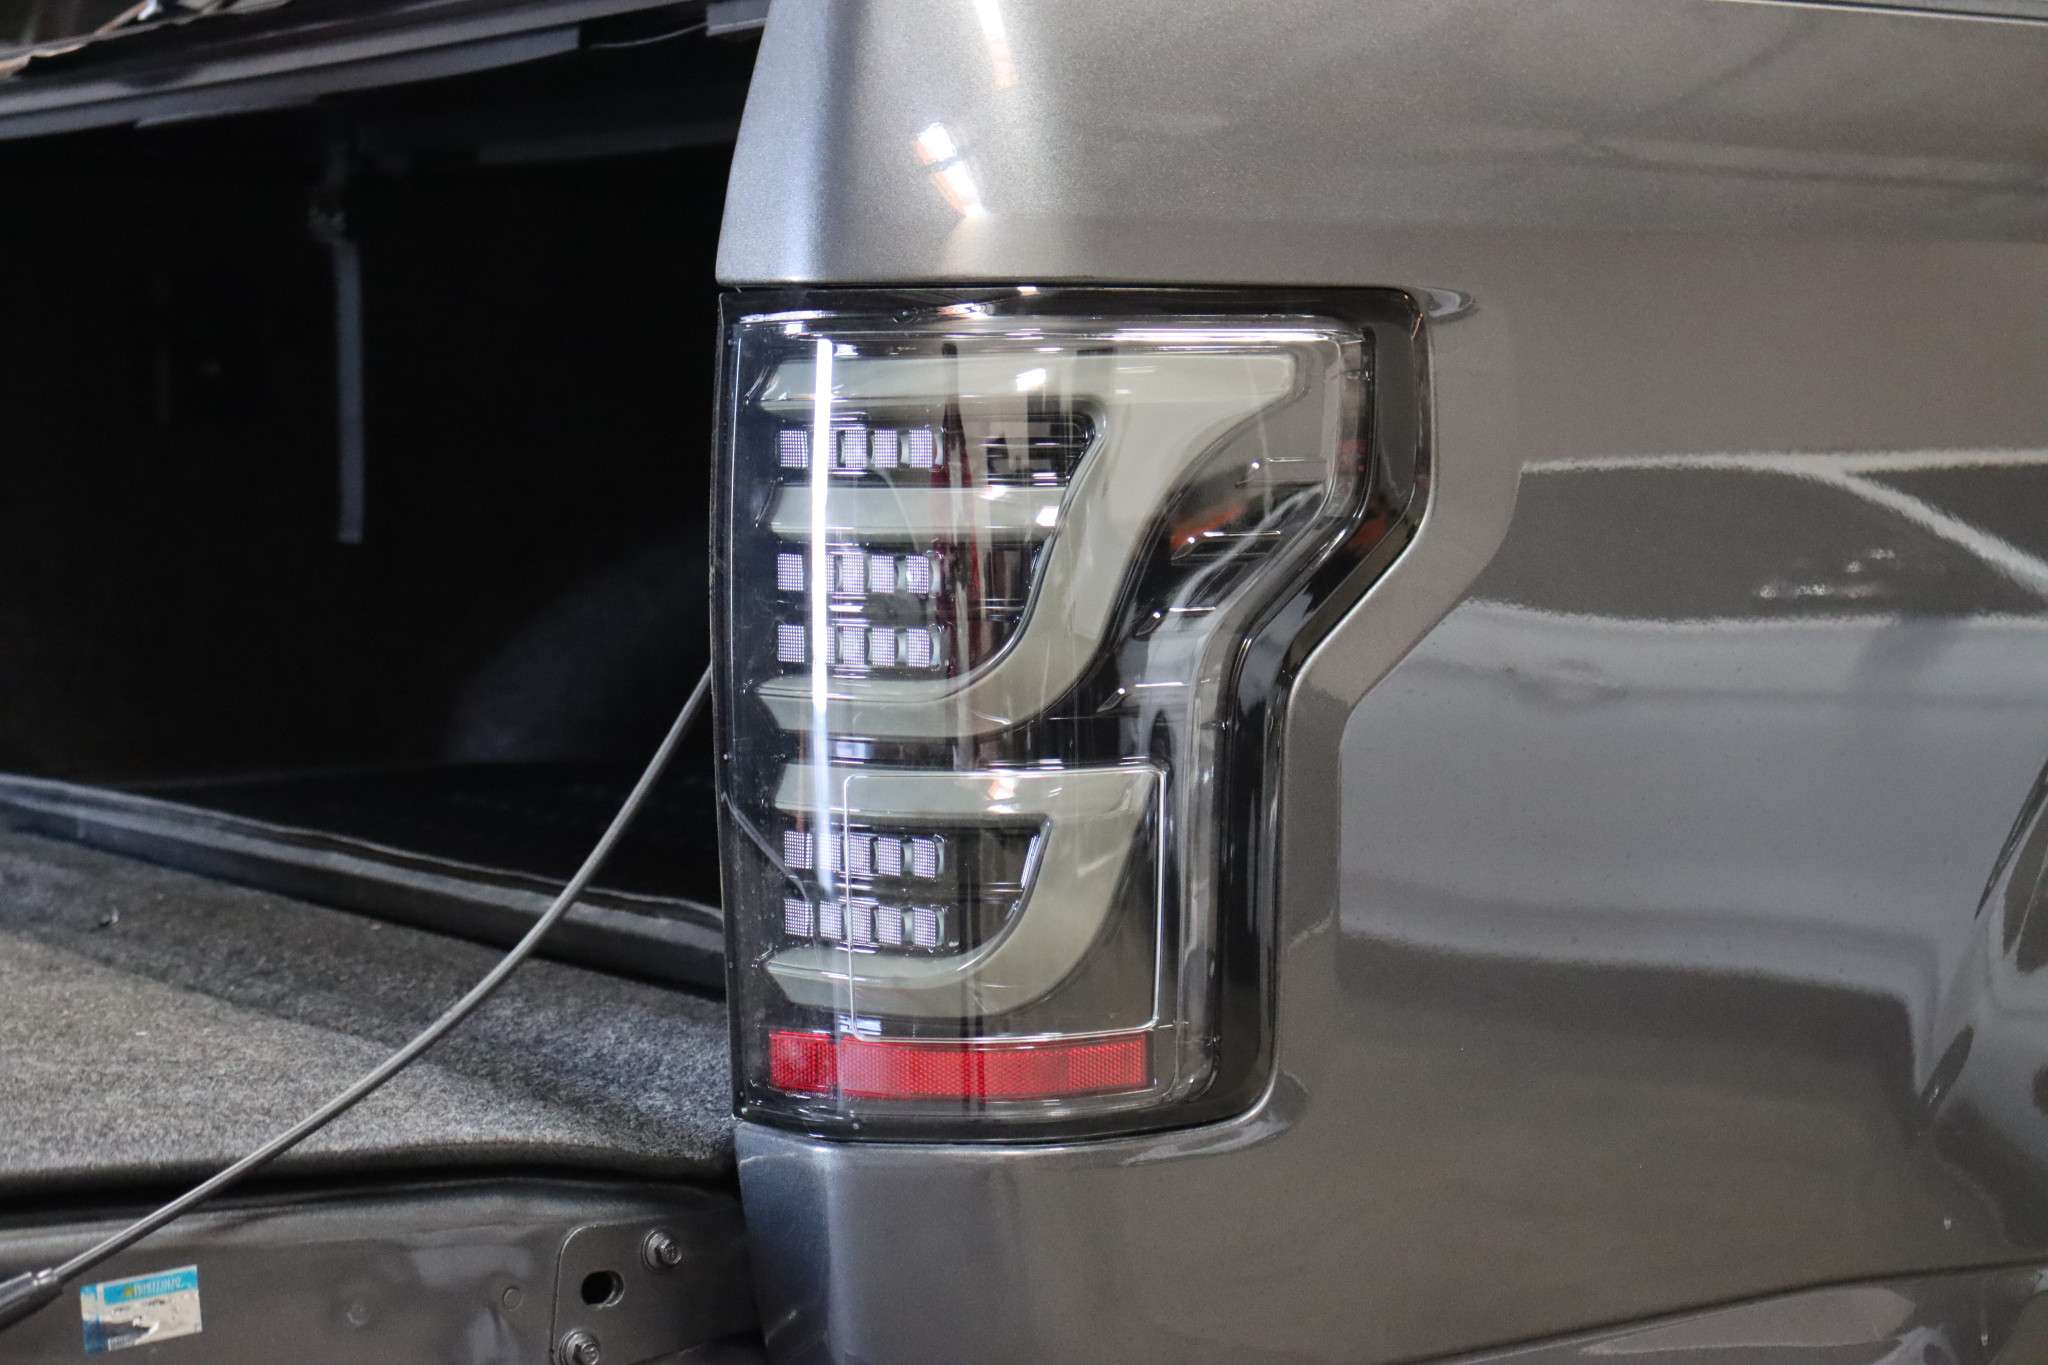
Start by accessing the two bolts that secure the tail light assembly. These are located inside the truck bed along the inner edge of the housing near the cab. For 2009-2014 models, look near the tailgate hinge cables. For 2015-2020 trucks, the bolts are vertically aligned, one at the top and one at the bottom.
Use an 8 mm socket and ratchet with extension to remove both bolts. A 5/16 inch socket may also fit, especially on newer models, but 8 mm is standard. Keep the bolts safe because they thread into plastic retainers that can strip easily if over-torqued later.
Pro Tip: Do not use a power tool. Hand-tightening prevents damage to the plastic threads.
Confirm Bolt Size by Model Year
If the 8 mm socket does not fit snugly, try a 5/16 inch alternative. While most F-150s use 8 mm, some 2018-2020 models came with slightly different fasteners. Either size will work due to close dimensional tolerance, but always verify fit before applying force.
Fully Lower the Tailgate
Before starting, completely lower the tailgate. This gives you clear access to the interior mounting points and wiring. It also prevents accidental damage when pulling the assembly outward. Park on level ground, set the parking brake, and turn off the ignition. There is no need to disconnect the battery.
Release Retaining Clips or Tabs
Once the bolts are out, the housing is held only by plastic fasteners. For 2009-2014 models, two plastic retaining tabs snap into slots on the body panel. For 2015-2020 versions, multiple push-type plastic clips secure the perimeter.
Gently pull the assembly straight rearward. Do not twist or pry upward. Use a plastic trim tool or flat-head screwdriver to help release stubborn clips. Apply even pressure to avoid cracking the polycarbonate housing.
Warning: One clip may be missing or broken, especially if the light was previously serviced. That is normal. Proceed carefully.
Handle Plastic Alignment Pegs
The housing has two alignment pegs, one at the top and one at the bottom. As you pull the unit out, watch for the top plastic insert. It often pulls out of the body panel instead of the peg releasing cleanly.
If it detaches, do not panic. Use a flat-head tool to push it back into the fender liner until flush. A loose insert is the number one cause of post-repair rattles.
Avoid Damaging the Wiring Harness
Keep tension minimal on the wiring. The electrical connector reaches just far enough. Yanking it can bend pins or tear the seal. Pull only until you can comfortably access the back of the housing.
Disconnect Electrical Connector
Flip the assembly around so you can reach the multi-pin wiring harness at the rear. Look for a gray locking tab on top or side of the plug.
Press down firmly on the tab and pull the connector straight out. Do not twist. If it resists, wiggle gently while maintaining downward pressure on the release.
Inspect for Corrosion or Damage
Once disconnected, check the connector for moisture or white or green corrosion. Look for bent or recessed pins. Watch for heat discoloration shown as brown or black marks.
Clean any corrosion with electrical contact cleaner and a soft brush. Apply dielectric grease to prevent future moisture issues. This simple step extends bulb and socket life significantly.
Expert Note: Corroded sockets are a leading cause of premature bulb failure, especially on lower turn signal bulbs in humid climates.
Remove and Replace Bulb Socket
Turn the tail light housing over to access the rear. Identify the faulty bulb by position. The brake and turn signal is usually the lower socket, reverse is the upper.
Look for an arrow marking on the socket base indicating rotation direction. Rotate counter-clockwise about 1/4 to 1/2 turn, then gently pull the socket straight out.
Extract the Old Bulb
Grasp the base of the bulb, not the glass. Pull it straight out. Do not twist or rock it. If it sticks, inspect for melted plastic or debris blocking the socket.
Discard the old bulb safely because glass shards can damage the new one if left in the housing.
Install the New Bulb

Wear nitrile gloves or use a clean cloth when handling the new bulb. Skin oils create hot spots on halogen glass, leading to early failure.
Insert the new bulb straight into the socket until it clicks. Ensure the base aligns correctly because misalignment causes poor filament positioning and uneven light output.
Pro Tip: Even if the old bulb’s filament looks intact, replace it. Bulbs over 5 years old degrade in brightness and reliability.
Insert Correct Bulb Type
Using the wrong bulb causes poor fit, flickering, or electrical errors. This is especially true with LED upgrades.
Refer to this quick guide for your model year.
For 2009-2014 F-150:
Brake and Turn Signal: 4157
Reverse Light: 7440 or 3156
For 2015-2020 F-150:
Brake and Turn Signal: 3157K
Reverse Light: 3156
Match the Base Pins
3157K and 4157 are interchangeable in size and pin layout. Both are dual-contact, dual-filament. But 3156 is single-contact and not compatible with dual-filament sockets.
Compare the old and new bulbs side-by-side. The blade configuration must match exactly.
Upgrade to LED? Read This First
LED bulbs last longer and shine brighter, but they are not always plug-and-play. On 2015-2020 F-150s, LEDs may trigger hyper-flashing or dashboard warnings due to low power draw.
To prevent this, use CANBUS-compatible LEDs. Install load resistors if needed. Choose bulbs with heat sinks and EMC shielding to reduce radio interference.
Warning: Cheap LEDs often fail within months. Stick with reputable brands like Philips, Sylvania, or OEM Ford.
Reinstall Socket and Reattach Housing
With the new bulb in place, reinsert the socket into the housing. Align it straight, then rotate clockwise until it locks. This is usually with a click or firm stop.
Do not over-rotate because this can damage internal contacts or crack the housing.
Align and Seat the Assembly
Position the tail light so alignment pegs enter body panel holes. Ensure retaining clips or tabs line up with slots. Check that the seal or gasket is clean and undamaged.
Push the unit firmly forward until all clips engage. It should sit flush with the truck body with no gaps or tilting.
Reconnect Wiring Harness
Plug the electrical connector back in until the gray tab clicks. Tug lightly to confirm it is locked. Make sure the wire loom is not pinched between the housing and fender.
Visual Check: The harness should have slight slack, not tension.
Tighten Mounting Bolts Properly
Reinstall the two 8 mm bolts or 5/16 inch and tighten by hand. Use the socket for the final 1/4 turn. Never use a power tool.
These bolts thread into plastic retainers, not metal. Over-tightening strips the threads, leading to loose assemblies and rattles.
Torque Like a Pro
There is no official torque spec, but the rule is hand-tight plus a quarter turn. If you feel resistance increase suddenly, stop. The plastic will give a slight crunch when fully seated.
Common Mistake: Stripped bolts are the number one repair repeat. Take it slow.
Test All Light Functions
Close the tailgate and test every function. Turn on headlights and verify both tail lights glow evenly. Press the brake pedal and confirm both brake lights activate. Use the turn signal lever and verify the correct side flashes without hyper-flash. Shift into reverse and check that white lights come on.
Check for Even Illumination
Stand behind the truck and compare brightness. If one side is dim, the bulb may not be fully seated or the socket may be corroded.
Flickering indicates a problem. Recheck the socket rotation and harness connection.
Pro Tip: Have someone cycle through functions while you inspect. This catches intermittent issues.
Fix Common Post-Replacement Issues
Even a smooth job can go wrong. Here is how to troubleshoot the most frequent problems.
Assembly Will Not Click Back In
If the housing will not seat, recheck alignment pegs first. Ensure wiring is not pinched. Verify all clips are intact.
Sometimes the top clip pops out during reinsertion. Pull the unit slightly and re-engage.
Lights Work but Rattle
A rattle means something is loose. Usually the top plastic insert pulled out during removal.
Push it back into the body panel until flush. Test by gently shaking the housing. No movement should occur.
Bulb Fails Soon After Replacement
Premature failure points to a corroded socket, moisture in the housing, or a low-quality bulb.
Inspect the gasket for cracks. If water gets in, replace the seal and apply dielectric grease to the socket.
Prevention: Apply dielectric grease every time you service the lights.
Maintain Long-Term Reliability
A one-time fix is not enough. Keep your F-150’s tail lights reliable with simple maintenance habits.
Replace Bulbs in Pairs
Even if only one is out, replace both sides. Older bulbs dim over time. Replacing just one creates uneven lighting.
Use the same brand and type for consistent color and brightness.
Inspect Every Six Months
During routine checks, verify all functions work. Clean lens with automotive-safe cleaner. Check for moisture inside the housing. Ensure bolts are snug but not over-tightened.
Store Spares in the Truck
Keep a spare set of 3157K and 3156 bulbs in your glove compartment. A small investment prevents a ticket or accident.
DIY Savings: Professional replacement costs 50 to 100 dollars. You save 80 percent by doing it yourself.
Frequently Asked Questions About F150 Tail Light Bulb Replacement
What bulb does a 2015 F-150 tail light use?
The 2015-2020 F-150 uses a 3157K bulb for brake and turn signal functions. The reverse light uses a 3156 bulb. These are dual-contact and single-contact variants respectively.
How long does it take to change an F-150 tail light bulb?
The entire process takes 15 to 30 minutes per side with basic tools. First-time users may need an additional 10 to 15 minutes.
Why does my F-150 turn signal burn out so frequently?
Lower turn signal bulbs fail more often, especially in humid climates. Moisture ingress causes socket corrosion, which leads to premature bulb failure. Applying dielectric grease during replacement prevents this issue.
Can I replace just one tail light bulb?
You can, but manufacturers recommend replacing both bulbs at the same time. Older bulbs dim over time, and replacing both ensures even illumination and prevents repeat labor.
Do LED bulbs work in a 2018 F-150?
LED bulbs work but may require CANBUS-compatible units to prevent hyper-flashing or dashboard warnings. Load resistors may also be necessary for proper function.
Why is my tail light rattling after replacement?
Rattling is usually caused by a loose top plastic insert that pulled out during removal. Push it back into the body panel until flush to eliminate the noise.
Key Takeaways for Changing Your F150 Tail Light Bulb
Changing an F-150 tail light bulb is one of the easiest and most impactful DIY repairs. With the right tools, correct bulbs, and attention to detail, especially regarding plastic inserts and socket care, you will restore full functionality in under 30 minutes. Whether you are maintaining an older 2009 model or a late-2010s truck, the process stays consistent across model years.
The most critical steps are using the correct bulb type for your year, avoiding over-tightening the plastic-threaded bolts, and applying dielectric grease to prevent future corrosion. Always test all light functions before finishing, and keep spare bulbs in your vehicle for emergencies.
Follow these steps, avoid the common mistakes outlined above, and your F-150 will shine bright, safe, and ready for the road ahead.