
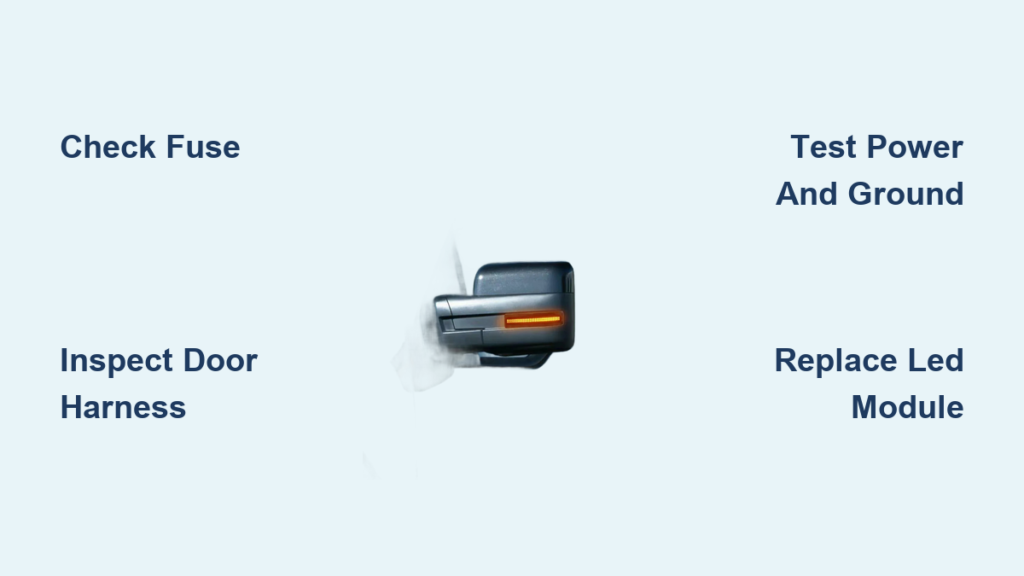
If your F150 mirror turn signal isn’t working, you may fail vehicle inspections or create a safety hazard during lane changes. The side repeater, located on the outer edge of your driver or passenger mirror, extends turn signal visibility to adjacent vehicles. This issue commonly affects 2001 to 2014 F-150 models and is often caused by something other than a burnt-out bulb. This guide walks you through complete diagnostic steps, from checking fuses to repairing door harness wiring, so you can restore functionality without dealership costs.
Check Turn Signal Basics First
Before assuming the mirror is the problem, verify whether the failure is isolated or part of a larger electrical issue. Turn on your hazard lights and observe both the front fender and rear turn signals. If all signals are dead, the issue likely involves a shared component like the flasher module, hazard relay, or main fuse rather than the mirror itself. If only the mirror repeater is out while other signals work, the fault is localized to that specific circuit. A critical diagnostic clue is whether hazards work while turn signals do not, which points to the multifunction switch or its connector as the likely culprit.
Inspect the Fuse Box
Blown fuses are a frequent cause of mirror turn signal failure. Locate the two primary fuse panels in your F-150: one under the driver side dash and another in the engine compartment battery junction box. Check fuses labeled PWR MIRR, T/SIG, HAZARD, or BODY. In a 2001 F-150, fuse number 13 at 20 amps powers the turn signals. Use a test light or multimeter to verify continuity rather than relying on visual inspection alone, since hairline cracks can escape notice. If a fuse blows repeatedly after replacement, a short circuit exists downstream, likely in the door harness or mirror assembly.
Diagnose Door Harness Wiring Problems
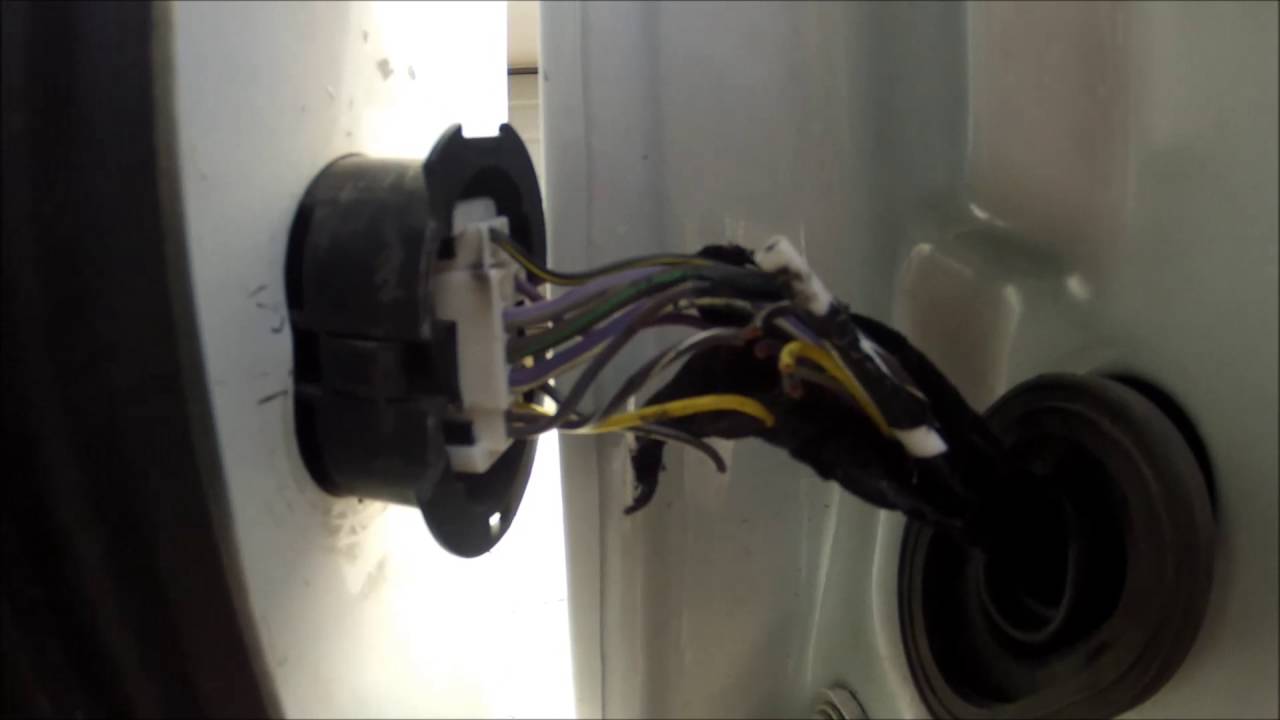
The rubber boot between the door and A-pillar is a known failure zone on F-150s from 2004 to 2014. This harness carries power to the mirror turn signal, power mirrors, and door lock actuators. Over time, wires especially the green or green/black turn signal feed and black ground wire can develop internal breaks while the insulation remains intact. This causes intermittent or complete signal loss, often alongside power mirror failure.
Test and Repair Door Harness Wires
Carefully open the door boot using a flat-head screwdriver and inspect for cracked insulation, frayed strands, or corrosion. Have a helper activate the turn signal while you gently wiggle the wires. If the signal flickers, you have found the break. Cut out the damaged section, strip the wires cleanly, and solder the connection. Seal all splices with heat shrink tubing, never electrical tape or wire nuts, as these degrade under vibration and moisture. This repair typically takes 15 to 20 minutes and prevents recurring issues.
Test Mirror Power and Ground
With the door open and key in the run position, disconnect the mirror wiring harness. Set your multimeter to DC voltage at the 20V range. Have someone activate the turn signal and probe the two wires. One should show pulsing 12V while the other reads 0V for ground. No voltage indicates a problem upstream at the fuse or BCM. No ground suggests a corroded or loose ground point, which is a classic cause of hyper-flashing or total signal failure.
Clean Ground Connection Points
Common ground locations include the rear frame rail, A-pillar near the door hinge, and chassis near the tail lights. Remove the grounding bolt and clean both the bolt and contact surface with a wire brush. Reinstall with a star washer to ensure metal-to-metal contact. Apply dielectric grease to the connection to prevent future corrosion. This simple fix resolves many cases where front signals work but mirror and rear lights do not, which is a telltale sign of a bad ground.
Replace Failed LED or Bulb
On 2009 to 2014 F-150s, mirror turn signals use non-serviceable LED arrays. If the light is out, you must replace the entire module. On 2004 to 2008 models, the system uses incandescent bulbs that can be replaced individually.
Swap LED Module on Newer Models
You will need a T20 Torx driver and a plastic pry tool. First, gently push the mirror glass outward to expose the retaining clips. Carefully pry the four clips and remove the glass. Disconnect the wiring harness. Remove the four T20 screws securing the backing plate and slide out the old LED module. Unplug the 2-wire connector and insert the new module. Aftermarket units are often smaller with a central connector. Snap everything into place and test immediately. This job takes 12 to 30 minutes and fits both F-150 and F-250 models of the same generation.
Change Bulb on Older Models
Pre-LED models use #194, #906, or #921 wedge base bulbs. Tilt the mirror forward and remove the outer cover using a plastic trim tool. Access the bulb socket behind the lens, twist it counterclockwise, and pull it out. Insert a new bulb, avoiding contact with the glass using bare hands. Reassemble and test. Many owners report frequent bulb burnout, possibly due to voltage spikes or poor ventilation. Consider upgrading to an LED bulb with a built-in resistor to prevent hyper-flashing.
Inspect the Multifunction Switch
If hazards work but turn signals do not, the multifunction switch on the steering column is suspect. On a 2001 F-150, remove three Phillips screws from the lower steering column cover. Snap off the cover, remove the tilt lever, and depress the ignition lock release tab while turning the key to remove the upper assembly. This exposes the switch connector.
Reseat the Switch Connector
A common fix is simply reseating the connector. Push it firmly into place until it clicks. For long-term reliability, apply a small dab of hot glue around the connector to prevent vibration-induced loosening. This non-invasive fix has restored function for multiple owners and takes less than 10 minutes.
Reset the Body Control Module
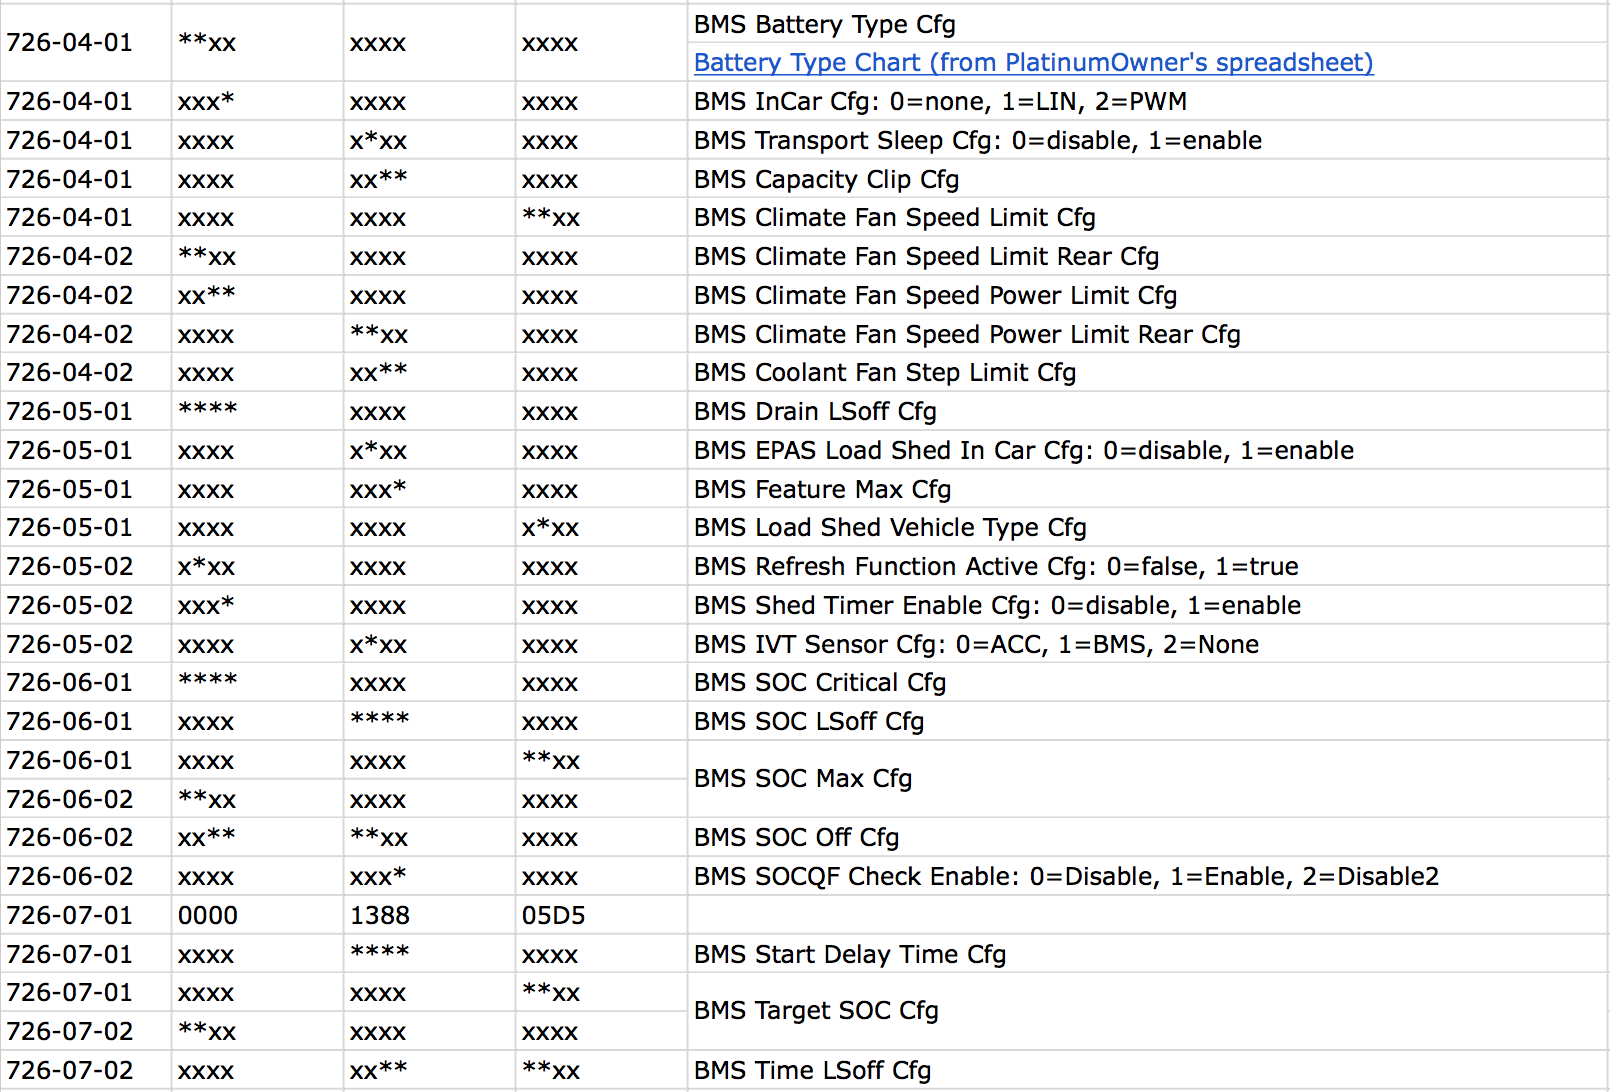
On 2009 and newer models, the BCM manages turn signal power. A software glitch or failed output driver can disable the mirror signal. Use a Bluetooth ELM327 OBD2 adapter and the FORScan app to reset the BCM. Plug the adapter into the OBD2 port, pair it with your phone, launch FORScan, and select your vehicle. Navigate to BCM settings and perform a module reinitialization. Avoid cheap WiFi adapters, as they often fail to connect. If the reset does not work, the BCM may need professional reprogramming or replacement.
Address Physical Mirror Damage
If the mirror glass or housing is cracked, or retaining clips are broken, the assembly may not seal properly, allowing moisture to damage the LED or wiring. Replacement mirror assemblies are available from OEMFordParts.com, salvage yards, or aftermarket suppliers. If only the LED module is damaged, replacement units cost $15 to $30 online. When reassembling, do not over-tighten T20 screws, as they strip easily. Use plastic tools to avoid scratching paint or breaking clips.
Prevent Future Failures
Moisture and corrosion are silent killers of electrical connections. After any repair, apply dielectric grease to all connectors, including the mirror harness, door jamb plug, and BCM terminals. Schedule a yearly check of the door-to-body harness by opening the rubber boot and inspecting for early signs of wear. If you spot fraying, repair it immediately. Consider retrofitting LED modules on older models, as they last longer, draw less power, and provide brighter illumination. Ensure any LED upgrade includes a built-in resistor or install a load resistor to prevent hyper-flashing caused by low current draw.
Frequently Asked Questions About F150 Mirror Turn Signal Issues
Why does my F150 mirror turn signal work sometimes but not others?
Intermittent operation usually indicates a loose connection or damaged wire in the door boot. The wires flex every time you open and close the door, causing internal breaks that may only make contact during certain positions. Inspect the door harness and wiggle the wires while testing to confirm this issue.
Can I replace just the LED on my 2012 F-150 mirror?
No. The LED arrays in 2009 to 2014 F-150s are not serviceable individually. You must replace the entire LED module, which is available from aftermarket suppliers for $15 to $30. The replacement is plug-and-play and takes about 20 minutes to install.
Why does my turn signal blink fast after installing an LED bulb?
Fast blinking, known as hyper-flashing, occurs because LEDs draw less current than incandescent bulbs, fooling the flasher into thinking a bulb is out. Fix this by installing a load resistor or using LED bulbs with built-in resistors to restore proper current draw.
Is a non-working mirror turn signal illegal?
Yes, in many states a non-functional turn signal can cause a vehicle to fail inspection. The mirror repeater is considered part of your lighting system, and all signaling devices must work for legal road use.
What tools do I need to fix my F150 mirror turn signal?
Basic tools include a multimeter, test light, T20 Torx driver, plastic trim tools, wire strippers, soldering iron, and heat shrink tubing. Most repairs can be completed with these basic tools in under 30 minutes.
Key Takeaways for Fixing Your F150 Mirror Turn Signal
A non-working F150 mirror turn signal is rarely a mystery. Most failures stem from three common causes: a burnt-out bulb or failed LED, damaged wiring in the door boot, or a poor ground connection. Always start diagnostics by checking whether the problem is isolated to the mirror or affects all turn signals. Use a multimeter to verify power and ground at the mirror connector before replacing parts. For 2009 and newer models, a BCM reset using FORScan can resolve software-related failures. With basic tools and a methodical approach, most repairs are DIY-friendly and cost under $50. If all else fails, inspect the multifunction switch and consider professional BCM programming at a Ford dealership.


