

Is your Ford F350 radio not working while power windows and gauges also fail? This specific combination of symptoms often points to a model-year issue rather than a simple blown fuse. Thousands of Super Duty owners face these exact electrical gremlins, ranging from frozen touchscreens to total system blackouts.
You can solve most of these problems in under 15 minutes with the right diagnostic steps. This guide details how to hard reset SYNC 3 systems, diagnose blank screens with active backlights, and repair instrument cluster relay failures in older trucks.
Reset Frozen SYNC 3 Systems in 2017 and Newer Models
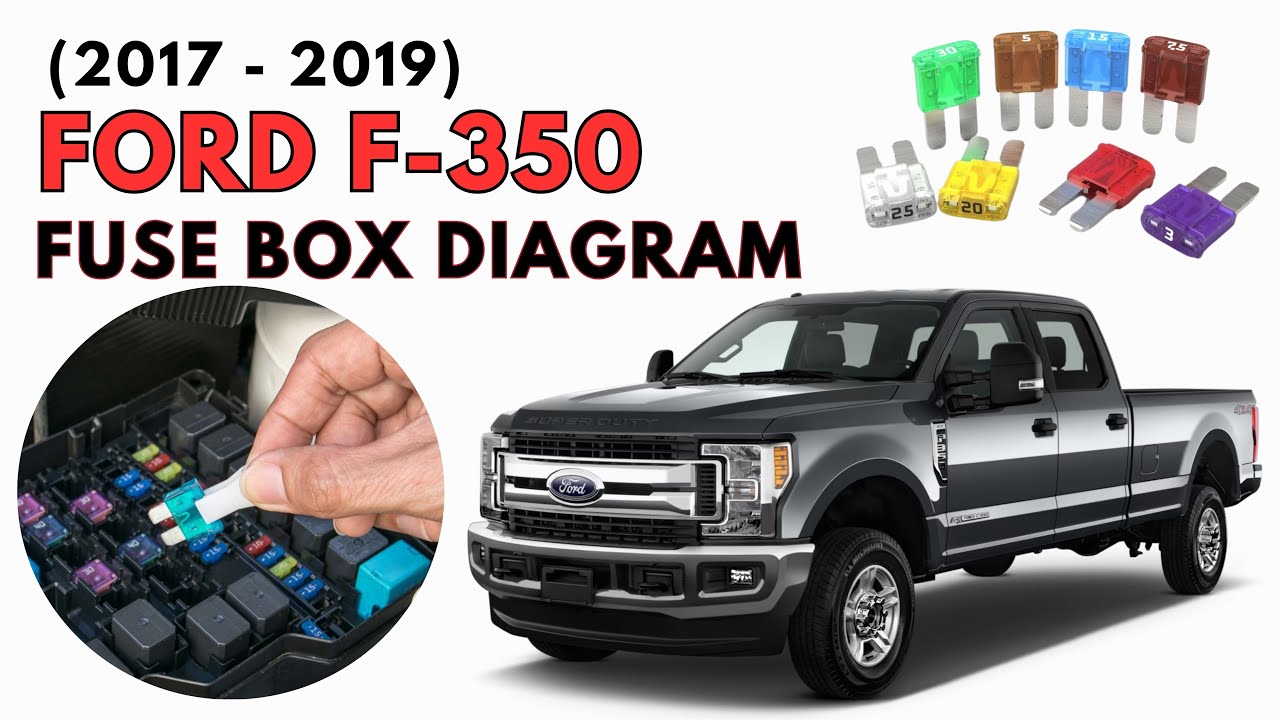
Owners of 2017 and newer Ford F350 trucks often report that their radio screen freezes or becomes completely unresponsive. These issues typically stem from software logic hangs within the SYNC 3 infotainment system rather than hardware failure. Because the system receives constant power, standard key cycles often fail to clear corrupted memory states.
Common signs include an unresponsive touchscreen, Bluetooth pairing errors, or a navigation map that will not refresh. A simple restart usually does not work because the module never fully powers down during a normal shutdown sequence.
Locate and Remove Specific Fuses
You must remove two specific fuses to force a complete power cycle on the unit. These are located in the driver’s side fuse box behind a removable panel on the lower left dashboard.
- 20-amp Radio/SYNC fuse: Often labeled “RADIO” or “SYNC”
- 15-amp Fuse 15: Specifically powers the display unit
Use a fuse puller or needle-nose pliers to extract both fuses safely. The screen should go completely black immediately after removal. If the display remains lit, you may have pulled the wrong fuse or missed one of the two required components.
Pro Tip: Inspect the 20-amp fuse closely as it is often a dual-element type. Look for any internal breaks or discoloration before reinstalling.
Wait for Full Capacitor Discharge
Do not reinstall the fuses immediately after removal. The SYNC module contains capacitors that hold residual electrical charge, which keeps corrupted data alive in temporary memory.
You must wait at least 10 to 15 seconds to ensure a full discharge. Rushing this step often results in an incomplete reset where the original glitch returns immediately upon reboot. Patience here is the difference between a fixed radio and a wasted effort.
Reinstall Fuses in Precise Order
Reinserting the fuses in the correct sequence helps the system initialize power distribution properly. Follow this exact order for the best results:
- Insert the 20-amp Radio/SYNC fuse first to restore main system power.
- Insert the 15-amp Fuse 15 second to activate the display panel.
Ensure both fuses seat firmly in their slots. The system should boot automatically, displaying the Ford logo followed by the SYNC startup screen. If the interface loads and responds to touch, the reset was successful.
Prevent Future Software Glitches
If the freezing issue returns within a few days, your truck likely needs a software update. Outdated firmware can cause recurring logic errors that a fuse pull cannot permanently fix.
Use the official Ford SYNC Software Update tool via a USB drive to install the latest patches. Also, disconnect any third-party USB chargers or flash drives, as cheap peripherals can introduce electrical noise that crashes the system logic.
Diagnose Blank Screens with Active Backlight in 2011 to 2016 Trucks
Ford F350 models built between 2011 and 2016 exhibit a distinct failure mode where the radio appears to turn on but shows no image. In these cases, the screen backlight illuminates, yet the display remains completely blank with no menus or icons visible.
This symptom profile indicates a failure in the video signal path or internal display driver circuit rather than a total power loss. Since the backlight works, the unit is receiving electricity, but it cannot process or display the visual interface.
Differentiate Signal Loss from Power Failure
The state of the backlight is your primary diagnostic clue for these model years. A totally dark screen suggests a fuse or power supply issue, while a glowing black screen points to video hardware failure.
- Backlight ON, No Image: Indicates video driver or signal path failure.
- Screen Totally Dark: Suggests blown fuse, bad wiring, or complete unit death.
If you see a faint glow behind the glass but no startup animation, do not waste time checking fuses. The problem lies within the internal electronics of the head unit itself.
Evaluate Repair Versus Replacement Options
Unfortunately, there is no user-serviceable fix for failed video drivers in these specific radio units. The required circuitry involves surface-mounted components that need micro-soldering expertise and specialized equipment to repair.
Your practical options include:
* Replacing the head unit with a compatible OEM or aftermarket model.
* Sending the unit to a professional electronics repair shop.
* Upgrading to a modern system with current connectivity features.
Before purchasing a replacement, verify that your battery voltage is stable and all wiring harness connections are secure. Voltage spikes from jump-starts can sometimes damage sensitive display drivers.
Fix 2006 F350 Radio and Window Power Loss via Cluster
The 2006 Ford F350 presents a unique electrical puzzle where the radio stops working at the same time as the power windows and instrument cluster illumination. Despite these multiple failures, the engine starts and runs perfectly, confusing many owners who suspect a battery or alternator issue.
This simultaneous failure occurs because the instrument cluster controls an external accessory relay. When the cluster fails internally, it stops grounding the relay control pin, cutting power to the radio and windows while leaving engine systems unaffected.
Understand the Instrument Cluster Relay Logic
The root cause lies in the MC9S12H128 microcontroller inside the instrument cluster. Pin 4 on this chip serves as the control output that grounds the external accessory relay.
When this pin fails to ground the circuit, the relay stays open. This action cuts power to:
* The radio unit
* Power window motors
* Instrument cluster illumination
The cluster itself may still power up and communicate with scan tools, making the fault difficult to detect without understanding this specific control logic.
Test MCU Pin Continuity for Confirmation
You can confirm this diagnosis before attempting any repairs by testing the electrical continuity on the cluster board. This step prevents unnecessary replacement of fuses or relays that are actually functioning correctly.
Use a multimeter in continuity mode to trace the signal from Pin 4 of the MCU to the board pads linked to the relay control output. If there is no continuity, the microcontroller is not sending the ground signal, confirming the cluster is the source of the failure.
Clone Data to a Donor Cluster for Repair
You cannot simply swap in a used cluster from a junkyard because the microcontroller stores vital security data. This includes the VIN, immobilizer keys, and vehicle-specific codes that prevent the truck from starting if they do not match.
The solution requires cloning data from your original cluster to a donor unit using a programmer.
Connect to Board Test Pads
Locate the labeled test pads on the back of the cluster circuit board to interface with the microcontroller. You will need to connect a breakout cable to these specific points:
- VCC (Power)
- GND (Ground)
- RST (Reset)
- SCLK, MOSI, MISO (Data lines)
Ensure your connections are secure to avoid data corruption during the transfer process.
Transfer EPROM and Flash Memory
Follow this sequence to clone the data safely using your programming tool:
- Power the original cluster and read the EPROM data containing vehicle settings.
- Read and save the Flash memory file containing the main firmware.
- Connect the donor cluster to the programmer.
- Write the saved EPROM data first, then write the Flash memory.
- Verify both writes to ensure data integrity.
Warning: Incorrect wiring or voltage application can permanently damage the cluster. Use proper anti-static precautions and double-check your connections.
Verify Cloned Cluster Functionality
Once the data transfer is complete, install the donor cluster into your truck. Turn the key to the ON position to check for successful operation.
You should see the radio power on, the power windows function, and all gauges illuminate correctly. The truck must start normally, indicating the immobilizer recognizes the cloned security data. If the odometer readings seem off, verify the EPROM write was successful.
Compare Failure Symptoms Across Model Years
Diagnosing a Ford F350 radio not working issue requires knowing which failure mode applies to your specific truck. Different model years suffer from distinct problems that require completely different solutions.
| Model Range | Primary Failure | Key Symptom | Fix Difficulty |
|---|---|---|---|
| 2017+ | Software Logic Hang | Frozen screen, unresponsive touch | Low (Fuse reset) |
| 2011–2016 | Display Driver Fault | Backlight on, no image | High (Replacement) |
| 2006 | Cluster Relay Control | Radio + windows + cluster dark | Very High (Cloning) |
Understanding these differences helps you avoid buying unnecessary parts or attempting fixes that will not work. The 2017+ models are user-serviceable, while the 2006 models require advanced technical skills.
Prevent Electrical Issues with Battery Maintenance
Maintaining stable battery voltage is crucial for preventing radio and infotainment issues, especially in newer models. Low voltage conditions can cause the SYNC system to reboot erratically, leading to software corruption and frozen screens.
Check your battery voltage regularly and replace the unit every 3 to 5 years. Ensure your alternator is charging correctly if you notice recurring electrical glitches after fixing the radio.
Avoid using cheap third-party USB devices that can introduce electrical noise into the system. Format any USB drives to FAT32 before use and remove non-essential peripherals when not in use.
Seek Professional Help for Complex Repairs
Some repairs exceed the scope of typical DIY projects and require specialized tools or knowledge. If you are uncomfortable working with microcontrollers, soldering, or data cloning, it is best to consult a professional.
Contact a specialist if:
* The 2006 cluster cloning fails after multiple attempts.
* A new radio unit still shows no display in 2011–2016 models.
* Multiple electrical systems fail simultaneously across the truck.
* You lack the specific programming tools required for data transfer.
Dealerships can reflash SYNC modules, but independent specialists often handle complex cluster cloning more efficiently.
Frequently Asked Questions About Ford F350 Radio Issues
Why does my 2017 F350 radio screen freeze constantly?
This is usually a software logic hang caused by the system retaining corrupted memory across ignition cycles. Performing a hard reset by pulling the 20-amp and 15-amp fuses for 15 seconds typically resolves the issue.
What does it mean if my 2013 F350 radio has power but no picture?
If the backlight is on but no image appears, the video driver or signal path inside the unit has failed. This is a hardware issue that usually requires replacing the entire head unit.
Can I swap a 2006 F350 instrument cluster with a used one?
No, you cannot simply swap clusters because the microcontroller stores immobilizer and VIN data. You must clone the data from your original cluster to the donor unit or the truck will not start.
How long should I wait when resetting SYNC 3 fuses?
You must wait at least 10 to 15 seconds after removing the fuses. This allows the system capacitors to fully discharge and clear any corrupted temporary memory.
Why are my radio and power windows dead at the same time?
In 2006 models, the instrument cluster controls a relay that powers both systems. A failure in the cluster microcontroller prevents the relay from engaging, cutting power to both the radio and windows.
Key Takeaways for Fixing Your Ford F350 Radio

A Ford F350 radio not working problem has a specific solution based on your truck’s model year. Owners of 2017 and newer trucks should perform a fuse pull reset to clear software glitches. Those with 2011 to 2016 models likely need a head unit replacement if the backlight is on but the screen is blank.
Owners of 2006 models face a more complex instrument cluster relay failure that requires data cloning to fix properly. Always verify your specific symptoms against these model-year patterns before buying parts or attempting repairs.
Start with the simplest diagnostic step for your model year today. Whether it is pulling a fuse or testing cluster continuity, identifying the root cause quickly saves you time and money on unnecessary replacements.


