
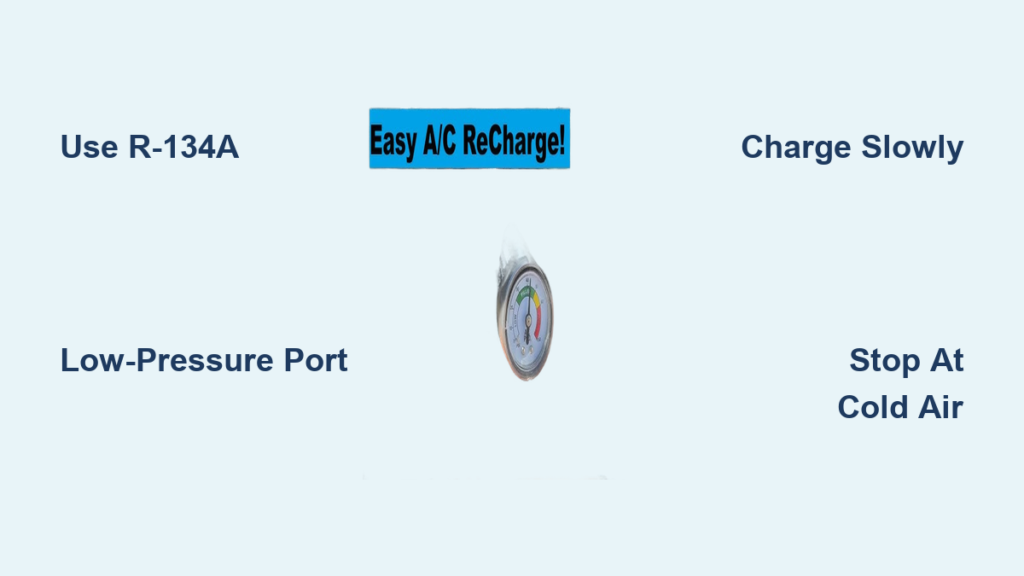
Is your Ford F-250 blowing warm air instead of cold? You’re not alone. A low refrigerant charge is one of the most common causes of weak AC performance in Super Duty trucks, especially models from 2000 to 2017. The good news: recharging your Ford F250 AC system is an affordable, do-it-yourself fix that takes under an hour. Using the correct R-134a refrigerant and following the right steps can restore ice-cold airflow without a mechanic visit for minor leaks.
This guide walks you through every step of a proper Ford F250 AC recharge, from locating the service port to monitoring pressure and avoiding dangerous overcharging. You’ll learn how to diagnose a freon loss, safely add refrigerant, and recognize when a deeper issue needs professional help. Whether your cooling faded gradually or failed suddenly, this actionable plan helps you get back to comfortable driving fast.
Confirm R-134a Refrigerant Type
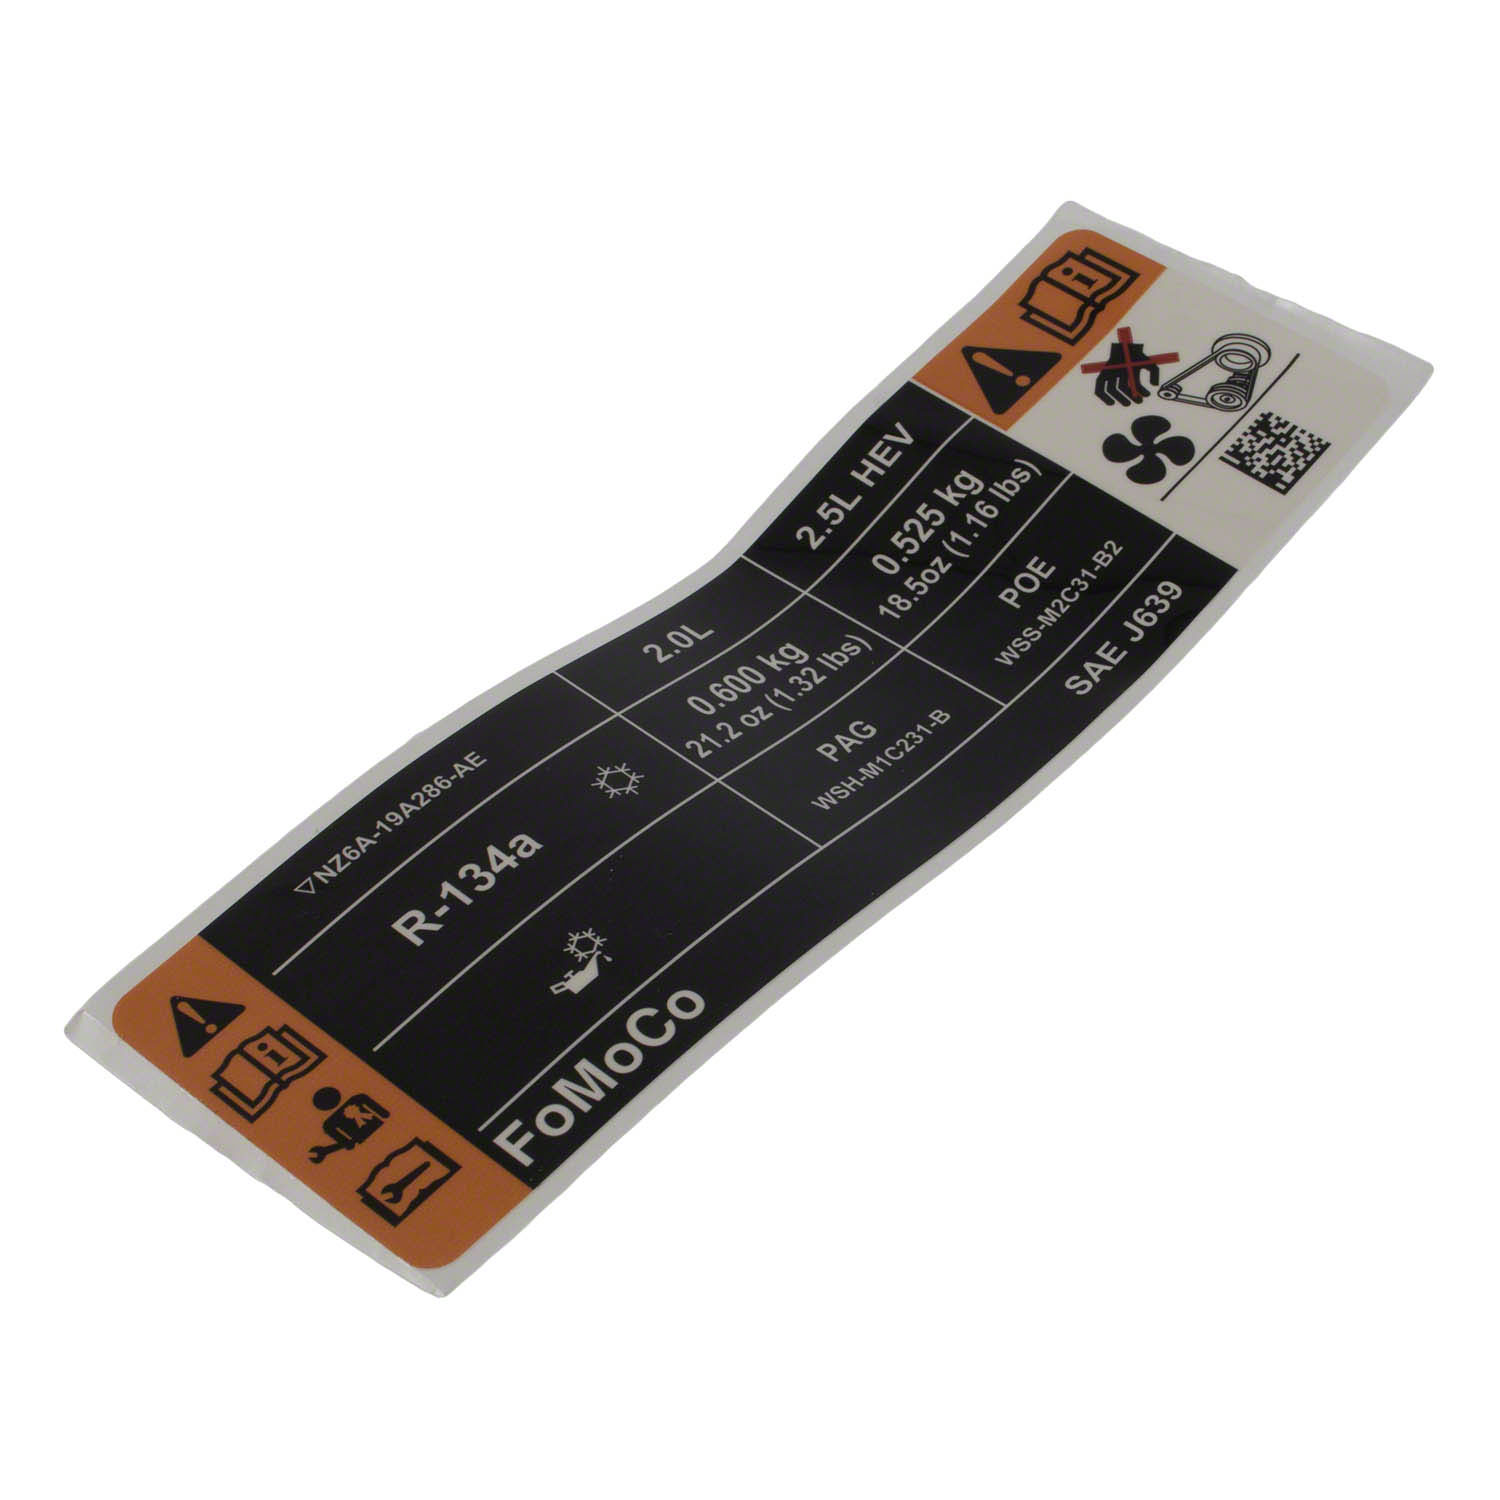
Before adding any refrigerant, verify your truck uses R-134a. Most Ford F-250 models from 1995 onward, including the 2017 6.7L V8 Turbo Diesel, are designed for R-134a only. Never use R-1234YF, which has incompatible pressure ratings and service ports. Mixing refrigerants can damage the compressor or create safety hazards.
Check the Engine Bay AC Label
Open the hood and look for the factory AC specification sticker, usually on the radiator support or near the fuse box. This label lists:
– Required refrigerant type (R-134a)
– Exact charge amount in ounces or grams
– Recommended oil type and volume
If the sticker is missing or faded, assume R-134a based on your truck’s model year. Pre-1994 vehicles used R-12, but all modern F-250s transitioned to R-134a due to environmental regulations.
Why Refrigerant Type Matters
Using the wrong refrigerant disrupts system pressure, lubrication, and cooling efficiency. R-134a carries oil that keeps the compressor lubricated. Without the correct type, internal parts wear out fast. Consumer recharge cans include PAG oil and leak sealer, helping minor leaks while restoring performance.
Find the Low-Pressure Service Port

The key to a successful recharge is connecting to the right port. On the Ford F250, the low-pressure AC service port is always on the passenger side near the firewall, attached to the larger refrigerant hose.
Identify the Accumulator
This port connects directly to the accumulator, a cylindrical aluminum tank about 3.5 inches in diameter and 8 to 10 inches long. It’s often wrapped in black foam insulation to prevent condensation and improve thermal efficiency. On older models like the 2000 F-350, inspect the foam. If cracked or missing, cooling performance may suffer even after recharging.
Locate and Access the Port
Look for a small silver Schrader valve with a removable cap:
– 2017 F-250: Rubber cap
– 2000 F-350: Black plastic cap
Labels nearby typically read “LOW” or “LOW SIDE.” The port sits on the bigger hose, which distinguishes it from the high-pressure side that uses a smaller line. Never connect a recharge kit to the high-pressure port. Doing so can cause injury or equipment damage.
Prepare for Safe Refrigerant Recharge
Skip prep and you risk overcharging, compressor damage, or refrigerant leaks. Take five minutes to set up correctly.
Turn Off Engine and Cool System
Shut off the truck and wait 5 to 10 minutes after driving. A hot system has elevated pressure, which can lead to inaccurate readings or sudden gas release when connecting the hose. Cooling down ensures safer, more accurate charging.
Gather Your Tools
You’ll need:
– R-134a refrigerant kit with gauge (includes leak sealer and oil)
– Work gloves and safety glasses
– Flashlight (for visibility in engine bay)
– Thermometer (optional, for vent temp check)
Most kits cost under $30 and are single-use. Choose one with a pressure gauge, which is essential for avoiding overfill.
Connect Recharge Kit Correctly
Now it’s time to attach your equipment. One mistake here can waste refrigerant or damage the system.
Remove Protective Cap
Unscrew the rubber or black plastic cap from the low-pressure port. Set it aside where it won’t get lost. The exposed valve should be clean and dry. If dirty, wipe it with a lint-free cloth to prevent contaminants from entering the system.
Attach Quick-Connect Hose
Take the recharge hose and press the quick-connect adapter firmly onto the Schrader valve. Twist the locking collar to secure it. You should hear a slight hiss as the seal engages, which is normal. Ensure the connection is tight before proceeding.
Start Engine and Set AC Controls
With the hose connected, start the truck and configure the climate system for maximum compressor engagement.
Run AC on Max Cool
Set the temperature dial to lowest setting (usually blue or 60°F). Turn the fan speed to high. This forces the compressor to cycle and circulate refrigerant. If the compressor doesn’t engage (listen for a click or change in engine idle), the system may be too low on charge or the compressor could be faulty.
Verify Compressor Operation
Open the hood and watch the center hub of the AC compressor pulley. When engaged, it should spin with the belt. If it remains still, the clutch isn’t activating, possibly due to low pressure, electrical issues, or mechanical failure. In that case, recharging won’t help until the root cause is fixed.
Add Refrigerant in Controlled Bursts

Now begin charging, but slowly. Rushing this step is the number one cause of overcharged systems.
Monitor Pressure Gauge Continuously
Your kit’s gauge should read between 25 and 45 psi when properly charged. This range varies with outside temperature:
– 75°F ambient: ~25 to 30 psi
– 90°F+ ambient: ~35 to 45 psi
Start adding refrigerant only when the compressor is actively running.
Use Short 10-Second Bursts
Squeeze the trigger for 10 seconds, then release. Wait 30 to 60 seconds for the system to stabilize. Check the gauge and feel the airflow from the center vent. Repeat until pressure reaches the target range.
Avoid holding the trigger continuously. This leads to overfilling. R-134a systems are highly sensitive, and just a few extra ounces can cause the AC to blow hot air.
Check Vent Temperature for Accuracy
Gauge pressure is helpful, but real-world cooling is what matters.
Insert Thermometer in Center Vent
Place a digital thermometer into the driver’s side center dash vent. As refrigerant enters, the temperature should drop steadily.
– Good performance: 35 to 45°F at vent
– Marginal: 50 to 60°F
– Poor: Above 65°F
If temp stops dropping despite correct pressure, a blockage, failing compressor, or moisture in the system may be present.
Stop at First Sign of Cold Air
Once you feel consistently cold air and the gauge reads within range, stop adding refrigerant. Overcharging is worse than undercharging. Excess pressure raises head temps, reduces heat exchange, and forces the system to heat up instead of cool.
Disconnect and Finalize Recharge
With the charge complete, disconnect safely and verify results.
Remove Hose Before Turning Off AC
While the engine is still running and AC is on high, disconnect the recharge hose from the service port. This prevents air from being sucked back into the system.
Reinstall Protective Cap
Screw the rubber or black cap back onto the Schrader valve tightly. This seals the port from moisture and debris, which is critical for long-term reliability. A missing cap can lead to slow leaks and future performance loss.
Test System for 5 Minutes
Let the truck run with AC on max for several minutes. Confirm:
– Cold air remains steady
– No unusual noises (grinding, squealing)
– Compressor cycles normally
If cooling fades quickly, a larger leak may exist beyond what the sealant can fix.
Recognize When to Seek Professional Help
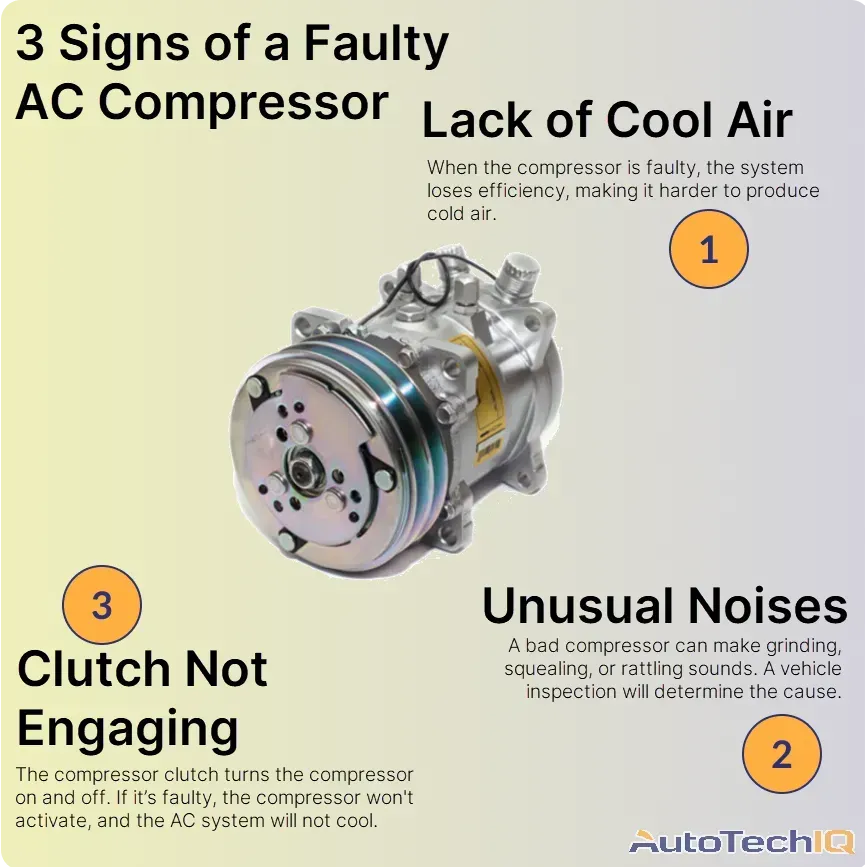
Recharging works for minor refrigerant loss, but not all AC problems stem from low freon.
Compressor Not Engaging?
If the compressor clutch doesn’t activate even after recharging, check:
– Blown fuse or relay
– Wiring or pressure switch failure
– Internal compressor damage
These require electrical diagnostics or component replacement.
Cooling Fails After Recharge?
If you added refrigerant but still get warm air, possibilities include:
– Major refrigerant leak (hose, condenser, evaporator)
– Clogged expansion valve or orifice tube
– Moisture-contaminated system requiring vacuum evacuation
– Failed compressor
DIY kits can’t fix these. A mechanic must evacuate, inspect, and rebuild the system.
Signs of Overcharging
Did the AC start blowing hotter air after recharging? You likely overfilled. R-134a systems lose cooling efficiency when overcharged due to excessive head pressure. Only a professional can safely recover excess refrigerant using recovery equipment.
Prevent Future AC Issues
Keep your F250’s AC running strong with simple maintenance.
Inspect Accumulator Insulation
On older trucks, check the black foam wrap around the accumulator. If damaged or missing, replace it. Without insulation, the unit can ice up or lose efficiency.
Run AC Monthly
Even in winter, operate the AC for 5 to 10 minutes once a month. This circulates oil, keeping seals lubricated and preventing compressor wear.
Recheck Pressure Annually
Use a standalone gauge to test low-side pressure each spring. Catching small leaks early avoids deep discharges that starve the compressor of oil.
Frequently Asked Questions About Ford F250 AC Recharge
How much refrigerant does a Ford F250 AC system hold?
The exact charge amount is listed on the factory AC sticker in your engine bay, typically measured in ounces or grams. Always refer to this label for your specific model’s capacity rather than guessing.
Can I recharge my Ford F250 AC without a gauge?
It’s not recommended. A pressure gauge is essential for avoiding overcharging, which can cause your AC to blow hot air. Kits without gauges leave you guessing and risk damaging the compressor.
Where is the low-pressure port on a Ford F250?
The low-pressure service port is located on the passenger side of the engine bay near the firewall. It’s attached to the larger refrigerant hose and connects directly to the accumulator. Look for a label reading “LOW” or “LOW SIDE.”
Why does my Ford F250 AC blow hot air after recharging?
This usually means the system is overcharged. R-134a systems are sensitive to excess refrigerant, which raises head pressure and reduces cooling efficiency. A professional can recover the excess using specialized equipment.
How long does a Ford F250 AC recharge last?
Results depend on the leak status. If your system has no major leaks and you used a kit with sealer, cooling can last for years. If the system loses refrigerant within weeks, a significant leak requires professional repair.
Is it safe to recharge a Ford F250 AC system myself?
Yes, when done correctly. Use R-134a only, connect to the low-pressure port, charge slowly in short bursts, and wear safety glasses and gloves. If anything seems wrong, stop and consult a professional.
Key Takeaways for a Successful Ford F250 AC Recharge
A proper Ford F250 AC recharge boils down to three essentials: using the correct R-134a refrigerant, connecting to the low-pressure port on the passenger side, and charging slowly to 25 to 45 psi. Stop the moment cold air flows consistently. Overcharging is the most common DIY mistake and will make your AC blow hot air instead of cold.
If your compressor won’t engage or cooling doesn’t return after recharging, the problem goes beyond low freon. Major leaks, compressor failure, or moisture contamination require professional evacuation and repair. For everything else, this straightforward process restores comfort in under an hour and costs less than $30.
Your next step: Grab an R-134a recharge kit with a built-in gauge, locate your low-pressure port, and follow the steps above. Within an hour, you’ll have ice-cold AC and a truck cabin ready for any drive.


