

If your Ford F-150 rear defroster isn’t working, you’re not alone. This common issue affects multiple model years and often leaves drivers frustrated with a foggy or icy rear window, especially in cold weather. The problem may stem from something as simple as a dirty contact point or as serious as a failed defroster grid in the glass. Fortunately, most causes are diagnosable with basic tools and a systematic approach. In this guide, you’ll learn how to pinpoint the root cause, test electrical connections, and apply proven fixes, whether you’re under warranty or tackling the repair yourself.
Check Engine Running Status First
The rear defroster on your Ford F-150 will not activate unless the engine is running. Many owners mistakenly test the system with the key in “on” mode while the engine is off, leading to false failure reports. Before performing any diagnostics, turn the ignition and start the engine. Wait 5 to 10 seconds for the climate system to initialize, then press the rear defrost button and observe the dash indicator light. If the light still doesn’t come on, proceed to the next diagnostic steps. Skipping this check can lead to unnecessary fuse replacements or window removals.
Inspect Sliding Window Contact Points
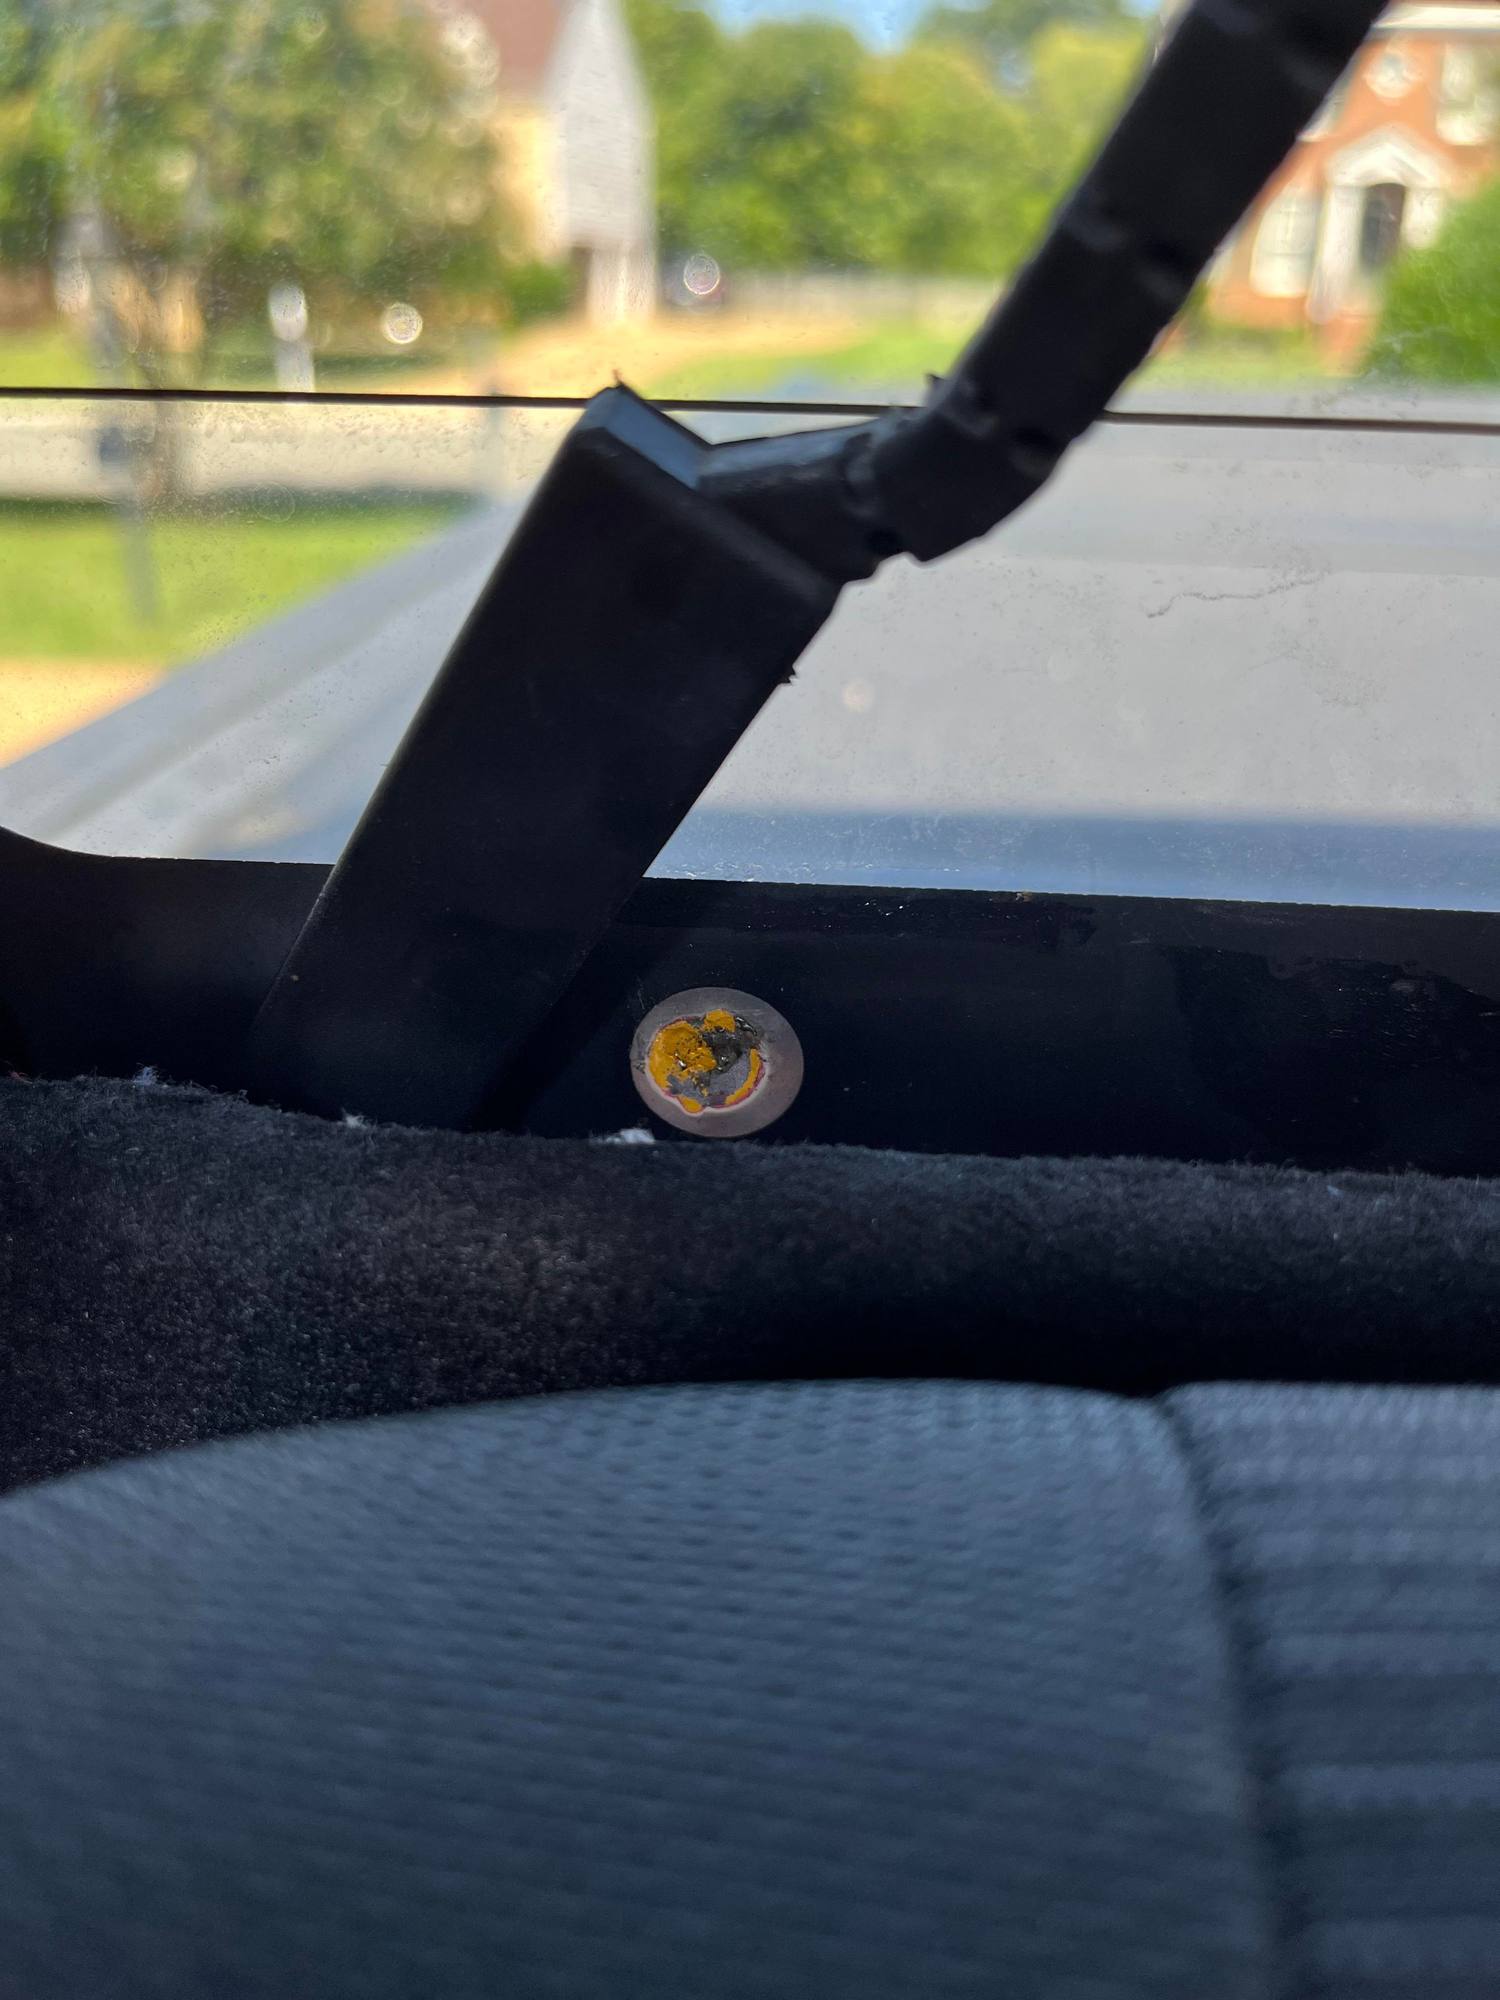
The most frequent cause of rear defroster failure is loss of electrical contact at the sliding rear window track. The defroster circuit runs through metal strips that connect the fixed glass to the sliding panel. Dirt, corrosion, or misalignment breaks the circuit. Watch for these clues: the defroster button light does not illuminate, the system works after re-closing the sliding window, or the heated mirrors may also fail since they share the circuit.
Step-by-Step Cleaning Procedure
- Lower the rear seatback for access, especially in SuperCrew models.
- Open the sliding window 2 to 3 inches to expose contact areas.
- Use compressed air at 100+ PSI to blow debris from track corners.
- spray electronic contact cleaner into top and bottom contact zones.
- Let the cleaner dwell for 2 to 3 minutes to dissolve oxidation.
- Repeat the cleaning process 2 to 3 times.
- Open and close the window several times to reseat contacts.
- Start the engine and test the defroster.
This fix resolves over 50% of no-power cases and takes less than 15 minutes.
Align Sliding Window Sensor Tab
A small sensor tab on the sliding window must align with a detection point to confirm the window is fully closed. If misaligned, the system assumes the window is open and disables the defroster. Symptoms include the window appearing closed but the defroster won’t activate, no indicator light on the dash, and this issue is common in new or recently serviced vehicles. To check, close the sliding window completely and inspect the side edge of the slider for a small plastic or metal tab. Ensure it aligns with the sensor housing on the fixed frame. Gently adjust the tab or slider position if visibly offset. If realignment fails, the entire sliding window assembly may need replacement, especially under warranty.
Test Fuse and Relay
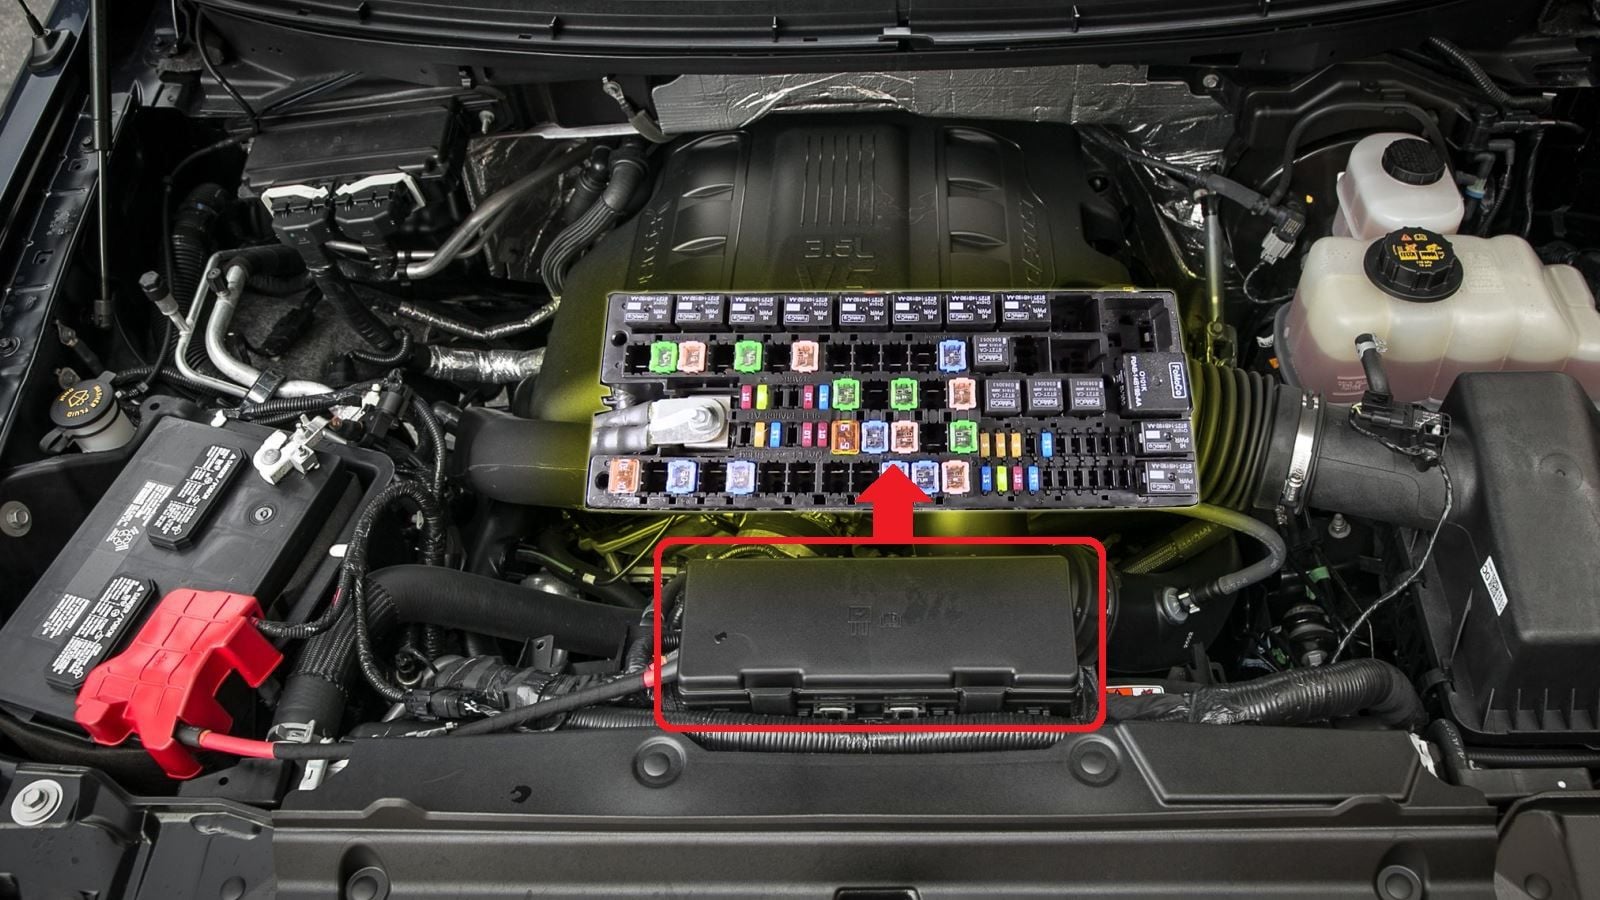
A blown fuse or failed relay cuts power to the entire rear defroster circuit. The key components include Fuse #32, a 15-amp fuse in the under-hood fuse box. The relay is located nearby, often labeled “rear window defrost.” You may also find an inline fuse behind the rear passenger seat, near a grey connector. To test, open the hood and locate the fuse box. Remove Fuse #32 and inspect for breakage. Use a multimeter to test continuity, since even intact fuses can fail internally. Swap the relay with a known good one, such as the horn relay. Check the rear seat area for an inline fuse in the wiring harness. Some owners report wiring damage behind the rear seat due to rodent activity or seat movement.
Check Voltage at Pin 20
The defroster receives its activation signal via Pin 20 in the driver’s kick panel connector, a grey 22-pin block near the door. The wire color is brown and blue. To test, locate the kick panel and remove the cover. Find the brown/blue wire at Pin 20. Set your multimeter to DC voltage. Start the engine and turn on the defroster. Probe Pin 20 for a 12V signal. If no voltage is present, the problem lies in the switch, BCM, or fuse circuit. If 12V is present, the signal is good and the fault is downstream, at the window, grid, or ground.
Perform Rear Window Jumper Test
A simple jumper test at the rear window confirms whether the defroster grid is faulty. Locate the two wires at the lower right corner of the rear window. Disconnect both wires from the glass terminals. Use a jumper wire to connect the two terminals together. Start the engine and activate the defroster. If the defroster light illuminates and the heated mirrors turn on but the rear window remains cold, this confirms the control circuit is functional and the defroster grid in the glass has failed. This test isolates whether the issue is in the glass itself or elsewhere in the system.
Inspect Defroster Grid for Damage
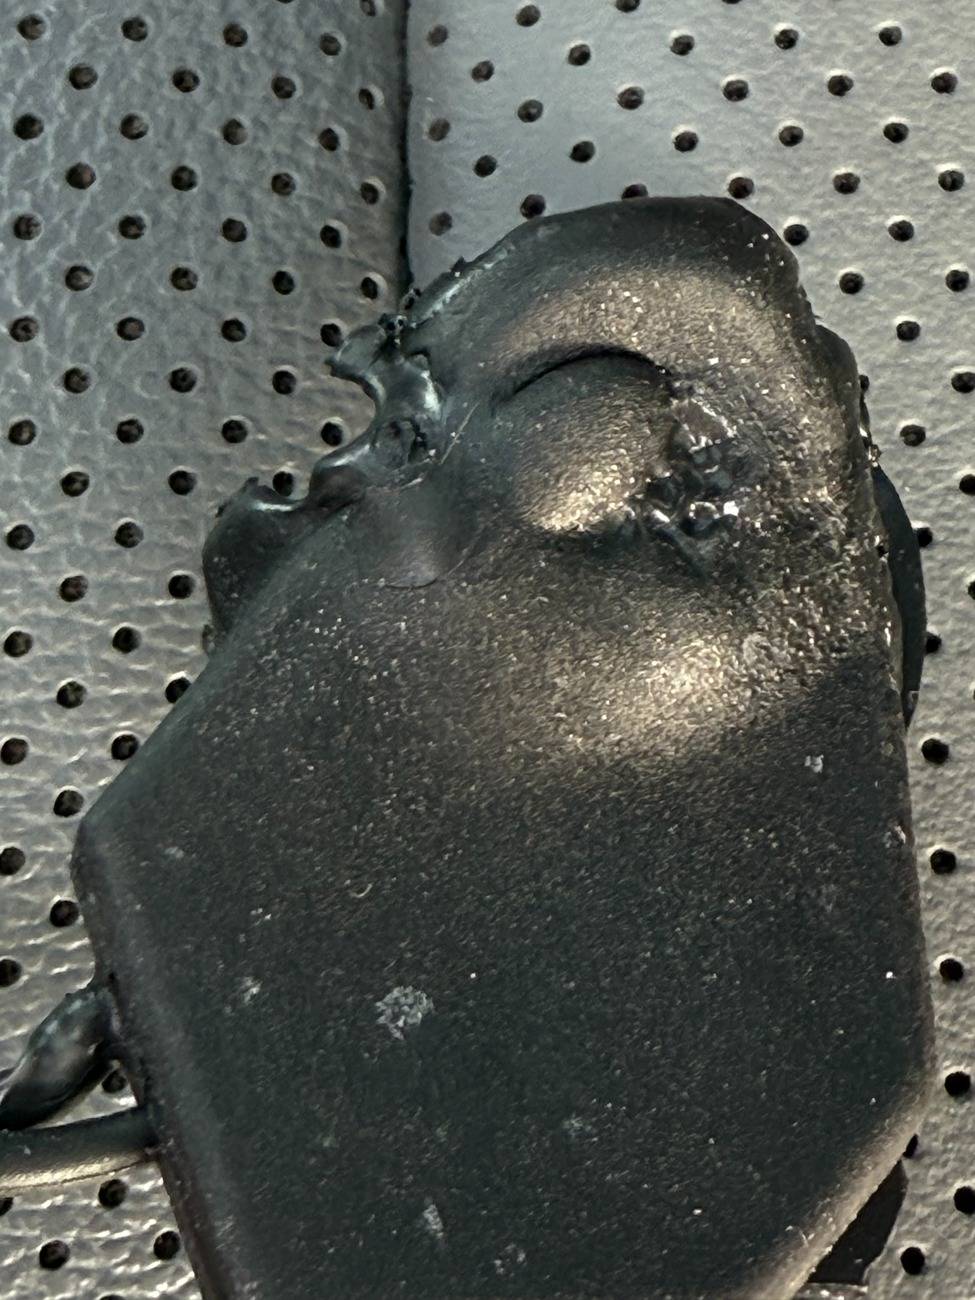
The thin conductive lines in the rear glass can develop breaks due to age, scratches, or thermal stress. To inspect, turn off lights and shine a flashlight at an angle across the glass. Look for gaps, discoloration, or dark spots in the grid lines. Focus on edges and corners, which are common failure zones. Use a multimeter to test continuity between vertical lines. Signs of grid failure include only one side heating, no heat despite button illumination, or burn marks or bubbling near terminals. Minor breaks can be repaired, but major damage requires window replacement.
Repair Minor Grid Breaks with Conductive Paint
For minor grid damage, silver conductive paint can restore continuity. Clean the area around the break with isopropyl alcohol. Apply conductive paint with a fine brush, bridging the gap completely so the paint touches both sides of the break. Let it dry for 15 to 30 minutes. Test continuity with a multimeter. Activate the defroster and verify heat output. This method is not effective for internal shorts or large fractures. While not a permanent fix, it can extend the life of the window and delay costly replacement.
Replace Rear Window Assembly
When the defroster grid is dead or the sliding mechanism is faulty, OEM window replacement is the only reliable solution. The entire rear sliding window unit is replaced, requiring interior trim removal and electrical disconnection. Calibration may be needed for power operation. Cost considerations include free replacement under warranty, which is a common claim. Out of warranty, expect to pay $500 to $900 for parts and labor. Aftermarket options are limited due to integrated electronics. Always insist on diagnostic verification before approving this expense.
Install Jumper Bypass to Preserve Mirror Heat
Due to risks of glass shattering from thermal stress, some owners disable the rear defroster permanently while keeping heated mirrors active. This prevents sudden window failure in cold weather, maintains mirror defrost function which is critical for visibility, and avoids $700 or more in replacement costs. Parts needed include 14-gauge wire, two spade connectors, heat-shrink tubing, and a wire cutter/stripper. To install, lower the rear seats and remove side trim. Locate the grey harness behind the passenger seat. Unplug the factory connector. Install a jumper wire between the two terminals. Secure with heat-shrink tubing. Reconnect and test. The result is the defroster light stays on, mirrors heat, but the rear window stays cold.
Prevent Thermal Stress Cracks
Rapid heating of a cold rear window can cause thermal stress cracks, sometimes leading to full shattering. Risk factors include using the defroster immediately after cold startup, ice buildup scraped with metal tools, and pre-existing microfractures. To prevent this, let the truck warm up for 5 to 10 minutes before using the defroster. Use de-icer spray instead of scraping. Never apply hot water to cold glass. Consider bypassing the system if you rarely use the feature.
Quick Reference Guide
| Symptom | Likely Cause | Action |
|---|---|---|
| No light, no heat | Fuse, wiring, or sliding window contact | Clean contacts, test fuse #32 |
| Light on, no rear heat | Failed defroster grid | Jumper test, replace glass |
| Works after re-closing slider | Dirty or misaligned contacts | Clean track, realign sensor |
| Mirrors heat, no light | Failed switch or signal loss | Test Pin 20 voltage |
| Only one side heats | Partial grid break | Inspect, use conductive paint |
| Intermittent function | Loose connection or failing grid | Check harness, test continuity |
Frequently Asked Questions About Ford F150 Rear Defroster Issues
Why does my Ford F-150 rear defroster only work when the engine is running?
The rear defroster system is designed to activate only when the engine is running. This is a built-in safety feature. Many owners test the system with the key in “on” mode while the engine is off, which leads them to believe the defroster is broken. Always start the engine before testing the rear defroster function.
Can dirty sliding window contacts really cause the defroster to stop working?
Yes, this is the most common cause. The rear defroster circuit runs through metal contact strips at the sliding window track. When these contacts become dirty, corroded, or misaligned, the circuit opens and the system disables. Cleaning the contacts with electronic contact cleaner resolves over 50% of no-power cases.
How do I know if my defroster grid is failed versus an electrical problem?
Perform the jumper test at the lower right corner of the rear window. Disconnect both wires and jump them together. If the defroster light illuminates and mirrors heat but the window stays cold, the grid has failed. If nothing lights up, the problem is upstream in the electrical circuit.
Is it safe to bypass the rear defroster to prevent glass shattering?
Many owners safely bypass the rear defroster while preserving mirror heat function. This involves installing a jumper wire at the connector behind the rear passenger seat. This prevents thermal stress cracks while maintaining critical mirror defrost capability. The procedure uses basic tools and takes under an hour.
Will my warranty cover rear window replacement for defroster failure?
Yes, rear window replacement is a common warranty claim for this issue. Ford dealers typically replace the entire sliding window assembly under factory warranty. Document all diagnostic visits and dealer interactions. Out of warranty, expect to pay $500 to $900 for replacement.
Can I use conductive paint to repair my defroster grid?
Conductive paint can repair minor, surface-level breaks in the defroster grid. Clean the area first, apply the paint to bridge the gap completely, and let it dry for 15 to 30 minutes. This is not effective for internal shorts or large fractures. It serves as a temporary fix to extend window life rather than a permanent solution.
Key Takeaways for Fixing Your Ford F-150 Rear Defroster
The Ford F-150 rear defroster not working issue is often solvable without major repairs. Start with sliding window contact cleaning, which resolves the majority of cases. Verify fuse and relay function using the under-hood Fuse #32 and the inline fuse behind the rear passenger seat. Use voltage and jumper tests to isolate whether the fault is in the control circuit or the glass grid itself. Leverage warranty coverage when possible, as window replacement is a standard covered repair. Consider a jumper bypass if you prioritize mirror heating over rear window defrost, especially in moderate climates where rear defroster use is infrequent. With the right diagnostic approach, you can restore visibility and avoid unnecessary costs.


