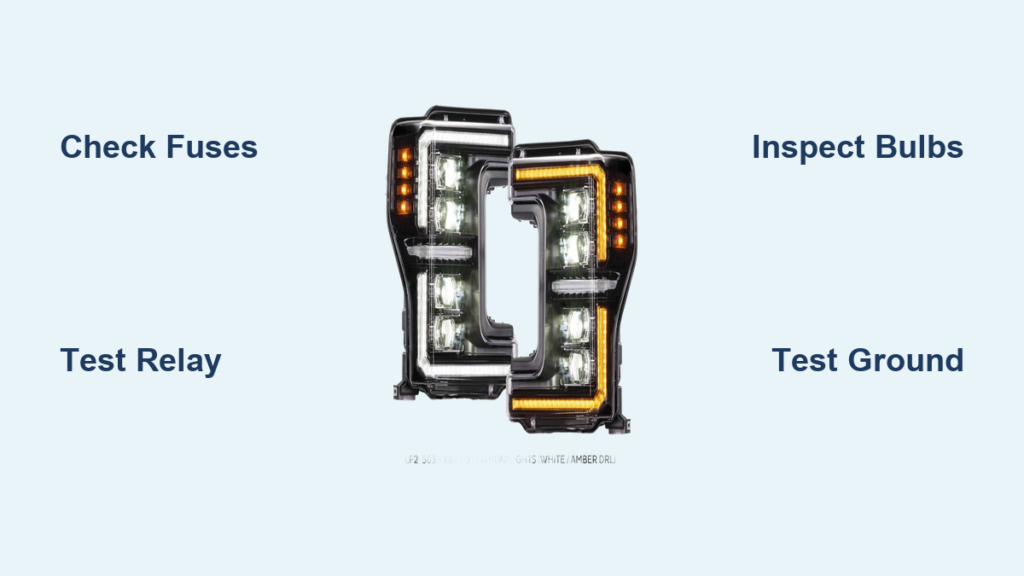
Driving your F350 at night becomes dangerous the moment your headlights stop working. Whether one side is dark or both beams have failed completely, you face immediate safety risks and the threat of a traffic citation. Most F350 headlight failures stem from simple electrical faults that you can diagnose and repair yourself quickly.
This guide walks you through checking fuses, testing relays, and inspecting bulbs to restore your vision on the road. You will learn specific steps to identify blown components and fix wiring issues without needing a professional mechanic. By following these instructions, you can get your F350 lights back on track in under an hour.
Check Headlight Fuses First
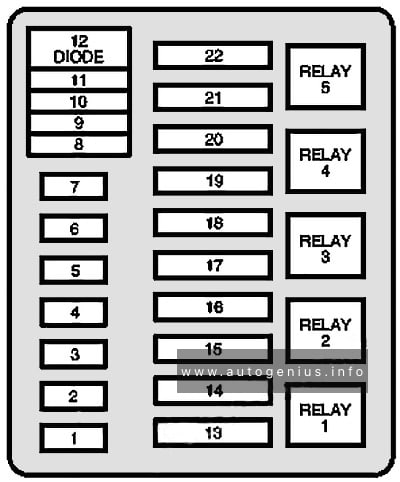
Blown fuses represent the most frequent cause of sudden light loss in Ford trucks. When a fuse fails, it instantly cuts electrical power to the entire headlight circuit to protect the wiring. You must check both the under-hood fuse box and the interior panel to locate the issue.
Locate the Correct Fuse Box Position
Open the black fuse box located near the battery in your engine bay. You should also inspect the smaller panel found below the steering wheel inside the cab. Both locations contain fuses dedicated to your lighting system. Use the diagram on the fuse box lid or your owner’s manual to find slots labeled “HEADLAMP” or “HL.”
Inspect for Blown Fuses
Remove the suspected fuse using the plastic puller tool stored in the fuse box. Examine the thin metal strip inside the clear plastic housing closely. If the strip is broken or the interior looks blackened, the fuse has blown. Replace it immediately with a new one matching the exact amperage rating.
- Use only 10A, 15A, or 20A fuses as specified.
- Never install a higher-rated fuse to avoid wire damage.
- Keep a spare fuse kit in your glove box for emergencies.
Test the Headlight Relay
The headlight relay functions as a heavy-duty switch that sends power to your lights when you turn the knob. A failed relay prevents any signal from reaching the headlights even if your fuses are intact. This small black cube is a common failure point in older F350 models.
Find the Relay in the Fuse Panel
Look inside the engine bay fuse box for a small black cube labeled “HEADLAMP” or “H/L.” These relays usually sit in rows alongside the fuses. You can test the component by swapping it with a matching relay from a non-critical system like the horn or fog lights.
Confirm Relay Operation
Turn your headlight switch to the on position while listening carefully. You should hear a distinct click coming from the relay if it is activating properly. No clicking sound suggests the relay is dead or not receiving input power. Replace the unit with a new one costing under twenty dollars and retest the system.
- A clicking relay with no light indicates a wiring fault.
- Non-clicking relays usually need simple replacement.
- Always verify the swap part matches the original specs.
Examine the Bulbs and Sockets

Power may flow freely through your truck, yet a failed bulb or damaged socket keeps you in the dark. Physical inspection of the light sources is essential when electrical checks pass. Moisture and vibration often cause premature bulb failure in heavy-duty trucks.
Remove and Inspect Headlight Bulbs
Open your hood and reach behind each headlight assembly to access the socket. Twist the bulb socket counterclockwise to release it from the housing. Pull the old bulb out by its plastic base and avoid touching the glass with bare fingers.
- Look for darkened glass indicating filament failure.
- Check for melted bases caused by overheating.
- Inspect for broken filaments visible inside the glass.
Check Socket for Damage and Corrosion
Inspect the plastic socket holding the bulb for signs of cracking or melting. Push the metal connector pins gently to ensure they are not loose or bent out of shape. Clean any green or white corrosion using electrical contact cleaner and a small brush.
- Wiggling the bulb can temporarily restore a dirty connection.
- Replace cracked sockets to prevent moisture intrusion.
- Ensure pins make firm contact with the bulb base.
Diagnose Wiring and Ground Issues
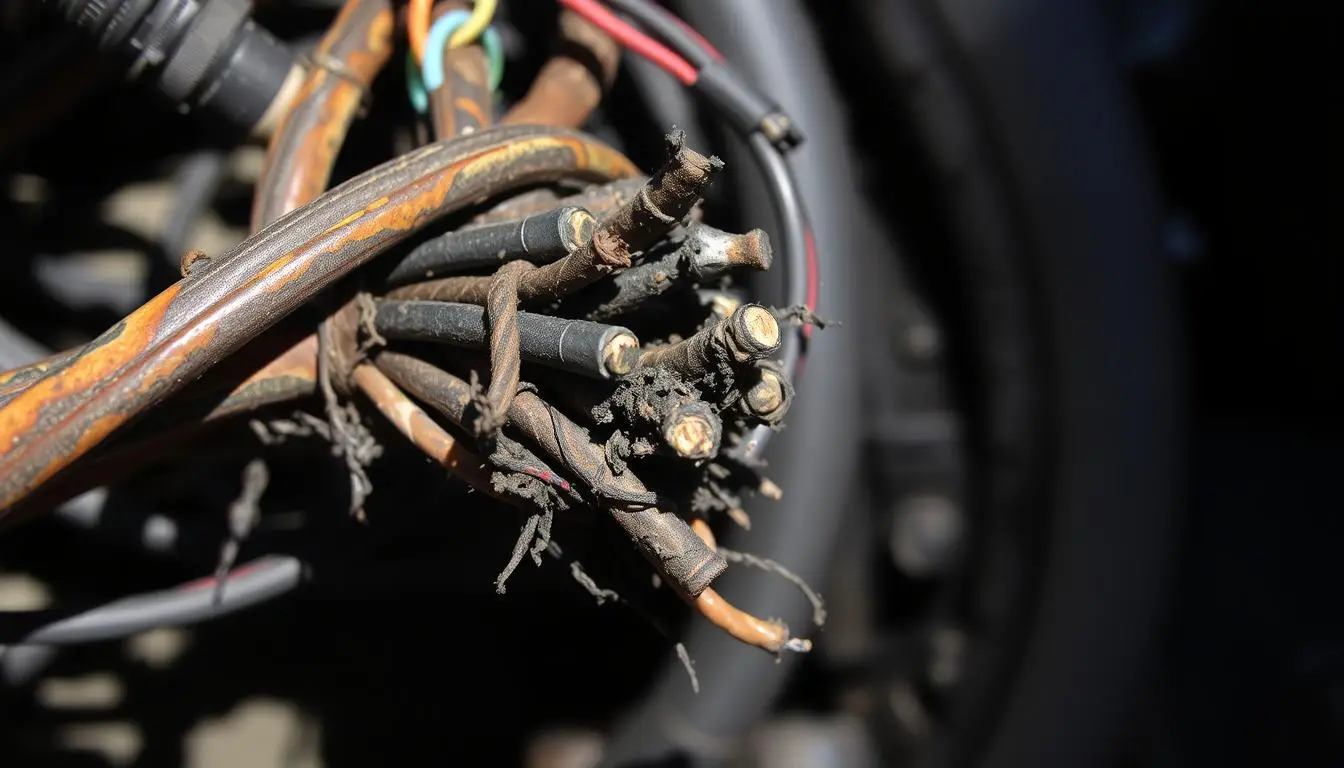
Faulty wiring or poor grounding causes many persistent headlight problems in older F350s. Moisture and road vibration degrade wires over time, leading to intermittent or total failure. You must trace the electrical path from the battery to the headlights to find breaks.
Trace Wiring from Battery to Headlights
Follow the wiring harness running from the fuse box to each headlight assembly. Look closely for cuts, frayed wires, or melted insulation along the path. Rodents frequently chew through wires in the engine bay near the radiator support.
- Use a multimeter to test wire continuity.
- Set the meter to ohms and disconnect both wire ends.
- Infinite resistance indicates a complete break in the line.
Test Ground Connection Points
Ground wires connect the headlight circuit directly to the truck chassis for completion. On the F350, these are typically black wires bolted to the frame or radiator core support. Rust or paint often blocks proper electrical contact at these points.
- Loosen the bolt and remove the connector completely.
- Clean the metal surface with sandpaper until shiny.
- Reattach the wire securely and retest your lights.
Inspect the Multifunction Switch
The turn signal and dimmer switch on your steering column controls headlight activation. Internal contacts within this switch wear out over years of use. Worn contacts can cut power completely even when all other components function correctly.
Test for Power at the Switch
Use a test light or multimeter to verify voltage reaches the switch when the key is on. Connect the ground clip to clean metal on the frame. Probe the incoming power wire, which is usually red or red with a white stripe. You should see 12 volts on your meter.
Check Output When Headlights Are On
Turn the headlight knob and test the output wire, often green or blue. If the input side has power but the output side does not, the switch is faulty. Replacing this switch requires removing the steering wheel and airbag module.
- Consider professional help if you lack airbag experience.
- Faulty switches often affect high beams first.
- Replacement parts vary by F350 model year.
Use a Multimeter for Live Testing
A multimeter provides precise data for diagnosing electrical issues beyond simple visual checks. This tool helps you measure voltage drops and identify exactly where power is lost. Proper setup ensures accurate readings and safe testing procedures.
Set Up the Multimeter Correctly
Turn the dial on your multimeter to the DC voltage setting, usually 20V. Touch the black probe to clean metal on the frame for a ground reference. Use the red probe to test various terminals in the headlight circuit.
- Battery voltage should read 12.6V with the engine off.
- Running voltage should be between 13.5V and 14.5V.
- Low system voltage affects overall lighting performance.
Test Power at Key Points
Check voltage at the fuse output side and relay power terminals. Measure the pins at the headlight connector and your ground connections. Ground points should read 0 volts when measured against the battery negative.
- Power drops between points reveal the fault location.
- Back-probe connectors with paper clips for easy testing.
- Document voltage readings at each step for reference.
Swap Components to Confirm Faults
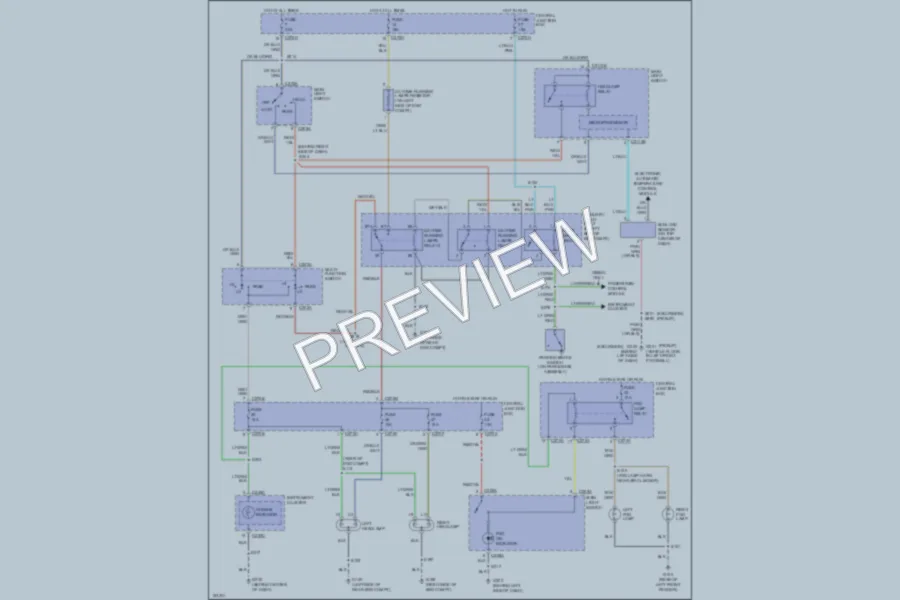
Swapping parts with known-good equivalents is the fastest way to confirm a failure. This method eliminates guesswork when visual inspection proves inconclusive. Always use caution when swapping electrical components to avoid damage.
Test with Known-Good Bulbs
Install new bulbs even if the old ones appear physically intact. Halogen bulbs can fail internally without visible damage to the glass. Use OEM-spec replacements like 9007 or H13 depending on your specific model year.
Try a New Relay or Fuse
Replace fuses and relays even if they look fine externally. Internal failures occur frequently in these small components. Swap in a relay from a non-critical system like the horn to verify operation.
- Never bypass a fuse or relay to test the system.
- Bypassing components creates a serious fire hazard.
- Use only exact replacements for safety and reliability.
Prevent Future Headlight Failures
Take proactive steps to avoid repeat headlight issues after fixing your current problem. Regular maintenance extends the life of your electrical system significantly. Simple habits keep your F350 visible and safe on the road.
Clean Connectors Regularly
Moisture and dirt build up on electrical connections over time. Disconnect your headlight plugs every six months to inspect them. Apply dielectric grease to the contacts to prevent future corrosion.
Upgrade to Sealed Wiring Kits
Aftermarket harness kits reduce voltage drop and protect against moisture intrusion. These upgrades are especially useful if you have installed LED or HID bulbs. New wiring ensures consistent power delivery to your headlights.
- Install relay-driven upgrades for better reliability.
- Direct battery power reduces load on old switches.
- Upgraded systems improve overall brightness and safety.
Frequently Asked Questions About F350 Headlights
Why are both my F350 headlights out at the same time?
Both lights failing simultaneously usually points to a blown fuse, bad relay, or faulty multifunction switch. These components control power for the entire headlight system rather than individual sides. Check your main headlight fuse first as it is the most common culprit.
How do I know if my headlight relay is bad?
A bad relay often fails to click when you turn on the headlights. You can swap the headlight relay with the horn relay to test if the problem moves. If the lights work with the swapped relay, your original unit is defective.
Can a bad ground cause headlight problems?
Yes, a poor ground connection frequently causes dim, flickering, or completely non-functional headlights. The circuit cannot complete without a solid connection to the chassis. Clean any rust or paint from ground points to restore proper function.
What bulb type does my F350 need?
Bulb types vary by model year, with common sizes being 9007, 9004, or H13. Check your owner’s manual or the label on your current bulb housing for the correct specification. Using the wrong bulb can cause fitting issues or electrical problems.
Should I upgrade to LED headlights on my F350?
LED upgrades offer brighter light and longer life but may require additional wiring harnesses. Ensure your truck’s electrical system can handle the upgrade without causing errors. Many owners find relay-driven kits provide the best performance improvement.
Key Takeaways for Fixing F350 Headlights Not Working
Restoring your F350 headlights often requires nothing more than replacing a cheap fuse or relay. Systematic testing of bulbs, grounds, and switches helps you pinpoint the exact failure quickly. Regular cleaning of connectors prevents future corrosion and keeps your electrical system reliable.
Start your diagnosis with the simplest components before moving to complex wiring checks. Keep spare fuses and a basic multimeter in your truck for roadside emergencies. Your safety depends on maintaining fully functional lighting for night driving conditions.