
Is your Ford F-150’s AC blowing warm air? You’re not alone. A weak or failed air conditioning system is one of the most common comfort complaints among truck owners, especially during summer. The good news: if your system just needs a refrigerant recharge, you can often fix it yourself in under an hour. This guide shows you exactly how to charge F150 AC safely and effectively, whether you drive a 2004 V8 or a 2017 EcoBoost.
But here is what matters most: you must know your refrigerant type first. Charging the wrong system can destroy your compressor or cost hundreds in repairs. We will walk you through identifying R134a versus R1234yf, locating the service port, using the right tools, avoiding overcharge damage, and deciding when to DIY versus call a pro.
Confirm Your F150 Uses R134a
Check the Under-Hood AC Label
Before touching any tools, verify your truck uses R134a refrigerant. Open the hood and look for a white or yellow label near the radiator support, firewall, or strut tower. It will clearly state “Refrigerant: R134a.”
This applies to F-150 models from 1999 to 2018. If your truck is 2019 or newer, the label will say “R1234yf,” a different, non-interchangeable refrigerant requiring professional equipment.
Never use R134a kits on R1234yf systems. The ports are physically incompatible. Forcing a connection risks contamination and $1,000 or more in repairs.
Why R1234yf Cannot Be DIY Charged
Ford switched to R1234yf in 2019 due to EPA environmental rules. This refrigerant has a lower global warming potential but comes with major DIY limitations:
• Specialized recovery machines required by law
• No consumer recharge kits available
• Dealership-only service in most cases, costing $200 to $400 or more
If your truck says R1234yf, skip the can at the auto parts store. You will need a certified technician with EPA 609 certification to recharge it properly.
Find the Low-Pressure Service Port

Identify the Correct Port
Your F-150 has two AC service ports. Only one is for recharging:
• Low-pressure port (suction side): Smaller diameter, used for DIY charging
• High-pressure port (discharge side): Larger, never used with consumer kits
The low-side port is typically black, blue, or gray. It may be marked with “L” or “Low” but not always. It is located on the larger refrigerant line (suction hose).
The recharge hose from your kit will only fit the low-pressure port. If it does not snap on easily, you are at the wrong port.
Model-Specific Port Locations
| Year Range | Location | Access Tips |
|---|---|---|
| 1999–2002 | Driver’s side near firewall | Two ports visible; smaller one is correct |
| 2003–2008 | Passenger side near firewall | May be blocked by dryer cylinder or fuse box. Remove two bolts from dryer to tilt it aside |
| 2009–2012 | Passenger side, near accumulator | On low-pressure line between compressor and evaporator |
| 2013–2018 | Passenger side, firewall area | Usually clear and easy to reach |
Use a flashlight. Some models require removing a fuse box cover or bracket. Never force wires or hoses. Work gently.
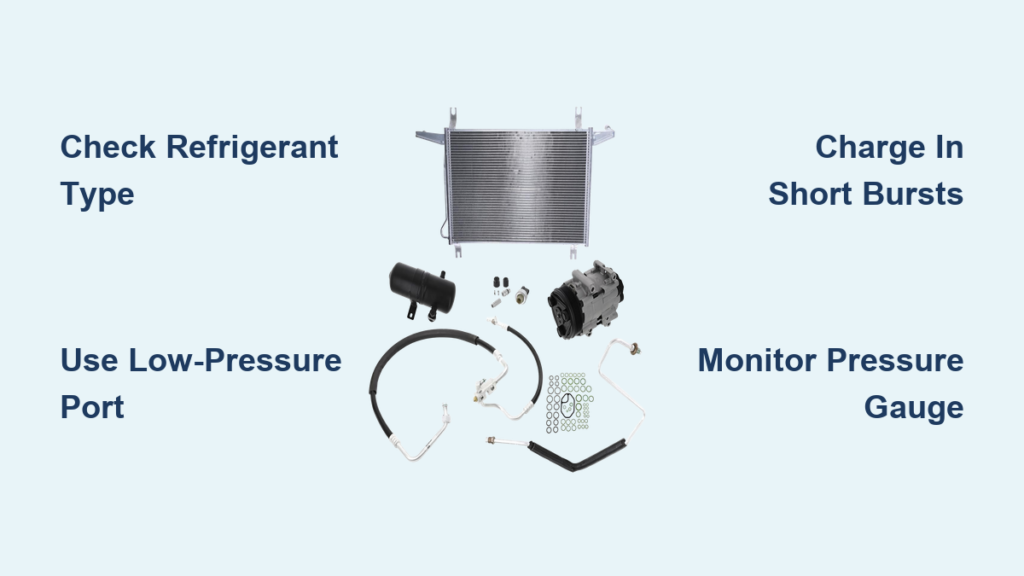
Gather the Right Tools
Must-Have Equipment for R134a Recharge
You do not need a full shop setup, but these tools ensure safety and accuracy:
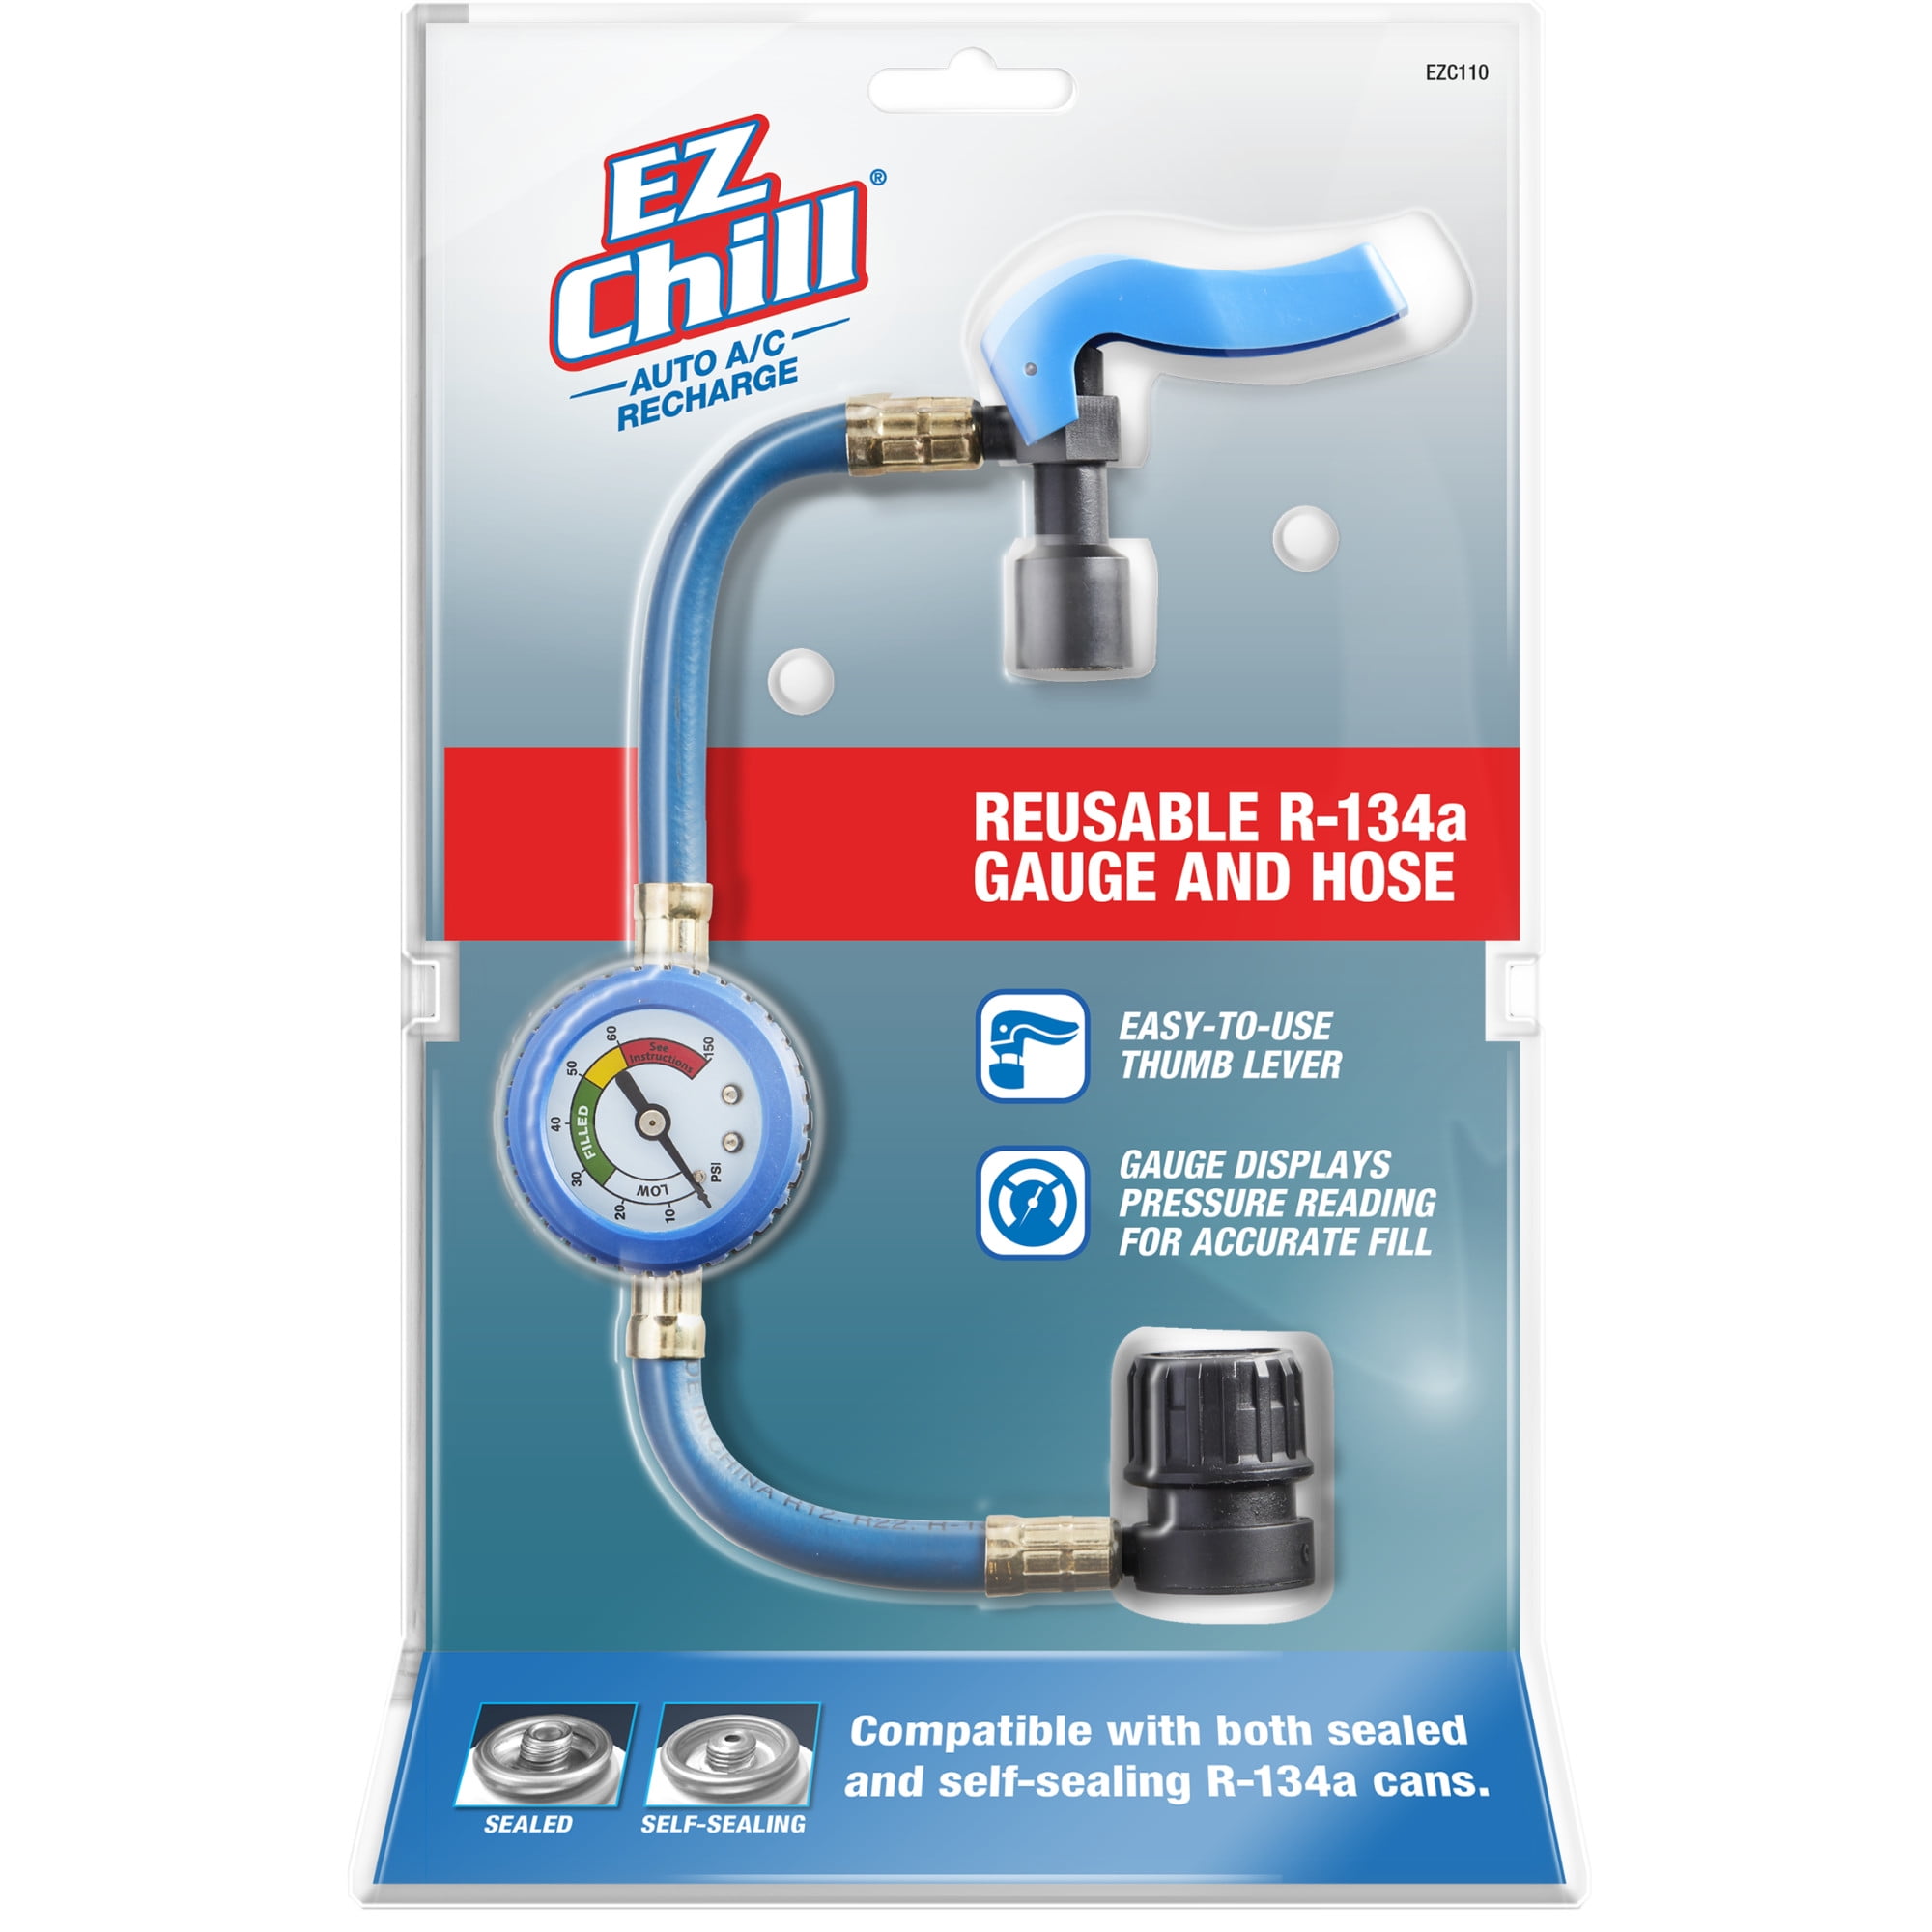
• AC recharge kit with gauge: Avoid no-gauge kits; they lead to overcharging
• R134a refrigerant cans (12–18 oz): Buy multiple; older trucks need two to three cans
• Protective gloves and safety glasses: Prevents frostbite from refrigerant spray
• Flashlight: Essential for tight engine bays
Recommended kit: AC Pro Cold (black can with built-in gauge). It has a reusable hose, accurate pressure reading, and no sealants.
Optional but Helpful
• Socket wrench set: For removing bolts blocking access
• Vent thermometer: Measures cooling performance in real time
• Reusable manifold gauge hose (about $25): Saves money long-term
Avoid kits with stop leak additives. They clog expansion valves and ruin compressors. Mechanics universally warn against them.
Prepare the System for Charging
Set Climate Controls Correctly
Before connecting anything, prepare the AC system:
- Park in a well-ventilated area
- Start the engine and let it idle
- Set controls to:
• Temperature: Coldest (blue setting)
• Fan Speed: Highest (Level 5)
• Air Mode: Recirculation (MAX AC) - Let run for two to three minutes to engage compressor clutch
The compressor must be running for refrigerant to enter the system. If the clutch does not engage, the system may be too low on refrigerant, or there is a deeper issue.
Attach the Recharge Hose
- Remove the cap from the low-pressure port
- Do not puncture the can yet
- Connect the hose to the port. Push or thread until it clicks
- Screw the refrigerant can onto the hose end
A hissing sound means a leak. Disconnect and reseat the fitting.
Charge the AC System Properly
Start Adding Refrigerant
- Puncture the can: Turn the hose knob all the way in
- Invert the can: Turn it upside down to release liquid refrigerant (faster charge). Or keep upright for slower vapor charge (safer for beginners)
- Release in short bursts: 10 to 15 seconds on, 60 to 90 seconds off
- Shake the can gently during discharge for even mixing
Why short bursts? It lets the system stabilize. Charging too fast risks liquid slugging and compressor damage.
Monitor Pressure and Temperature
Use both tools for best results:
• Gauge reading: Target 40 to 55 psi on low side. Green or yellow zone means safe. Red zone means overcharged—stop immediately.
• Vent thermometer: Aim for 35 to 45°F airflow. Ambient temperature affects the starting point. For example, 85°F outside means expect around 40°F vent temperature.
Success signal: Pressure stabilizes around 40 psi, and vent temperature drops 25 to 30°F from ambient.
Add More Refrigerant If Needed
When to Use a Second Can
If cooling is not sufficient after the first can:
- Turn knob all the way in to seal the can
- Disconnect hose
- Attach new can and repeat process
Typical charge: Older F-150s hold 24 to 36 oz (1.5 to 2.25 lbs). Most DIY cans are only 12 to 18 oz, so one can is rarely enough.
Stop if pressure exceeds 55 psi or vent temperature stops improving. Overcharging reduces efficiency and can destroy the compressor.
Finish the Recharge Safely
Final Steps
Once target pressure and cooling are reached:
- Turn off engine
- Turn hose knob all the way in to seal the can
- Disconnect hose from port
- Reinstall protective cap on the low-pressure port
- Reassemble any removed components (dryer, fuse box, etc.)
- Dispose of empty cans at an auto parts store or recycling center. Never puncture or incinerate them.
EPA rule: Never vent refrigerant into the air. It is illegal under Section 608 and harms the environment.
Avoid Dangerous Mistakes
Never Overcharge the System
More refrigerant does not mean better cooling. Overcharging causes:
• High head pressure
• Liquid refrigerant entering compressor (liquid slugging)
• Compressor failure (you cannot compress liquid)
Mechanic warning: You cannot compress a liquid. That is how compressors die.
Skip the Stop Leak Additives
Despite what labels claim, stop leak products cause more harm than good:
• Clog expansion valves and orifice tubes
• Leave up to 20% inert residue in the system
• Make future repairs harder and costlier
Now 20% of your system’s capacity is used up with stop leak that does not do anything anyway.
Know When to Call a Pro
Signs You Need Professional Service
DIY recharging only works for minor refrigerant loss. If you see these issues, seek expert help:
• Refrigerant leaks back out in weeks
• Compressor makes grinding or squealing noises
• Clutch does not engage at all
• System will not hold pressure
• Truck is 2019 or newer (R1234yf)
Being cheap with AC is shooting yourself in the foot.
Professional Versus DIY: What Is Best?
| Factor | DIY Recharge | Professional Service |
|---|---|---|
| Cost | $10–$50 | $100–$250 |
| Accuracy | Estimate-based | Weight-precise |
| Moisture Removal | No | Vacuum pump used |
| Leak Detection | None | UV dye plus blacklight |
| Longevity | Temporary | Permanent |
| R1234yf Support | No | Yes |
Best use case for DIY: 2008 F-150 losing cooling slowly, no major leaks, just needs a top-off.
When to go pro: Any recurring issue, noise, or post-2018 model.
Test Cooling Performance
Measure Vent Temperature
Place a thermometer in the center dash vent:
• Pre-charge: Likely near ambient (80 to 85°F)
• Post-charge goal: Below 45°F, ideally 35 to 40°F
Real-world result: One 2003 F-150 owner saw vent temperature drop from 80°F to 51°F, a major improvement with one can.
Note: It may take five to 10 minutes of driving for full cooling to stabilize.
Prevent Future AC Problems
Maintenance Tips
• Inspect hoses and connections annually for oil stains (sign of leaks)
• Replace cabin air filter every 12,000 to 15,000 miles (clogged filters reduce airflow)
• Run AC monthly, even in winter, to keep seals lubricated
• Use UV dye during recharge to catch future leaks early
Shine a blacklight under the hood if cooling drops again. Dye will glow at leak points.
Key Takeaways for Charging Your F150 AC
Charging your F-150’s AC can be a quick, affordable fix if done right. For 1999 to 2018 models, a proper R134a recharge with a gauge can restore strong cooling in under an hour. But for 2019 and newer trucks, or any sign of leaks or compressor trouble, professional service is the only safe choice.
Remember these critical points:
• Always verify your refrigerant type first (R134a versus R1234yf)
• Use only the low-pressure port; the high-pressure port will never fit your recharge hose
• Charge slowly in short bursts, monitoring pressure between additions
• Target 40 to 55 psi on the gauge and aim for 35 to 45°F vent temperature
• Never overcharge; more refrigerant does not mean better cooling
• Skip stop leak additives—they cause more damage than they fix
• If cooling fails again after your recharge, there is a leak that needs professional diagnosis
Do not risk $1,000 in repairs to save $50. When in doubt, trust a certified technician.
Frequently Asked Questions About Charging F150 AC
How do I know if my F-150 needs an AC recharge?
If your AC blows warm or only slightly cool air, especially at idle, your system is likely low on refrigerant. Check the vent temperature with a thermometer. If it reads near ambient temperature (like 80°F on a hot day), a recharge will probably help.
Can I use any R134a recharge kit on my F-150?
Use only kits with a pressure gauge. Avoid no-gauge kits and anything containing stop leak additives. The gauge helps you avoid overcharging, which causes compressor damage. AC Pro Cold and similar quality kits work well for F-150 applications.
How much refrigerant does an F-150 hold?
Most 1999 to 2018 F-150s hold 24 to 36 oz (1.5 to 2.25 lbs) of R134a. Since most DIY cans contain only 12 to 18 oz, you will likely need two cans for a full recharge. Do not rely on the can being empty—watch the gauge instead.
What happens if I overcharge my AC system?
Overcharging causes high head pressure and liquid slugging, where liquid refrigerant enters the compressor. Since compressors cannot compress liquid, this destroys the compressor internally. Stop immediately if the gauge enters the red zone (above 55 to 60 psi).
Why does my AC blow cool but not cold after recharging?
This usually means either the system is still undercharged (add more refrigerant slowly) or there is a leak that is draining the refrigerant. If cooling improves temporarily but fades within weeks, you have a leak that needs professional diagnosis with UV dye.
Can I recharge my 2020 F-150 myself?
No. 2019 and newer F-150s use R1234yf refrigerant, which is incompatible with consumer-grade R134a recharge kits. The ports are physically different, and professional equipment is required. You must visit a dealership or certified shop for R1234yf service.


