
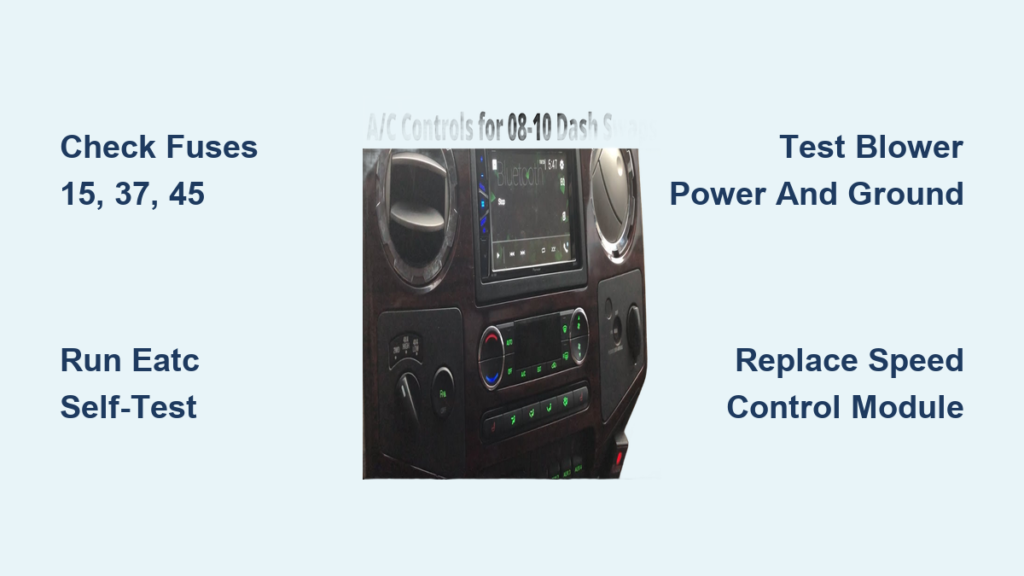
If your 2008 Ford F-250’s climate control isn’t working, especially if the blower fan won’t turn on, you’re not alone. This is a common issue in Super Duty trucks, and the root cause is usually the blower motor speed control module rather than the blower motor itself. The good news is that you can diagnose and often fix this problem yourself with the right procedures.
This guide walks you through the factory-approved diagnostic steps to reset your climate control system, retrieve error codes, perform electrical tests, and determine exactly which part needs replacement. You’ll learn how to avoid replacing good parts and save hundreds in repair costs.
Decode Climate Control Symptoms
Fan Not Blowing on Any Setting
When the blower fan fails to operate across all speeds, the most likely culprits are the blower motor speed control module, blown fuses, or a wiring fault. This symptom often appears suddenly and affects both high and low fan settings. The HVAC display may appear normal, but no air moves through the vents.
Before diving into complex diagnostics, check these components first:
– Fuses 15, 37, and 45
– Relay #1
– Breaker #24 (40A)
If all fuses and relays are intact, proceed to the diagnostic tests below. A blower motor that only works when directly powered confirms the motor is good, and the issue lies elsewhere in the control circuit.
Knocking or Ticking Noise from Dash
A rhythmic ticking, clicking, or knocking sound from behind the dashboard points to a failing blend door actuator. These plastic gears strip over time, causing noise and incorrect temperature mixing. During the EATC self-test, listen carefully. If the noise occurs as the system cycles through modes, the actuator is likely binding or damaged.
All LEDs Stay Lit After Startup
Seeing all display segments illuminated is not a failure. It’s part of the On-Demand Self-Test cycle. When initiated correctly, the EATC runs a 20-second diagnostic where a flashing blower icon appears first, then all LEDs light up and stay on. This is normal behavior during testing.
Run the EATC On-Demand Self-Test
Enter Diagnostic Mode Correctly
To access real-time fault codes, run the EATC On-Demand Self-Test. This checks for hard faults, which are active problems occurring right now.
Steps:
1. Turn the ignition to ON (do not start the engine)
2. Ensure the HVAC system is OFF
3. Press and hold the OFF and DEFROST buttons
4. Release both buttons
5. Within 2 seconds, press the AUTO button
Success means the display shows a flashing blower icon for about 20 seconds. If nothing happens, recheck your timing. Many users press AUTO too late or hold it too long.
Read Hard Fault DTCs
After the 20-second cycle completes:
– If no faults exist, the system returns to normal operation
– If faults are present, Diagnostic Trouble Codes appear on the screen
Common codes include:
– U0100: Loss of communication with a module
– P1000: PCM readiness incomplete (often after battery disconnect)
Note that this test only shows current faults. It does not retain historical data. For past or intermittent issues, run the Continuous DTC retrieval next.
Retrieve Continuous DTCs for Intermittent Issues
Capture Stored Error Codes
Intermittent problems like a fan that works sometimes won’t always trigger hard faults. Use the Continuous DTC retrieval to find stored historical codes.
Steps:
1. Ignition ON, HVAC system ready
2. Press and hold OFF and DEFROST
3. Release both buttons
4. Within 2 seconds, press RECIRC (Recirculate)
The display shows any stored continuous DTCs. These codes disappear once you exit self-test mode, so write them down immediately.
Interpret Stored Codes
A reappearing U0100 suggests intermittent wiring or poor connector contact. No codes at all still points to power, ground, or control signal failure. Continuous codes help confirm intermittent opens or shorts in the circuit.
Test Blower Motor Power and Ground
Check Voltage at Blower Motor
No fan operation? Start with voltage verification using a multimeter.
Steps:
1. Turn ignition OFF
2. Disconnect blower motor connector C288
3. Turn ignition ON
4. Measure voltage between C288-2 (Yellow/Green wire, Circuit CH402) and ground
The reading must exceed 10 volts. Voltage present means power is reaching the motor. No voltage indicates a problem with fuses, relays, or wiring back to the fuse box.
Verify Ground Circuit Resistance
A broken ground can mimic a dead motor. Test the ground integrity for the speed control module.
Steps:
1. Turn ignition OFF
2. Disconnect controller connector C297
3. Measure resistance between C297-1 (Black/Gray wire, Circuit GD115) and known good ground
The reading must be less than 5 ohms. Low resistance confirms a solid ground. High resistance means you need to clean or repair the ground point, which is a common issue in older trucks due to corrosion.
Diagnose Blower Motor Speed Control Module

Bypass Controller with Jumper Test
If power and ground are good, test the blower motor directly to confirm it works.
Steps:
1. Reconnect blower motor connector C288
2. Turn ignition ON
3. Use a fused jumper wire (10A) to connect C297-2 (Green/Violet, Circuit CH218) to C297-1 (Black/Gray, Ground)
4. Observe the fan
If the blower runs, the motor is functional and the speed control module is faulty. If it doesn’t run, the motor or wiring between controller and motor is bad.
Confirm Control Signal from EATC
Even with a good motor and power, the system needs a signal from the HVAC module to activate the controller.
Test for Short-to-Ground:
1. Turn ignition OFF
2. Disconnect HVAC module connector C228b
3. Measure resistance between C297-3 (White/Violet, Circuit VH101) and ground
The reading must exceed 10,000 ohms. Less than that means the signal wire is shorted.
Test Continuity to EATC:
1. Measure resistance between C297-3 and C228b-16
2. The reading must be less than 5 ohms
If all other tests pass but the fan still won’t run, replace the speed control module.
Replace Faulty Speed Control Module
Locate and Access the Module
The blower motor speed control module (Part 19E624) is located behind the glove box inside the cab.
Access Steps:
1. Open the glove box
2. Remove any stops or brackets limiting movement
3. Gently lower the glove box to expose the module
4. Unplug electrical connector C297
5. Remove mounting screws
6. Pull out the module
Note that the blower motor itself is not accessible from under the hood. It’s inside the HVAC case and requires dash removal.
Install New Module
Use an OEM or high-quality aftermarket replacement (Part 19E624 for dual-zone EATC). No programming is required since this component is plug-and-play. Reconnect and test fan operation. If the fan now works on all settings, the speed control module was the cause.
Replace HVAC Module If Needed
When the EATC Itself Fails
If the speed control module is new but the fan still won’t run, and all wiring tests pass, the HVAC control head (EATC) is likely faulty.
Symptoms of a Bad EATC:
– No response to button inputs
– Display glitches or dim segments
– No communication during self-test
– U0100 code with no other faults
Remove and Replace EATC
Steps:
1. Remove screw covers on the upper instrument panel center finish panel
2. Unscrew two retaining screws
3. Pull the panel outward to release clips
4. Disconnect C228b and other connectors
5. Remove the old HVAC module
Programming Is Required
The HVAC module is programmable. A new or used unit must be programmed using Ford IDS/FDRS software, a dealer-level scan tool, or a qualified repair shop. Provide the VIN to ensure correct calibration for single or dual zone, rear heat, and other options. Unprogrammed modules will not function.
Prevent Future Climate Control Failures
Maintain Fuses and Connectors
Regularly inspect Fuses 15, 37, and 45, Relay #1, and Breaker #24. Check for corrosion or loose pins in connectors C288, C297, and C228b. Clean with electrical contact cleaner if needed. Vibration and heat degrade connections over time, especially in Super Duty trucks.
Avoid Common Diagnostic Mistakes
- Don’t skip the self-test since it reveals real faults
- Don’t assume the motor is bad without testing with a jumper first
- Don’t ignore timing on button presses; they must occur within 2 seconds
- Don’t replace the EATC without testing the speed controller first
The speed control module (19E624) is the most common failure point. Replace it before touching the expensive HVAC head.
Frequently Asked Questions About 2008 F250 Climate Control Reset
Is there a reset button for the 2008 F250 climate control?
No, there is no single reset button. The EATC system uses diagnostic self-tests (On-Demand and Continuous DTC retrieval) accessed through specific button sequences to identify and clear faults. These tests serve as the system’s “reset” function.
Why is my 2008 F250 blower fan not working?
The most common cause is a failed blower motor speed control module (Part 19E624), located behind the glove box. Other causes include blown fuses (15, 37, 45), a faulty relay (#1), a tripped breaker (#24), wiring issues, or a failed HVAC module.
How do I run the EATC self-test on a 2008 F250?
Turn the ignition ON with the HVAC system OFF. Press and hold OFF and DEFROST simultaneously, release both, then press AUTO within 2 seconds. A flashing blower icon appears for 20 seconds, followed by all LEDs lighting up if successful.
Do I need to program a new HVAC module in my 2008 F250?
Yes. The HVAC control head is programmable and must be configured to your specific vehicle using Ford IDS/FDRS software or a dealer-level scan tool. The VIN is required to ensure correct calibration for your truck’s options.
Where is the blower motor speed control module located?
It is located behind the glove box inside the cab. You can access it by opening the glove box, removing any limiting brackets, and lowering the glove box to expose the module and its connector.
What does DTC U0100 mean on a 2008 F250?
U0100 indicates a loss of communication with a control module. In the HVAC system, this often points to network issues or a disconnected module during testing. It can also suggest intermittent wiring or poor connector contact.
Key Takeaways for Fixing Your 2008 F250 Climate Control
The 2008 F-250 climate control system doesn’t have a soft reset button, but the On-Demand and Continuous DTC tests serve as powerful diagnostic tools. By following the Pinpoint Test Q workflow, you can systematically rule out fuses, wiring, motor, controller, and EATC module failures.
Most no-blower issues stem from the blower motor speed control module, an affordable, DIY-replaceable part behind the glove box. Always test power, ground, and signal before replacing components, and remember that a new HVAC module must be programmed to function.
Start by checking fuses and running the self-test to identify any stored codes. If no codes appear, work through the electrical tests methodically. With patience and the right approach, you’ll restore full climate control function and avoid costly misdiagnoses.


