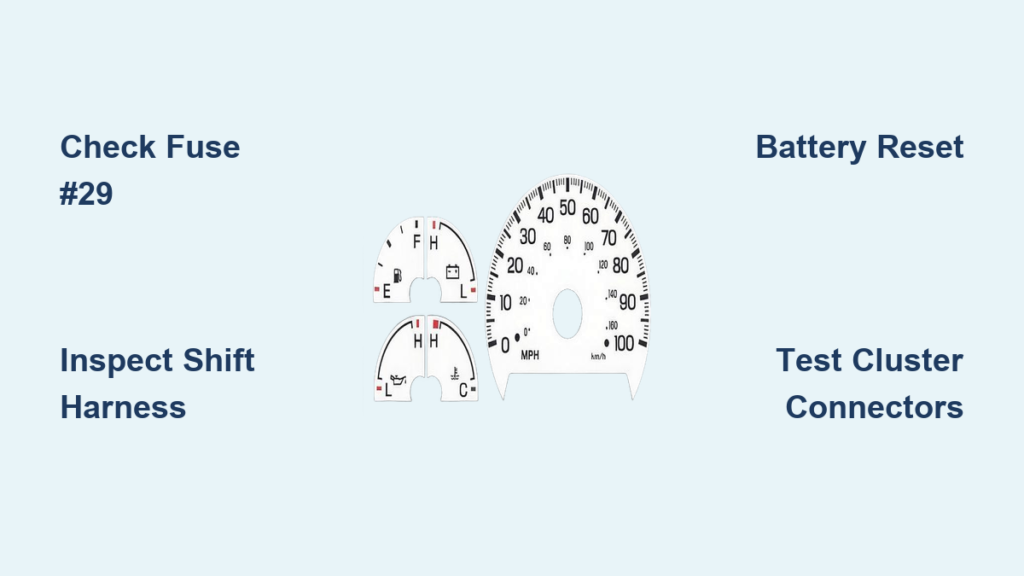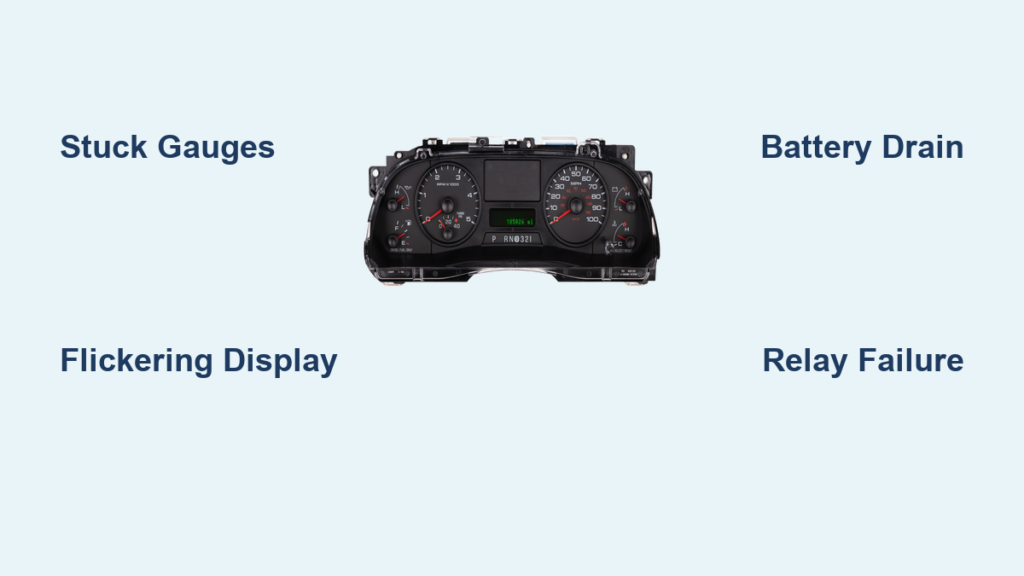
If your 2006 Ford F250’s gauges are flickering, stuck at zero, or completely dead, you’re dealing with one of the most common problems in 2005–2007 Super Duty trucks. The root cause is deteriorating internal components that fail over time. A professional 2006 F250 instrument cluster repair solves these issues at the source, replacing faulty parts with upgraded components for a fraction of the cost of a new OEM unit. Your original mileage stays intact, no programming is needed, and most repairs come with a lifetime warranty. This guide covers symptoms, the repair process, upgrade options, and everything you need to restore your dashboard.
Confirm Cluster Failure Symptoms
Before removing your cluster, verify the problem is actually inside the unit and not a simple fuse or wiring issue.
Gauges Stuck or Acting Erratic
Watch for these common gauge problems:
– Speedometer or tachometer stuck at zero or pegged at maximum
– Fuel gauge reading empty when the tank is full
– Coolant temperature gauge fluctuating without engine changes
– Voltage or oil pressure readings jumping randomly
These symptoms typically point to failing stepper motors, which control needle movement. As these motors degrade, they lose calibration or stop working entirely.
Digital Display and Warning Light Problems
Check for these display-related issues:
– Flickering or blank digital odometer
– Check Engine, Battery, or Oil warning lights staying on permanently
– Low fuel indicator illuminated despite adequate fuel
Partial or missing segments on the odometer display indicate circuit board or display driver failure.
Power Accessory Failures
A unique trait of 2006 F250 cluster failure involves system-wide electrical issues caused by a defective battery saver relay:
– Radio cutting out intermittently
– Power windows stopping mid-operation
– Interior dome lights or third brake light failing
– Doors not triggering cabin lights when opened
These symptoms point directly to the cluster’s internal relay circuit, a known weak point in this model year.
Battery Drain When Parked
If your F250’s battery dies after sitting for a few days, the cluster may be preventing the vehicle from entering sleep mode. A faulty relay keeps systems active, causing parasitic drain. This is a strong indicator your cluster needs professional attention.
Identify Your Cluster Part Number
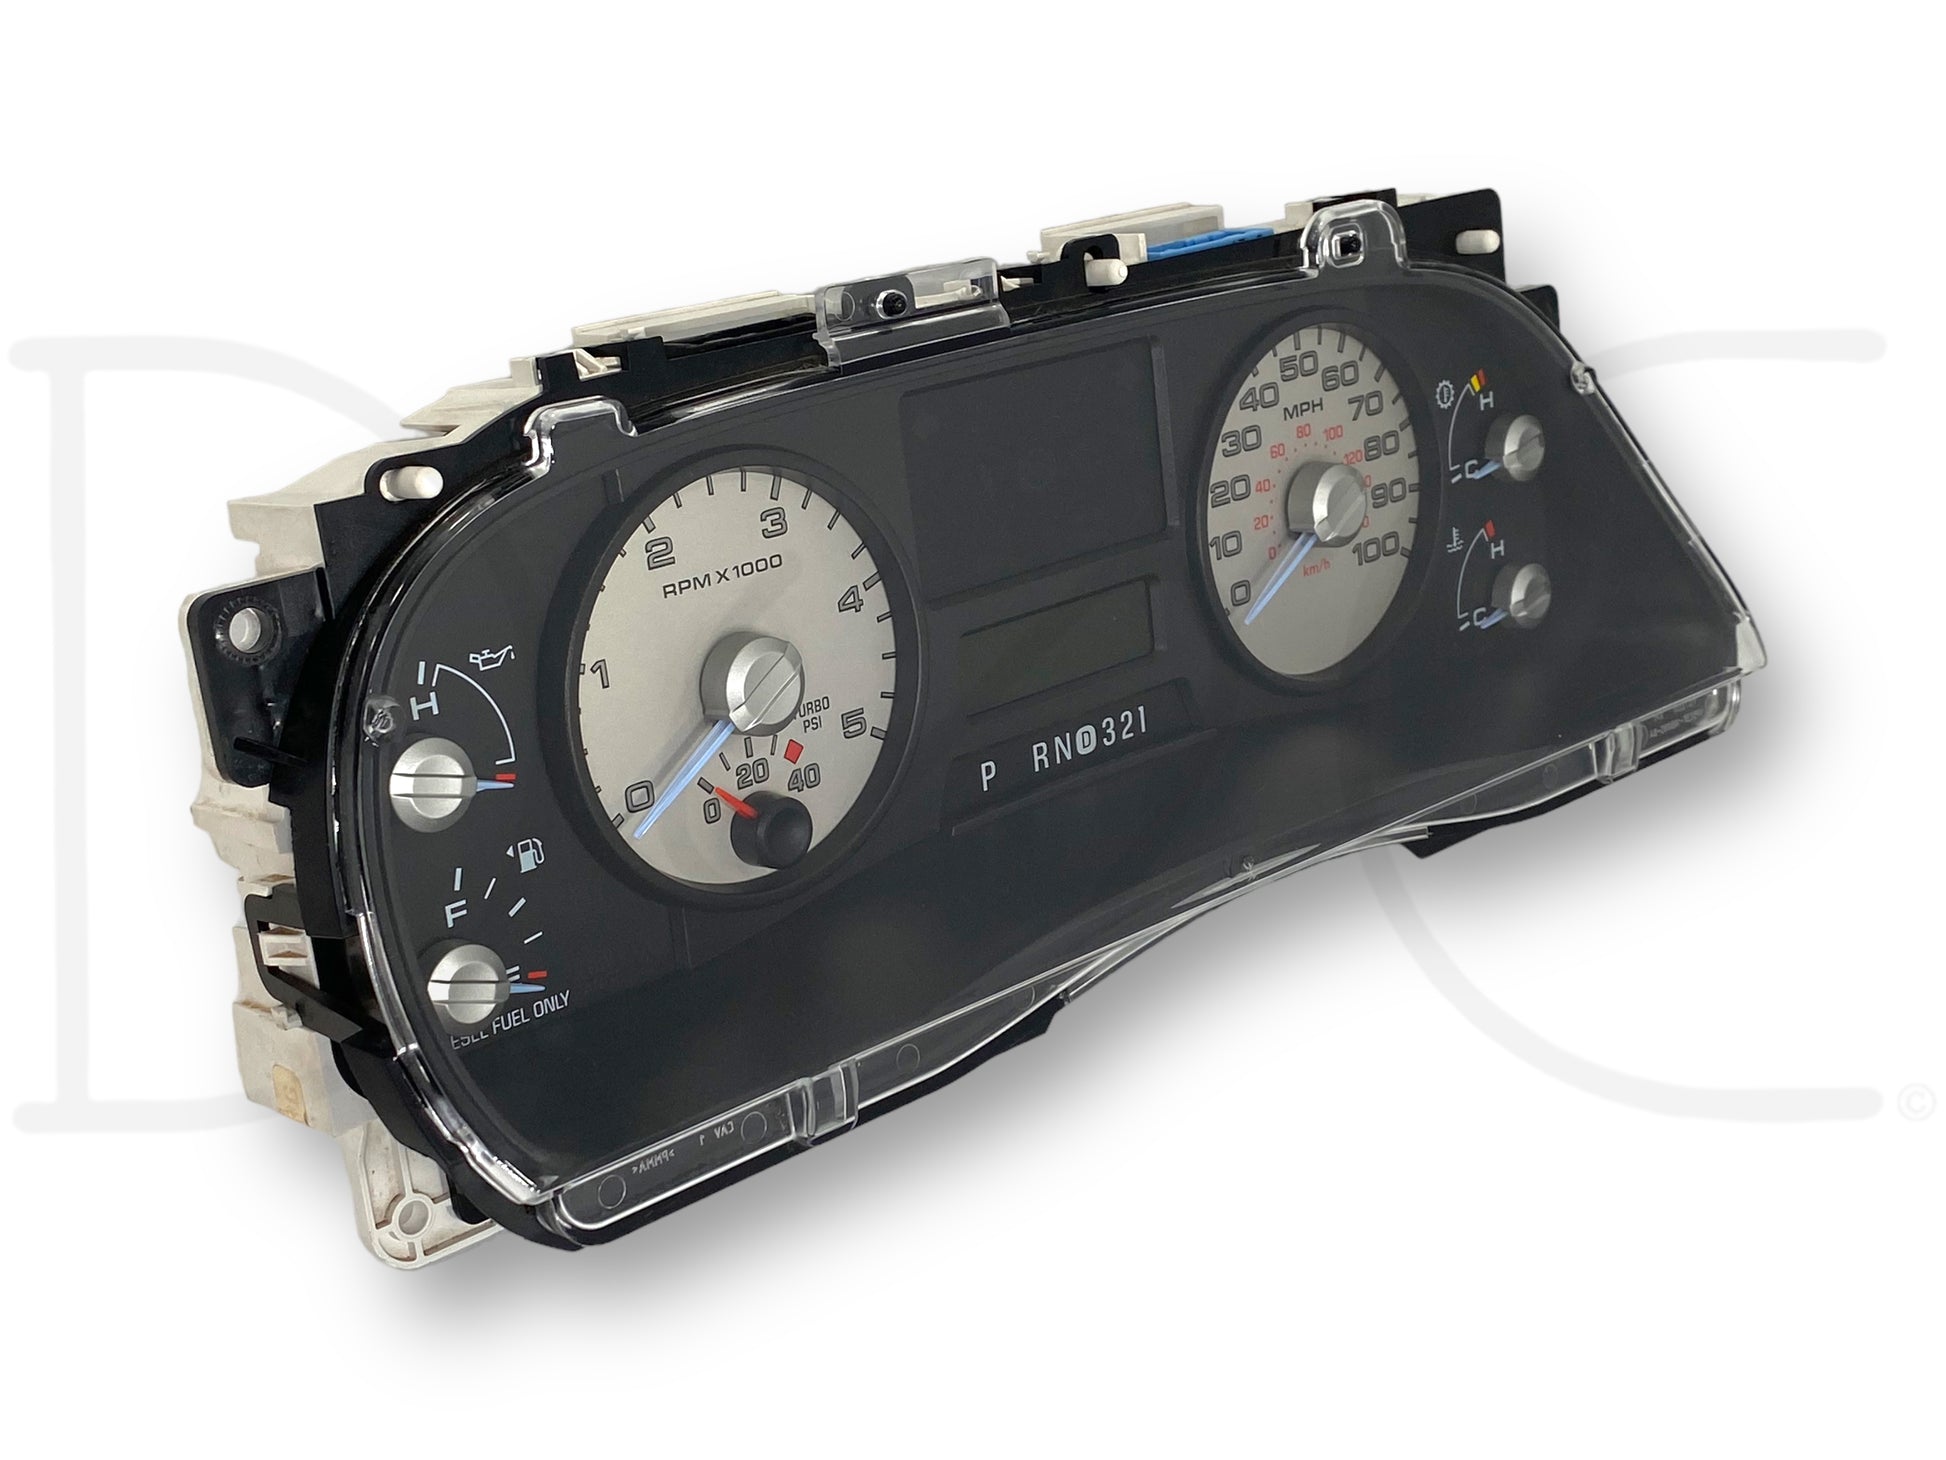
Accurate identification ensures compatibility with repair services and prevents wasted shipping costs.
Locate the Ford Part Number
Remove the instrument cluster and check the back of the unit for a label with a 5C3T or 6C3T part number. These prefixes identify 2005–2007 Super Duty clusters.
Common 2006 F250 Part Numbers:
– 5C3T-10849-AAA through 5C3T-10849-ZE
– 6C3T-10849-AA through 6C3T-10849-ZB
Most repair shops accept all variants in these series. If your number matches, your unit is eligible for service.
Verify Compatibility
The repair process works across the entire Super Duty lineup:
– All 2006 F-250, F-350, F-450, and F-550 models
– Both 6.0L Powerstroke Diesel and 6.8L V10 Gas engines
– All trim levels including XL, XLT, Lariat, King Ranch, and Harley Davidson
Even E-Series van clusters with matching part numbers are often accepted by repair facilities.
Avoid Mismatched Replacements
Junkyard clusters use the same failure-prone components as your original unit. Swapping in a used part may fix the issue temporarily, but it will likely fail again. A rebuilt unit with upgraded parts is the only long-term solution.
Understand the Repair Process
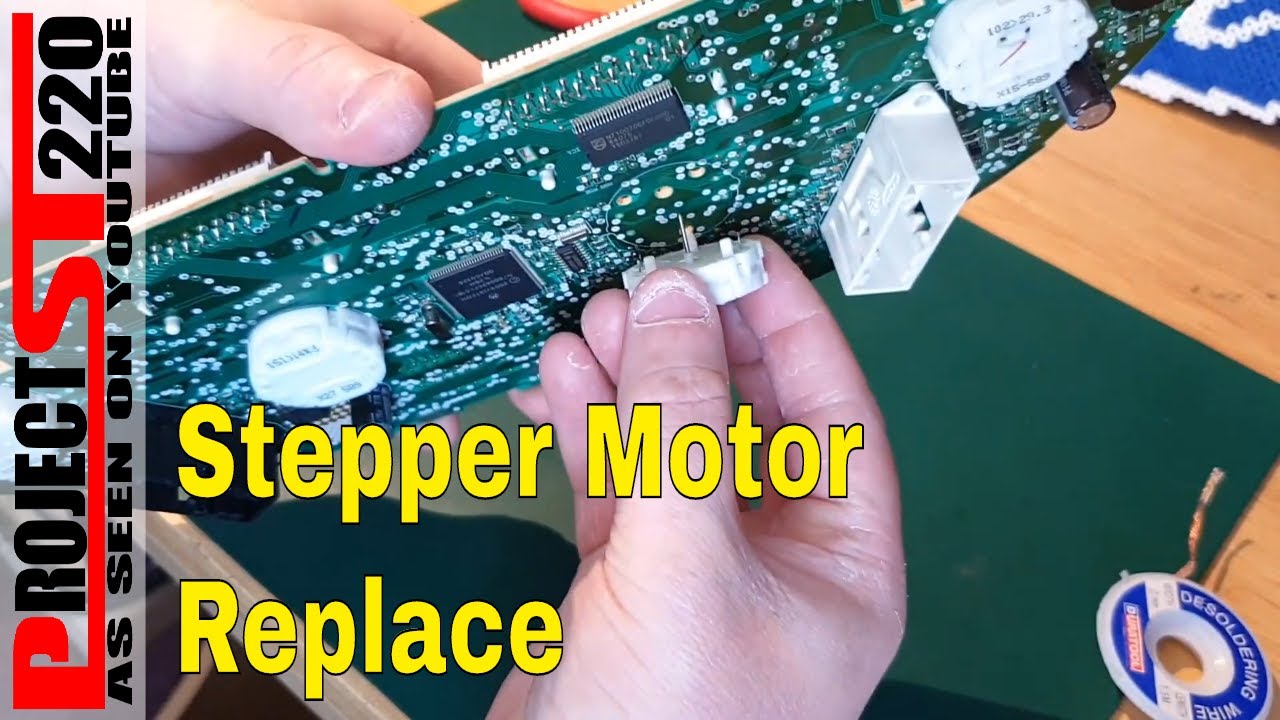
Professional repair goes beyond fixing symptoms. It eliminates root causes with upgraded components designed to outlast the original parts.
Diagnose Before Repair
Reputable services begin with a full diagnostic evaluation:
– Test all gauge movements and stepper motors
– Check digital display function and backlighting
– Inspect relay operation and circuit continuity
This ensures the repair targets actual faults rather than guesswork.
Replace Faulty Stepper Motors
All gauge stepper motors are replaced with high-quality upgraded units:
– Prevents sticking, overshooting, or erratic needle movement
– Eliminates zero-readings or pegged gauges
– Uses motors rated for longer life than OEM specifications
This is the most common fix needed in 2006 F250 clusters.
Fix the Battery Saver Relay Circuit
The battery saver relay is a major failure point in this generation. Technicians:
– Replace it with a durable, upgraded relay
– Restore power to radio, windows, and interior lights
– Prevent parasitic battery drain
This single repair resolves many “mystery” electrical issues owners have struggled with for years.
Repair Circuit Board Damage
Over time, solder joints crack and traces fail inside the cluster. Technicians address this by:
– Reflowing or replacing damaged solder points
– Bypassing broken circuit traces
– Cleaning corrosion and testing continuity
This ensures stable power and signal delivery across the entire cluster.
Retain Original Mileage
Since the original circuit board is repaired rather than replaced, your odometer reading stays intact. No programming tools are needed when reinstalling the unit.
Upgrade Your Dashboard Lighting
Modernize your cluster with LED backlighting for better visibility and longer life.
Benefits of LED Over Incandescent
Factory bulbs burn out quickly and generate excess heat. LEDs offer significant advantages:
– 50,000+ hour lifespan compared to 1,000–2,000 hours for bulbs
– Lower power draw, reducing strain on cluster circuits
– Cooler operation, minimizing internal heat damage
Even Illumination Design
Generic LED kits create hot spots and dark zones. Professional upgrades solve this through:
– Diffused or multi-directional LEDs
– Custom placement to light all gauge areas evenly
– No dark zones behind needles or around dials
This delivers a factory-quality look with modern performance.
Choose Your LED Color
Available color options include:
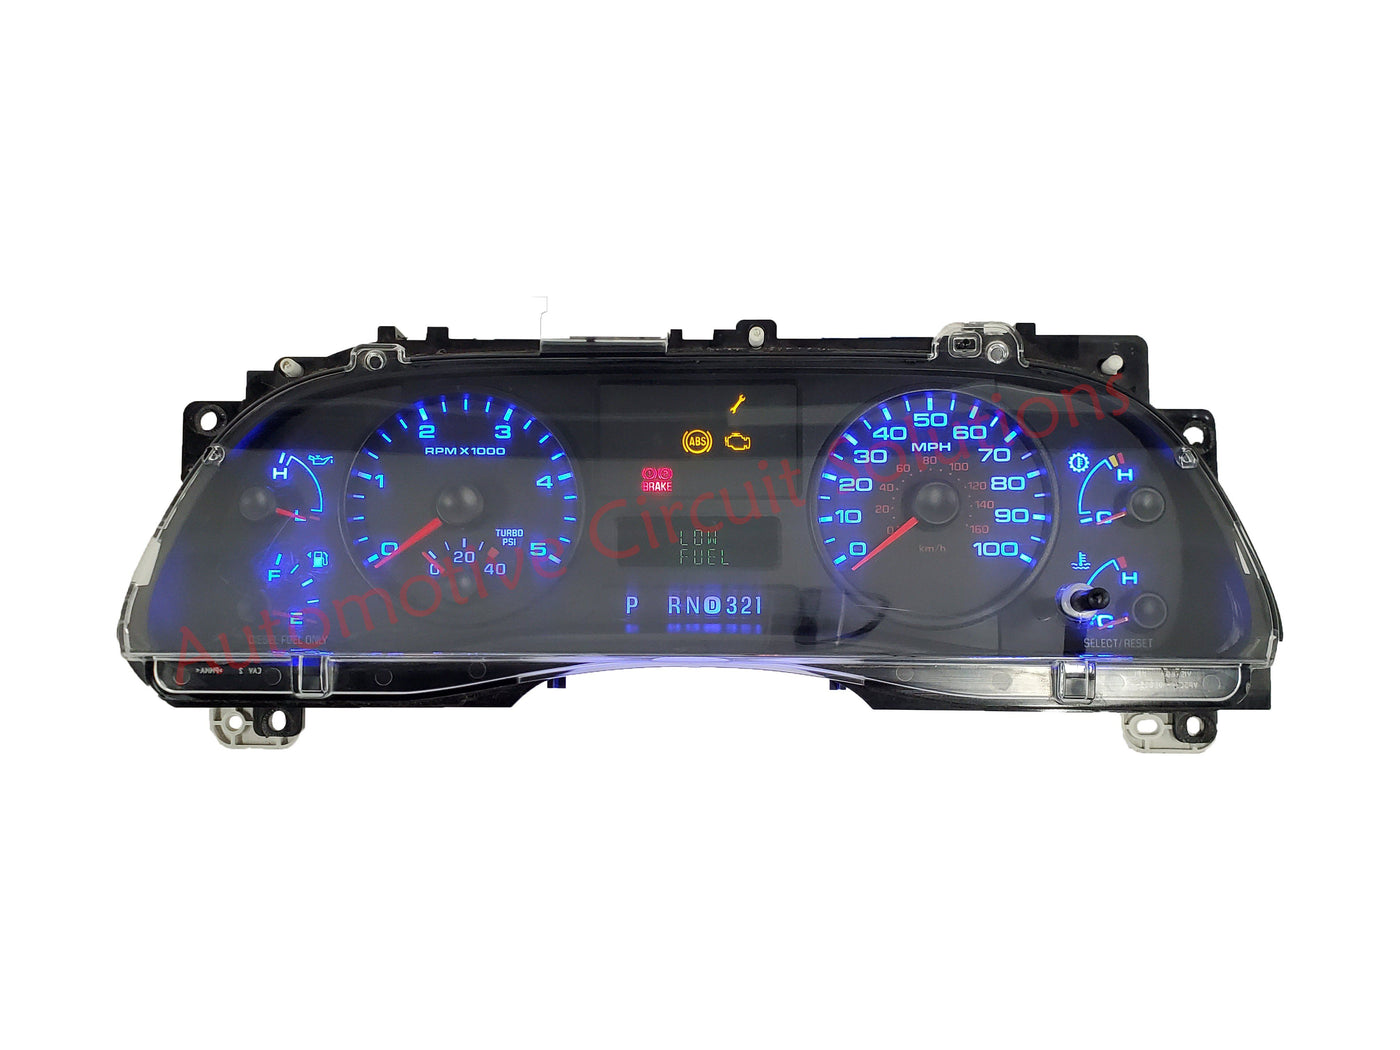
– Green (matches OEM appearance)
– Blue, Red, Cool White, Orange, Yellow
– Pink/Purple, Ice Blue for custom looks
Note that color appearance depends on your existing faceplate.
Faceplate Compatibility Explained
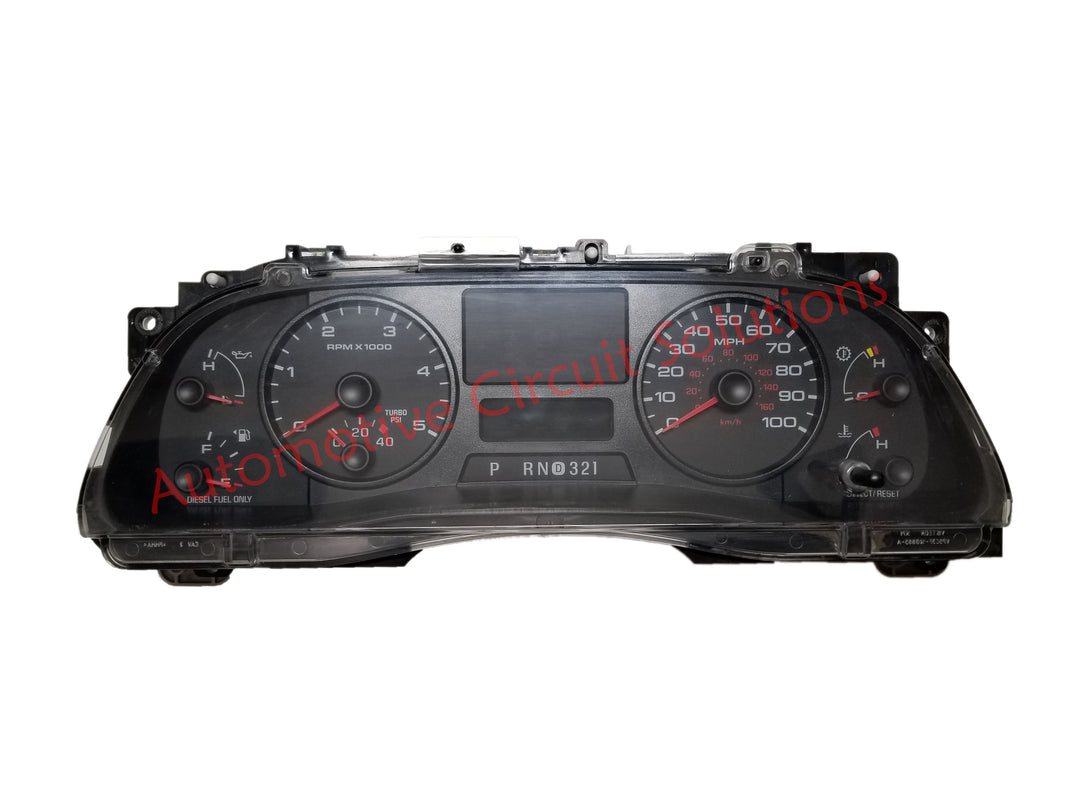
The factory faceplate has a green tint that affects LED color output:
– White LEDs behind green faceplate produce a brighter green
– For true white, blue, or red illumination, replace the faceplate
– Clear or color-matched faceplates allow full color expression
Diesel models often use white or silver faceplates with colored scales for a distinctive look.
Add Cosmetic and Functional Upgrades
Enhance both appearance and readability with optional modifications.
Upgrade Gauge Pointers
Replace stock needles with upgraded options:
– Black/Blue pointers in dark or light variations
– High-contrast tips for better nighttime visibility
– Matched to LED color for a cohesive look
This improves readability and modernizes the dashboard appearance.
Replace or Polish the Lens
Fix hazy or scratched lenses with two options:
– New lens installation: Brand new clear cover
– Polishing service: Removes light scratches and cloudiness
Either option restores crisp, glare-free visibility.
Repair Trailer Brake Controller Faults
Some clusters cause TBC malfunctions due to internal circuit issues. A dedicated TBC fault repair:
– Fixes communication errors
– Restores proper brake output
– Costs around $75 as an add-on service
Compare Repair vs. Replacement Options
Choosing repair over replacement saves money and improves long-term reliability.
Why Repair Beats Replacement
| Factor | Repair Service | Used Cluster | New OEM Cluster |
|---|---|---|---|
| Failure Risk | Low (upgraded parts) | High (same defects) | Moderate (same design) |
| Mileage | Preserved | Must be programmed | Must be programmed |
| Cost | $145–$230 | $100–$300 + programming | $400+ + programming |
| Warranty | Lifetime (repair) | 30–90 days | 12 months |
| Turnaround | 3–5 days | Immediate (if available) | 1–2 weeks |
Even new OEM clusters use the same weak stepper motors and relays as your original unit. Repair with upgraded parts is the only way to prevent future failures.
Choose a Repair Service and Pricing
Costs vary by provider, upgrades, and turnaround speed.
Base Repair Cost
- Standard Repair: $145–$229.99
- Covers stepper motors, relay, and circuit repair
- Higher-priced services include more rigorous testing
Upgrade Add-Ons
- LED Backlighting: +$20–$30
- Premium LED Colors: +$20–$120 (includes faceplate)
- New Lens: +$39.95–$50
- Lens Polishing: +$20
- Gauge Pointers: +$30–$45
- TBC Repair: +$75
Expedited Service
- Same-day repair: +$50–$70
- Unit shipped back the day it arrives at the facility
Shipping Costs
- You pay to ship the cluster to the facility
- Return shipping: $22 (USPS) to $27 (FedEx)
- Some providers include return shipping for the first 3 months
Follow the Repair Workflow
The process is straightforward: remove, ship, reinstall.
Remove the Cluster Safely
- Disconnect the battery (negative terminal first)
- Remove trim panels around the dash using screwdrivers or trim tools
- Unplug electrical connectors from the back of the cluster
- Unscrew mounting bolts and gently pull the unit out
Pro Tip: Take photos before disconnecting anything to aid reinstallation.
Pack and Ship Your Cluster
- Wrap in bubble wrap, especially protecting the lens
- Use a sturdy box with padding on all sides
- Include a note with:
– Your name and contact information
– Order number (if pre-ordered)
– Symptom description (e.g., “speedometer stuck at zero”) - Ship to the repair facility
Warning: Do not ship without an order number. Unsolicited units may not be accepted.
Reinstall the Repaired Cluster
- Plug in all connectors firmly until they click
- Secure with mounting screws
- Reattach trim panels
- Reconnect the battery
Turn the key and the cluster should power up immediately.
Test Before Driving
Verify everything functions correctly:
– All gauges sweep and read accurately
– Odometer displays full mileage
– Warning lights illuminate then turn off
– Radio, windows, and dome lights work properly
If everything checks out, the repair is complete.
Trust the Warranty and Long-Term Reliability
A solid warranty backs the quality of professional repair work.
Lifetime Warranty Coverage
Most providers offer:
– Lifetime coverage on stepper motors, relays, and circuit repairs
– Coverage for gauge failure, power loss, and odometer issues
This reflects confidence in the upgraded components used.
1-Year Lighting Warranty
- LEDs and bulbs are covered for 1 year
- After that period, replacements may be offered at a discount
What Voids the Warranty
- Removed or torn warranty sticker
- Flood or water damage
- Improper installation causing wiring shorts
- External electrical faults like bad grounds or harness issues
Non-Transferable Policy
- Warranty applies only to the original purchaser
- Does not transfer if you sell the truck
Maximize Longevity After Repair
Keep your cluster working reliably for years with proper care.
Avoid Heat and Moisture
- Park in shade when possible
- Fix windshield leaks immediately
- Flood-damaged clusters are not covered under warranty
Handle with Care
- Never drop the cluster
- Don’t force connectors; align and press gently
- Use anti-static precautions if handling circuit boards
Diagnose External Issues First
If problems return after repair:
– Check battery voltage and charging system output
– Inspect ground connections under the dash
– Test wiring harnesses for chafing or corrosion
Persistent issues may not be cluster-related at all.
Consider LED Longevity
While LEDs last for years, they can dim over time. Most users won’t need replacements for a decade or more.
Frequently Asked Questions About 2006 F250 Instrument Cluster Repair
What causes the instrument cluster to fail in a 2006 F250?
The most common causes are failing stepper motors that control gauge needles, a defective battery saver relay, and cracked solder joints on the circuit board. These components deteriorate over time and are known weak points in 2005–2007 Super Duty clusters.
How much does it cost to repair a 2006 F250 instrument cluster?
Standard repair services range from $145 to $229.99, which covers stepper motor replacement, relay repair, and circuit board fixes. Optional upgrades like LED backlighting, new lenses, and custom pointers add to the base cost.
Can I repair the instrument cluster myself?
While technically possible, professional repair is recommended. The process requires specialized soldering equipment, knowledge of circuit board diagnostics, and access to upgraded replacement parts. DIY attempts may void warranty eligibility.
Will my odometer reading be preserved during repair?
Yes. Since the original circuit board is repaired rather than replaced, your mileage stays intact. No programming tools are needed when reinstalling the cluster.
How long does the repair process take?
Standard turnaround is 3–5 business days after the facility receives your cluster. Same-day expedited service is available for an additional $50–$70, with the unit shipped back the day it arrives.
Is it worth repairing instead of buying a used cluster?
Yes. Used clusters contain the same failure-prone components as your original unit and will likely fail again. New OEM clusters also use these same weak designs. Repair with upgraded parts is the only solution that addresses the root cause permanently.
Key Takeaways for Your 2006 F250 Instrument Cluster Repair
A 2006 F250 instrument cluster repair is the smart, cost-effective solution to one of the most common problems in 2005–2007 Super Duty trucks. By replacing failure-prone stepper motors, the battery saver relay, and damaged circuit traces with upgraded components, you restore full dashboard function and eliminate frustrating electrical gremlins like radio cutouts and parasitic battery drain. Your original mileage stays intact, no programming is required, and most repairs come with a lifetime warranty for peace of mind. With optional LED upgrades and fast 3–5 day turnaround times, your truck’s interior can look and perform better than new, all for a fraction of dealership replacement costs. Start by confirming your symptoms, locate your part number, and choose a reputable repair service to get your dashboard working reliably again.