
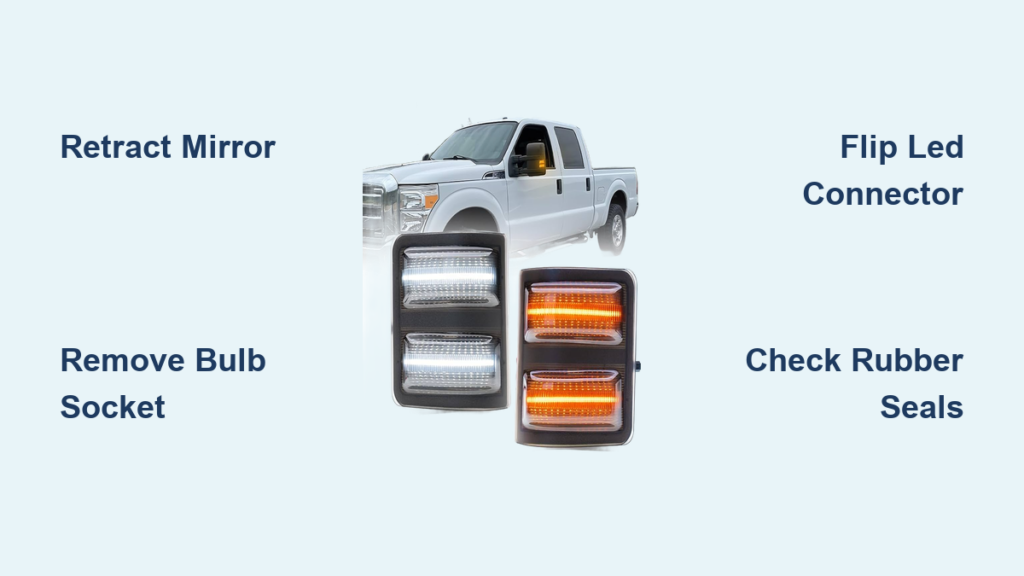
If your Ford F-350 side marker looks dim or the bulb has burned out, you need to know how to replace mirror marker light on F350 models quickly. The factory orange glow often fails to provide adequate safety or modern style for your heavy-duty truck.
This guide shows you the exact steps to swap bulbs or upgrade entire housings in under fifteen minutes. You will learn specific techniques for 2008 through 2016 Super Duty trucks using only basic hand tools.
Access the Mirror Housing Safely

You must position the mirror correctly before attempting any removal to avoid breaking clips. Proper alignment exposes the hidden release mechanisms required for safe disassembly.
Retract the Mirror Fully
Use your interior power controls to fold the mirror glass inward until it clicks into the retracted position. This action creates a narrow gap between the glass and the outer housing shell. You need this specific opening to reach the internal release tab.
Locate the Release Tab
Shine a light into the seam created by the retracted mirror to find a small white or metal tab. This locking mechanism sits near the front edge of the housing just below the mirror glass level. It secures the lens cover and must be disengaged before pulling.
Pry Open the Lens Cover
Insert a flathead screwdriver or plastic trim tool into the gap to gently push the release tab inward. Apply steady pressure while pulling the outer lens cover outward with your other hand. The cover should pop free with a soft click so you can set it aside safely.
Replace the Marker Light Bulb

Swapping the bulb is the fastest way to restore brightness without replacing the whole unit. This method works well if your housing is intact but the light output is poor.
Remove the Old Bulb
Locate the wedge-style bulb socket inside the exposed marker housing area. Grasp the socket base and twist it counterclockwise about a quarter turn to release it from the housing. Pull the old halogen bulb straight out and check the socket for any signs of melting.
Install the LED Bulb
Align your new LED replacement with the socket terminals labeled for running light or turn signal. Insert the bulb carefully and twist clockwise until it locks securely into place. Avoid touching the LED surface with bare fingers as skin oils can reduce component lifespan.
Fix Non-Working Lights
Test the new installation immediately since LEDs are polarity sensitive and may not work initially. If the light fails to illuminate, simply flip the connector 180 degrees to reverse the electrical flow. Ensure the plug seats fully and no wires get pinched during this process.
Upgrade to Full LED Housing
A complete housing replacement offers advanced features like sequential turn signals or smoked lens aesthetics. This approach requires removing the entire mirror assembly but delivers a premium custom look.
Remove Five 7mm Bolts
Extend the mirror outward fully to access the five bolts securing the main housing. Use a 7mm socket and ratchet to remove two bolts at the top, two at the bottom, and one near the pivot point. Keep these small fasteners organized to prevent loss during the upgrade.
Disconnect Electrical Plugs
Identify and disconnect the various wiring harnesses including black and white wires for the outer circuit. You may also encounter solid black wires, purple and brown blind spot monitor wires, or heated mirror connectors. Press the small release pin on each connector and slide the plug free without pulling on the wires.
Swap the Side Marker Assembly
Find the side marker light connector featuring a small silver release tab on the old unit. Pull the tab down to disconnect the harness then remove the old light assembly completely. Plug the new connector into the bottom right corner of the replacement unit since it only fits one way.
Reassemble and Test Components
Proper reassembly ensures your new lights stay secure against weather and road vibrations. Testing before final closure saves time if adjustments are needed.
Reattach the Lens or Housing
Press the lens cover back into place with firm, even pressure around all edges until you hear clicks. For full housing replacements, align the unit and push until distinct snaps occur at both top and bottom sections. Reinstall the five 7mm bolts and tighten them securely without over-torquing.
Reconnect All Wiring
Verify that every electrical connector clicks firmly into its designated spot on the mirror assembly. Double-check connections for blind spot monitors, heated mirrors, and turn signal circuits before tucking wires away. Slide all wires back into their retaining clips to prevent snagging during mirror operation.
Test Light Functionality
Activate your vehicle to test turn signals, running lights, and blind spot monitoring systems. Engage hazard lights to verify both sides blink in sync and check for sequential patterns if upgraded. Lock the truck to activate any sequential features that trigger upon security engagement.
Prevent Moisture and Seal Failure
Water intrusion causes fogging and electrical failures so checking seals is critical during installation. Neglecting this step can lead to costly repairs or premature bulb failure.
Check Rubber Seals
Inspect the rubber gaskets surrounding the mirror housing for cracks or brittleness before final assembly. Degraded seals allow moisture to enter the housing which causes fogging or corrosion on electrical contacts. Replace any compromised seals with small O-rings from an auto parts store for a watertight fit.
Reseal After Installation
Apply a thin layer of dielectric grease on electrical connectors if the housing was exposed to elements. This grease repels moisture and ensures long-term connectivity for your new lighting system. Confirm all clips and bolts are secure to maintain proper sealing pressure against rain.
Choose the Right LED Upgrade
Selecting between a bulb swap and full housing replacement depends on your budget and desired aesthetic outcome. Both options provide significant improvements over factory equipment.
Bulb vs. Housing: What’s Best?
A bulb-only swap is fast, reversible, and cost-effective for restoring brightness without changing appearance. Full housing replacement offers smoked lenses, sequential turn signals, and amber-to-white switching capabilities. Choose the bulb method for simplicity or the housing method for a premium custom look.
Recommended Aftermarket Brands
Diode Dynamics provides reliable LED bulbs with excellent color consistency for running lights. JDM Toy offers direct-fit wedge LEDs with clearly labeled terminals for easy installation. Boost Auto supplies complete mirror housings featuring sequential lighting and OEM-style fitment for Super Duty trucks.
Troubleshoot Common Issues
Even simple installations can encounter minor hurdles that require quick diagnosis and correction. Understanding these common problems helps you resolve them without frustration.
Light Works Intermittently
This issue usually stems from a loose connection or a pinched wire within the housing. Reopen the assembly to verify the socket is fully twisted in and the plug is seated correctly. Flip the connector if needed since polarity issues often cause intermittent operation.
Lens Cover Won’t Stay On
Aftermarket LED units sometimes lack the original plastic nubs that lock the lens in place. These units rely on internal friction clips so you must tuck wires away completely. Press the cover evenly around all edges until it snaps securely into position.
Fog Inside the Housing
Fog indicates failed seals that allow moisture to enter the enclosed space. Disassemble the unit, replace degraded O-rings, and reseal the housing immediately. Wipe the interior dry before reassembly and avoid using adhesives as proper seals are sufficient.
Maintain Long-Term Performance
Regular maintenance ensures your upgraded lights continue performing at peak efficiency for years. Simple habits prevent major issues and keep your truck looking sharp.
Keep OEM Bulbs as Backup
Store your original halogen bulbs in the glovebox for emergency roadside repairs. These stock bulbs serve as excellent backups if an LED fails or if you need to return the truck to stock condition. Having them on hand provides peace of mind during long trips.
Clean Lenses Regularly
Dirt, grime, and road film accumulate on lenses and significantly reduce light output over time. Clean clear and smoked lenses monthly using mild soap and water to maintain maximum brightness. Avoid abrasive cleaners that can scratch surfaces and dull the lens clarity.
Inspect Every Oil Change
Check your mirror lights for proper operation during routine vehicle maintenance intervals. Look for cracks, moisture accumulation, or loose covers that might indicate seal failure. Early detection of these issues prevents bigger problems and ensures consistent safety performance.
Frequently Asked Questions About F350 Mirror Lights
How long does it take to replace the marker light?
Most bulb replacements take under five minutes while full housing upgrades require about fifteen minutes. The process is straightforward and requires only basic hand tools like a screwdriver and socket set.
Do I need special tools for this replacement?
You only need a flathead screwdriver or trim tool and possibly a 7mm socket for housing removal. No specialized automotive equipment or professional tools are necessary for this modification.
Why is my new LED light not working?
LEDs are polarity sensitive so you likely need to flip the connector 180 degrees. Ensure the plug is fully seated and check that no wires are pinched during installation.
Can I use these lights in all weather conditions?
Yes, provided you inspect and replace degraded rubber seals to prevent moisture intrusion. Properly sealed LED units are designed to withstand rain, snow, and extreme temperatures.
Will this void my Ford warranty?
Replacing marker lights is generally considered a cosmetic modification that does not void vehicle warranties. However, always consult your specific warranty documentation if you have concerns about electrical modifications.
Key Takeaways for Replacing Mirror Marker Light on F350
Upgrading your F-350 marker lights improves safety and modernizes your truck’s appearance with minimal effort. Whether you choose a quick bulb swap or a full housing upgrade, the process takes less than fifteen minutes.
Start by gathering your tools and selecting the right LED option for your specific needs. Follow the steps carefully to ensure a secure fit and long-lasting performance for your Super Duty truck.


