
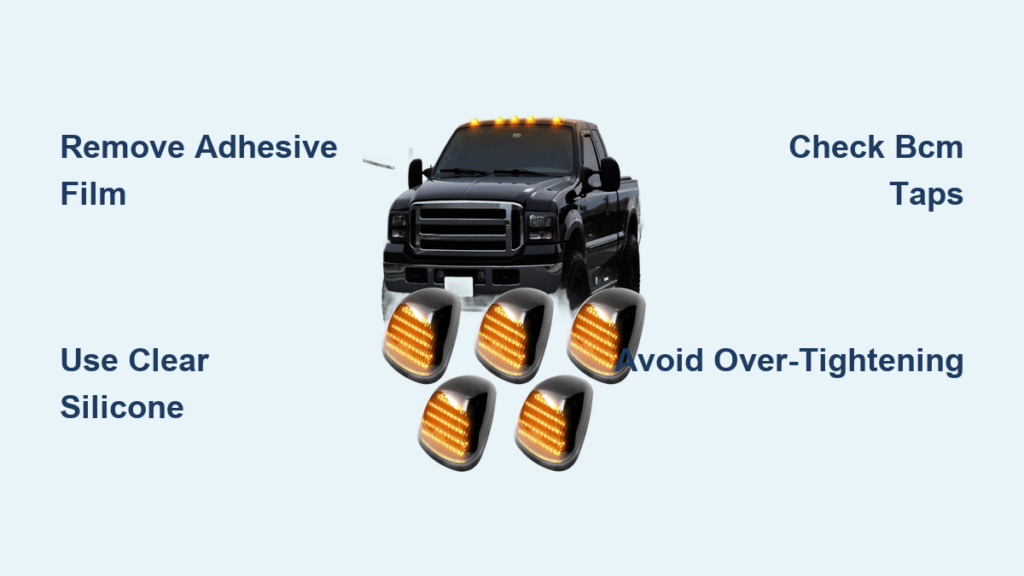
If your F-350 cab lights are flickering or leaking, you need a reliable guide on how to replace cab lights on F350 trucks to ensure safety and stop water damage. Whether you have a 2017 model or a 2026 Super Duty, fixing these lights prevents costly headliner repairs and keeps your truck inspection-ready.
This article details every step to diagnose failures, select the right OEM or LED parts, and install new housings without leaks. You will learn specific techniques to remove factory adhesive, seal connections with silicone, and wire complex modules for turn signals.
Diagnose Bulb Failure Versus Housing Damage
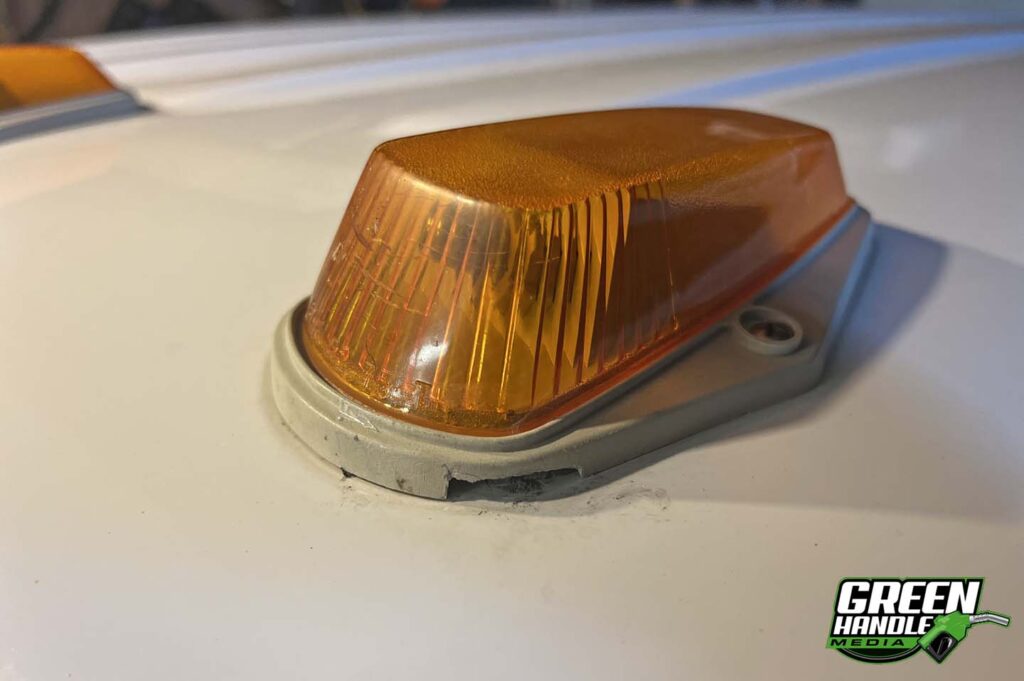
A dim light does not always mean you only need a new bulb. Inspecting the housing first saves time and prevents electrical hazards.
Inspect Lens and Connector Condition
Check the plastic lens for cracks or heavy discoloration that blocks light output. Look closely at the electrical connector for signs of melting or browning. Melted connectors indicate a failed housing or incompatible LED unit rather than a simple bulb issue. If you smell burning plastic, replace the entire housing immediately.
Verify Voltage at the Socket
Use a multimeter set to DC voltage to test power at the socket terminals. Turn on your running lights and probe the contacts while the battery is connected. If voltage is present but the bulb stays dark, the bulb or housing is defective. Always disconnect the negative battery terminal before touching wiring.
Select Compatible OEM or LED Replacement Parts

Choosing the wrong parts leads to fitment gaps and water intrusion issues. Your model year dictates whether you need standard bulbs or complex module kits.
Compare OEM and Aftermarket Sealing
OEM housings feature double foam sealing that matches roof contours perfectly to prevent leaks. Aftermarket units often have thinner gaskets and circular mounting holes that mismatch factory square cutouts. Stick with OEM parts for 2017–2022 models unless you find a high-end kit with verified sealing capabilities.
Evaluate LED Color and Core Visibility
Modern LED upgrades offer brightness but can create color mismatch issues if selected poorly. White LEDs behind amber lenses look harsh and uneven compared to factory standards. Use amber 168A or 194A LEDs for a consistent glow or paint the LED core black if using clear lenses.
Gather Essential Tools and Sealants

Skipping specific tools like heat guns or trim picks risks cracking panels or creating water paths. Prepare your workspace with these exact items before starting.
Required Mechanical Tools
- T20 Torx driver for factory cab light screws
- 8 mm socket for mounting nuts on roof rails
- 7 mm and 10 mm sockets for visor and A-pillar bolts
- T45 Torx bit for upper B-pillar trim removal
- Plastic trim picks for prying clips without damage
- Impact driver for stubborn screws
Critical Electrical and Sealing Supplies
- Clear waterproof silicone like Loctite Silicone Lock Pipe
- 3M adhesive remover for cleaning torn factory sealant
- Heat gun for shrinking butt connectors and seals
- Multimeter for testing voltage and ground paths
- Blue and red quick taps for BCM connections
- Butt connectors and ring terminals for splicing wires
Remove and Replace Factory Cab Light Housing
This process applies to trucks that already have cab lights where only the unit needs swapping. Follow these steps to ensure a tight seal.
Extract the Old Housing Safely
Disconnect the negative battery terminal to prevent shorts. Locate the two 8 mm mounting nuts on the roof rail near each light. Unplug the electrical connector carefully and note its orientation. Remove the nuts completely and pull the housing up gently to avoid dropping it on the headliner.
Clean the Roof Mounting Surface
Scrape away all dirt and old sealant from the roof opening. If a semi-transparent adhesive film remains, peel it off in one continuous piece. Use adhesive remover if the film tears to ensure no residue remains. Wipe the area with soapy water and dry it thoroughly.
Install and Seal the New Unit
Place the new rubber gasket on the housing and ensure it sits flat without pinches. Apply a thin bead of clear silicone around the outer edge as a backup barrier. Plug in the connector until it clicks, insert the mounting nuts, and tighten them evenly without over-torquing.
Install Aftermarket Lights on 2017 to 2022 Models
Installing lights on trucks not factory-equipped requires drilling and meticulous sealing to avoid leaks. This method carries higher risk if surface prep is skipped.
Remove Factory Covers and Adhesive Film
Use a T20 Torx bit to remove screws and pry off factory covers with a plastic tool. Peel away the clear adhesive film underneath slowly. If the film shreds, apply adhesive remover and scrub until the metal is completely clean and smooth.
Apply Sealant and Mount Lights
Mix Dawn dish soap with water to clean the roof surface, then rinse and dry it completely. Place the new rubber gasket on the roof and apply a thin line of silicone around the housing edge. Align the light, press firmly, and secure with T20 screws tightened in a star pattern.
Wire Smart LED Systems for 2023 to 2026 Models
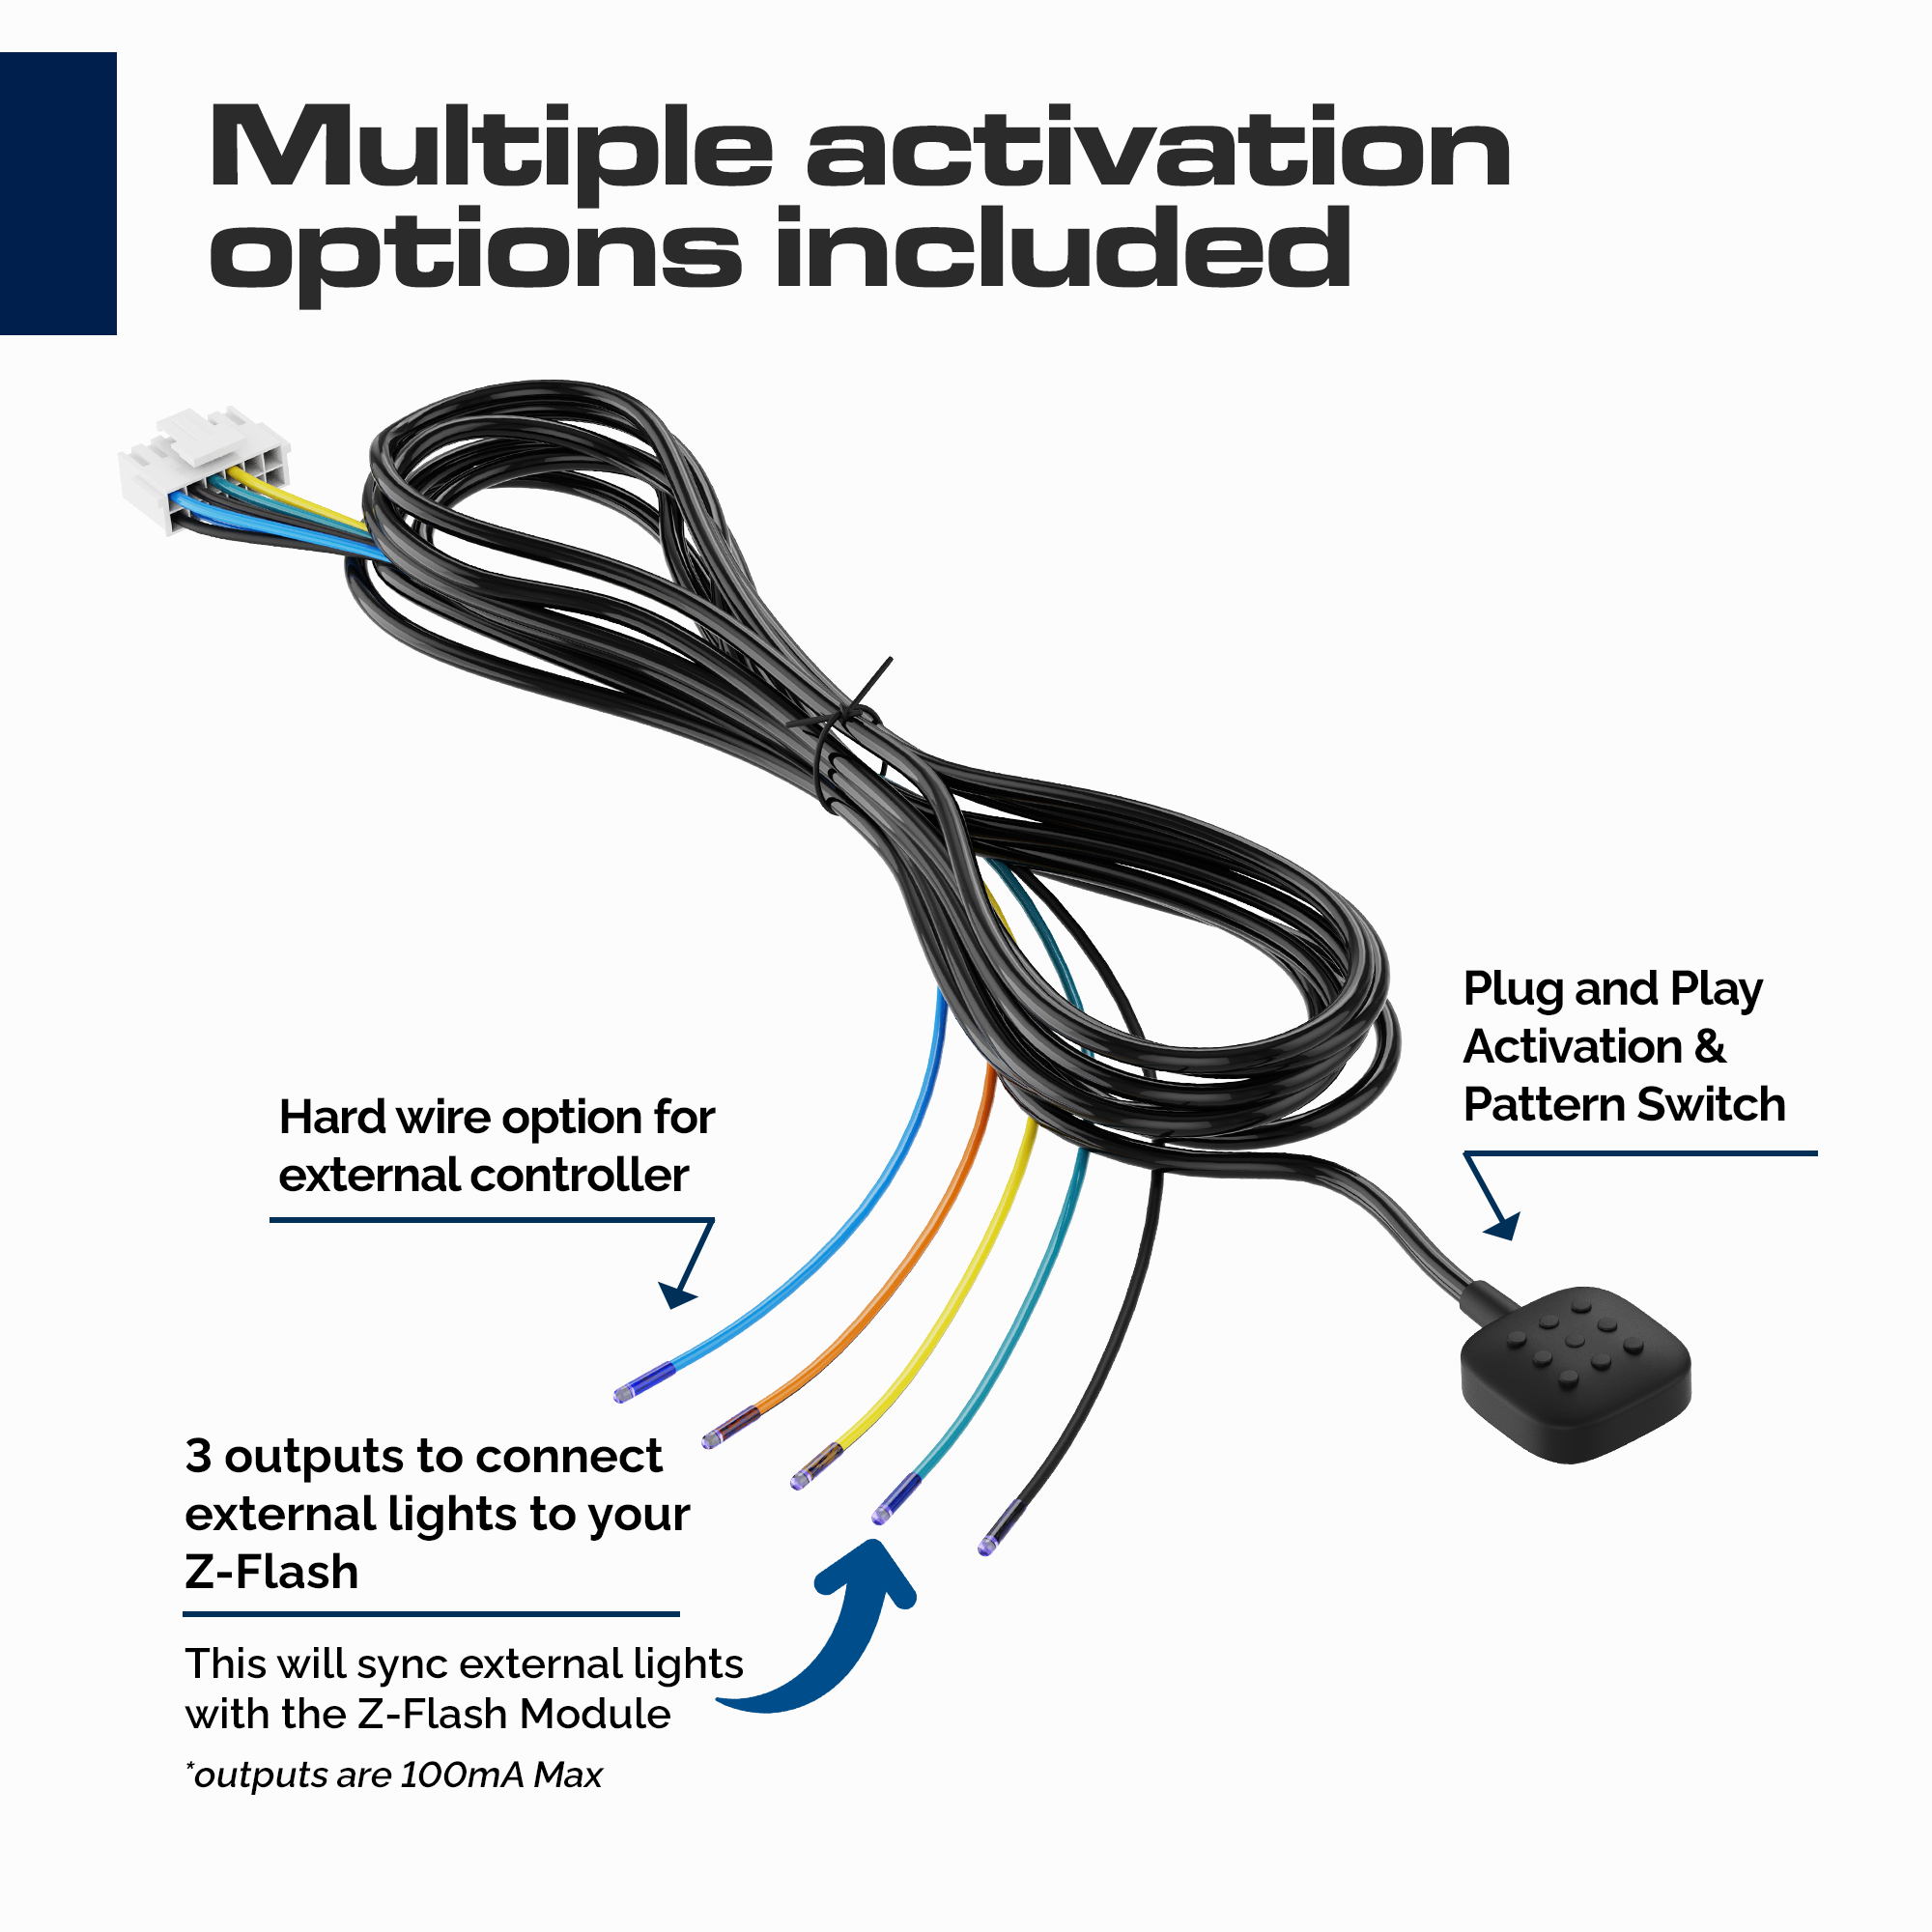
Advanced kits like the Boost Auto S-Series require interior disassembly and BCM tapping for turn signal functions.
Disassemble Interior Trim Panels
Disconnect both batteries and recline the driver seat. Remove sun visors, the rearview mirror cover, and A-pillar trim using a T45 Torx bit and pry tools. Lower the headliner carefully as it is held by magnets and Velcro strips.
Connect Module to BCM and OBD2 Port
Route wires to the passenger kick panel to access the Body Control Module. Install a blue tap on Pin 6 for left turns and Pin 31 for right turns. Connect the power wire to Pin 16 on the OBD2 port using a red tap and inline fuse. Ground the black wire to the chassis stud on the driver side.
Prevent Water Leaks With Proper Sealing Techniques
Water damage to headliners is the most common failure in cab light installations. Follow these rules to keep your truck dry.
Remove All Factory Adhesive Layers
The hidden factory adhesive film must be removed entirely before installing new lights. Leaving torn pieces creates channels for water to enter the cab. Use adhesive remover and soap to ensure a pristine surface.
Use Silicone as a Secondary Barrier
Even with new gaskets, apply a thin bead of clear silicone around the housing perimeter. This acts as a fail-safe if the gasket compresses unevenly over time. Wipe away excess immediately for a clean look.
Avoid Over-Tightening Mounting Screws
Torquing screws too hard distorts the gasket and creates gaps for water entry. Tighten screws until resistance is firm and stop immediately. Check alignment to ensure the housing sits flush against the roof curve.
Troubleshoot Electrical and Physical Issues
Diagnose problems quickly to prevent further damage to your truck’s electrical system or interior.
Fix Melted Connectors and Flickering Lights
Replace the entire housing if the connector shows melting or discoloration. Flickering usually indicates a loose ground or poor connection at the BCM taps. Clean corroded terminals with contact cleaner and re-seat all plugs firmly.
Verify Turn Signal Functionality
Confirm you tapped the correct BCM pins for left and right signals. Some modules reverse input and output wiring so check your diagram. Test with a multimeter if signals fail to activate after installation.
Frequently Asked Questions About F-350 Cab Lights
What bulb size does a Ford F-350 cab light use?
Most F-350 models use 168A or 194A amber bulbs for factory specification. These bulbs provide a soft glow without visible LED chips. Using white LEDs behind amber lenses often results in a harsh appearance.
How do I stop my new cab lights from leaking?
You must remove the original semi-transparent adhesive film completely before installation. Apply a thin bead of clear silicone around the housing edge as a secondary seal. Ensure you do not over-tighten screws which distorts the gasket.
Can I add cab lights to a truck that did not have them?
Yes, but it requires drilling holes in the roof and wiring into the BCM. This process carries a high risk of leaks if not sealed perfectly. Professional installation is recommended for non-factory equipped trucks.
Why did my cab light connector melt?
Melting usually occurs due to incompatible aftermarket housings with poor heat dissipation. It can also result from voltage spikes or bad grounding. Replace the housing with an OEM unit or high-quality aftermarket part immediately.
Do I need to tap the BCM for basic running lights?
No, basic running lights only need power from the existing headlight circuit or OBD2 port. You only need to tap the BCM if you want the cab lights to function as turn signals too.
Key Takeaways for Replacing Cab Lights on F350
Successfully learning how to replace cab lights on F350 trucks depends on thorough surface preparation and correct part selection. Always remove the factory adhesive film completely and use clear silicone as a backup seal to prevent water damage. Choose OEM housings for the best fit or high-end kits with verified sealing for aftermarket needs.
Take your time to diagnose electrical issues before buying parts and never skip the step of cleaning the roof surface. Inspect your work after the first rain or car wash to ensure the seal holds. With proper installation, your new lights will provide safety and style for years without leaking.


