
If your 2006 Ford F-150’s map lights have dimmed or stopped working, you’re not alone. This is a common issue as bulbs age or fail, and replacing them is a quick, tool-free DIY job that takes under 10 minutes. Whether you’re upgrading to brighter LED bulbs or just replacing a burnt-out wedge base, the process is straightforward once you know how to release the stubborn overhead console clips. This guide walks you through every step from removing the housing without breaking clips to installing compatible 194 LED bulbs and troubleshooting common issues like flickering or one-side failure.
Access the Overhead Console

The map lights are housed in the overhead console, located near the rearview mirror. Depending on your trim, the console may include a sunglasses holder or storage bin. Before removing the housing, ensure you’re working in a clean, well-lit area and have your replacement bulbs ready.
Start at One End and Pull Straight Down
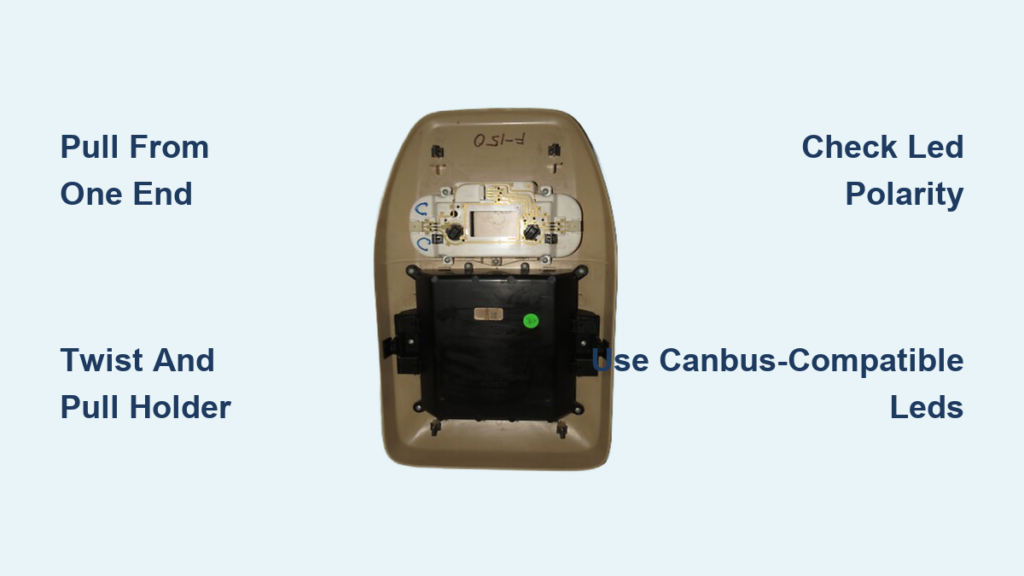
Never pull from the middle because this can break the plastic clips. Instead, insert your fingertips or a plastic panel tool at either the front or rear edge of the console, where it meets the headliner. Begin at one end and apply firm, steady pressure straight down, perpendicular to the ceiling. The clips are extremely tight, and many users report they must pull until they think it is going to break before the clips release. You will hear a distinct pop or click when each clip disengages. Work your way across the console until all clips are released and the unit hangs freely.
Warning: Avoid pulling backward or toward the center of the cab. Use a plastic trim tool if you are nervous because this reduces scratch risk and protects clip integrity.
Remove Sunglass Holder for Clearance
On models with a sunglass compartment, slide it out first for better access. Press inward on the two internal tabs and gently pull the holder straight back. Set it aside. This step is not required but gives you more room to maneuver the console during removal.
Remove the Bulb Holder
With the console pulled down, you now have access to the internal wiring and bulb sockets. Take care not to strain the electrical connector at the rear.
Turn Off Interior Lights First
Before touching any components, make sure the interior light switch is off. This prevents short circuits or bulb damage during replacement.
Locate the Map Light Bulbs
Two bulbs are mounted in the console, one for driver and one for passenger. Each sits in a twist-lock socket connected to a small circuit board common to 2004-2008 F-150 models. Look for the black tab or notch on the bulb housing that indicates the locking mechanism.
Twist and Pull the Bulb Holder
Grasp the bulb holder and rotate it 1/4 turn counterclockwise to unlock. Then pull it straight out of the socket. Repeat for the second side. These holders are fragile, so do not yank or twist aggressively.
Extract the Old Bulb
Once the holder is free, pull the old bulb straight out. If it is a halogen bulb, avoid touching the glass with bare fingers because oil residue can create hot spots and shorten lifespan. This is not a concern with LED bulbs, but handle all parts carefully.
Install New Map Light Bulb or LED Bowl
Now it is time to upgrade your lighting. You have two options: replace just the bulb or install a full LED bowl for a modern, brighter look.
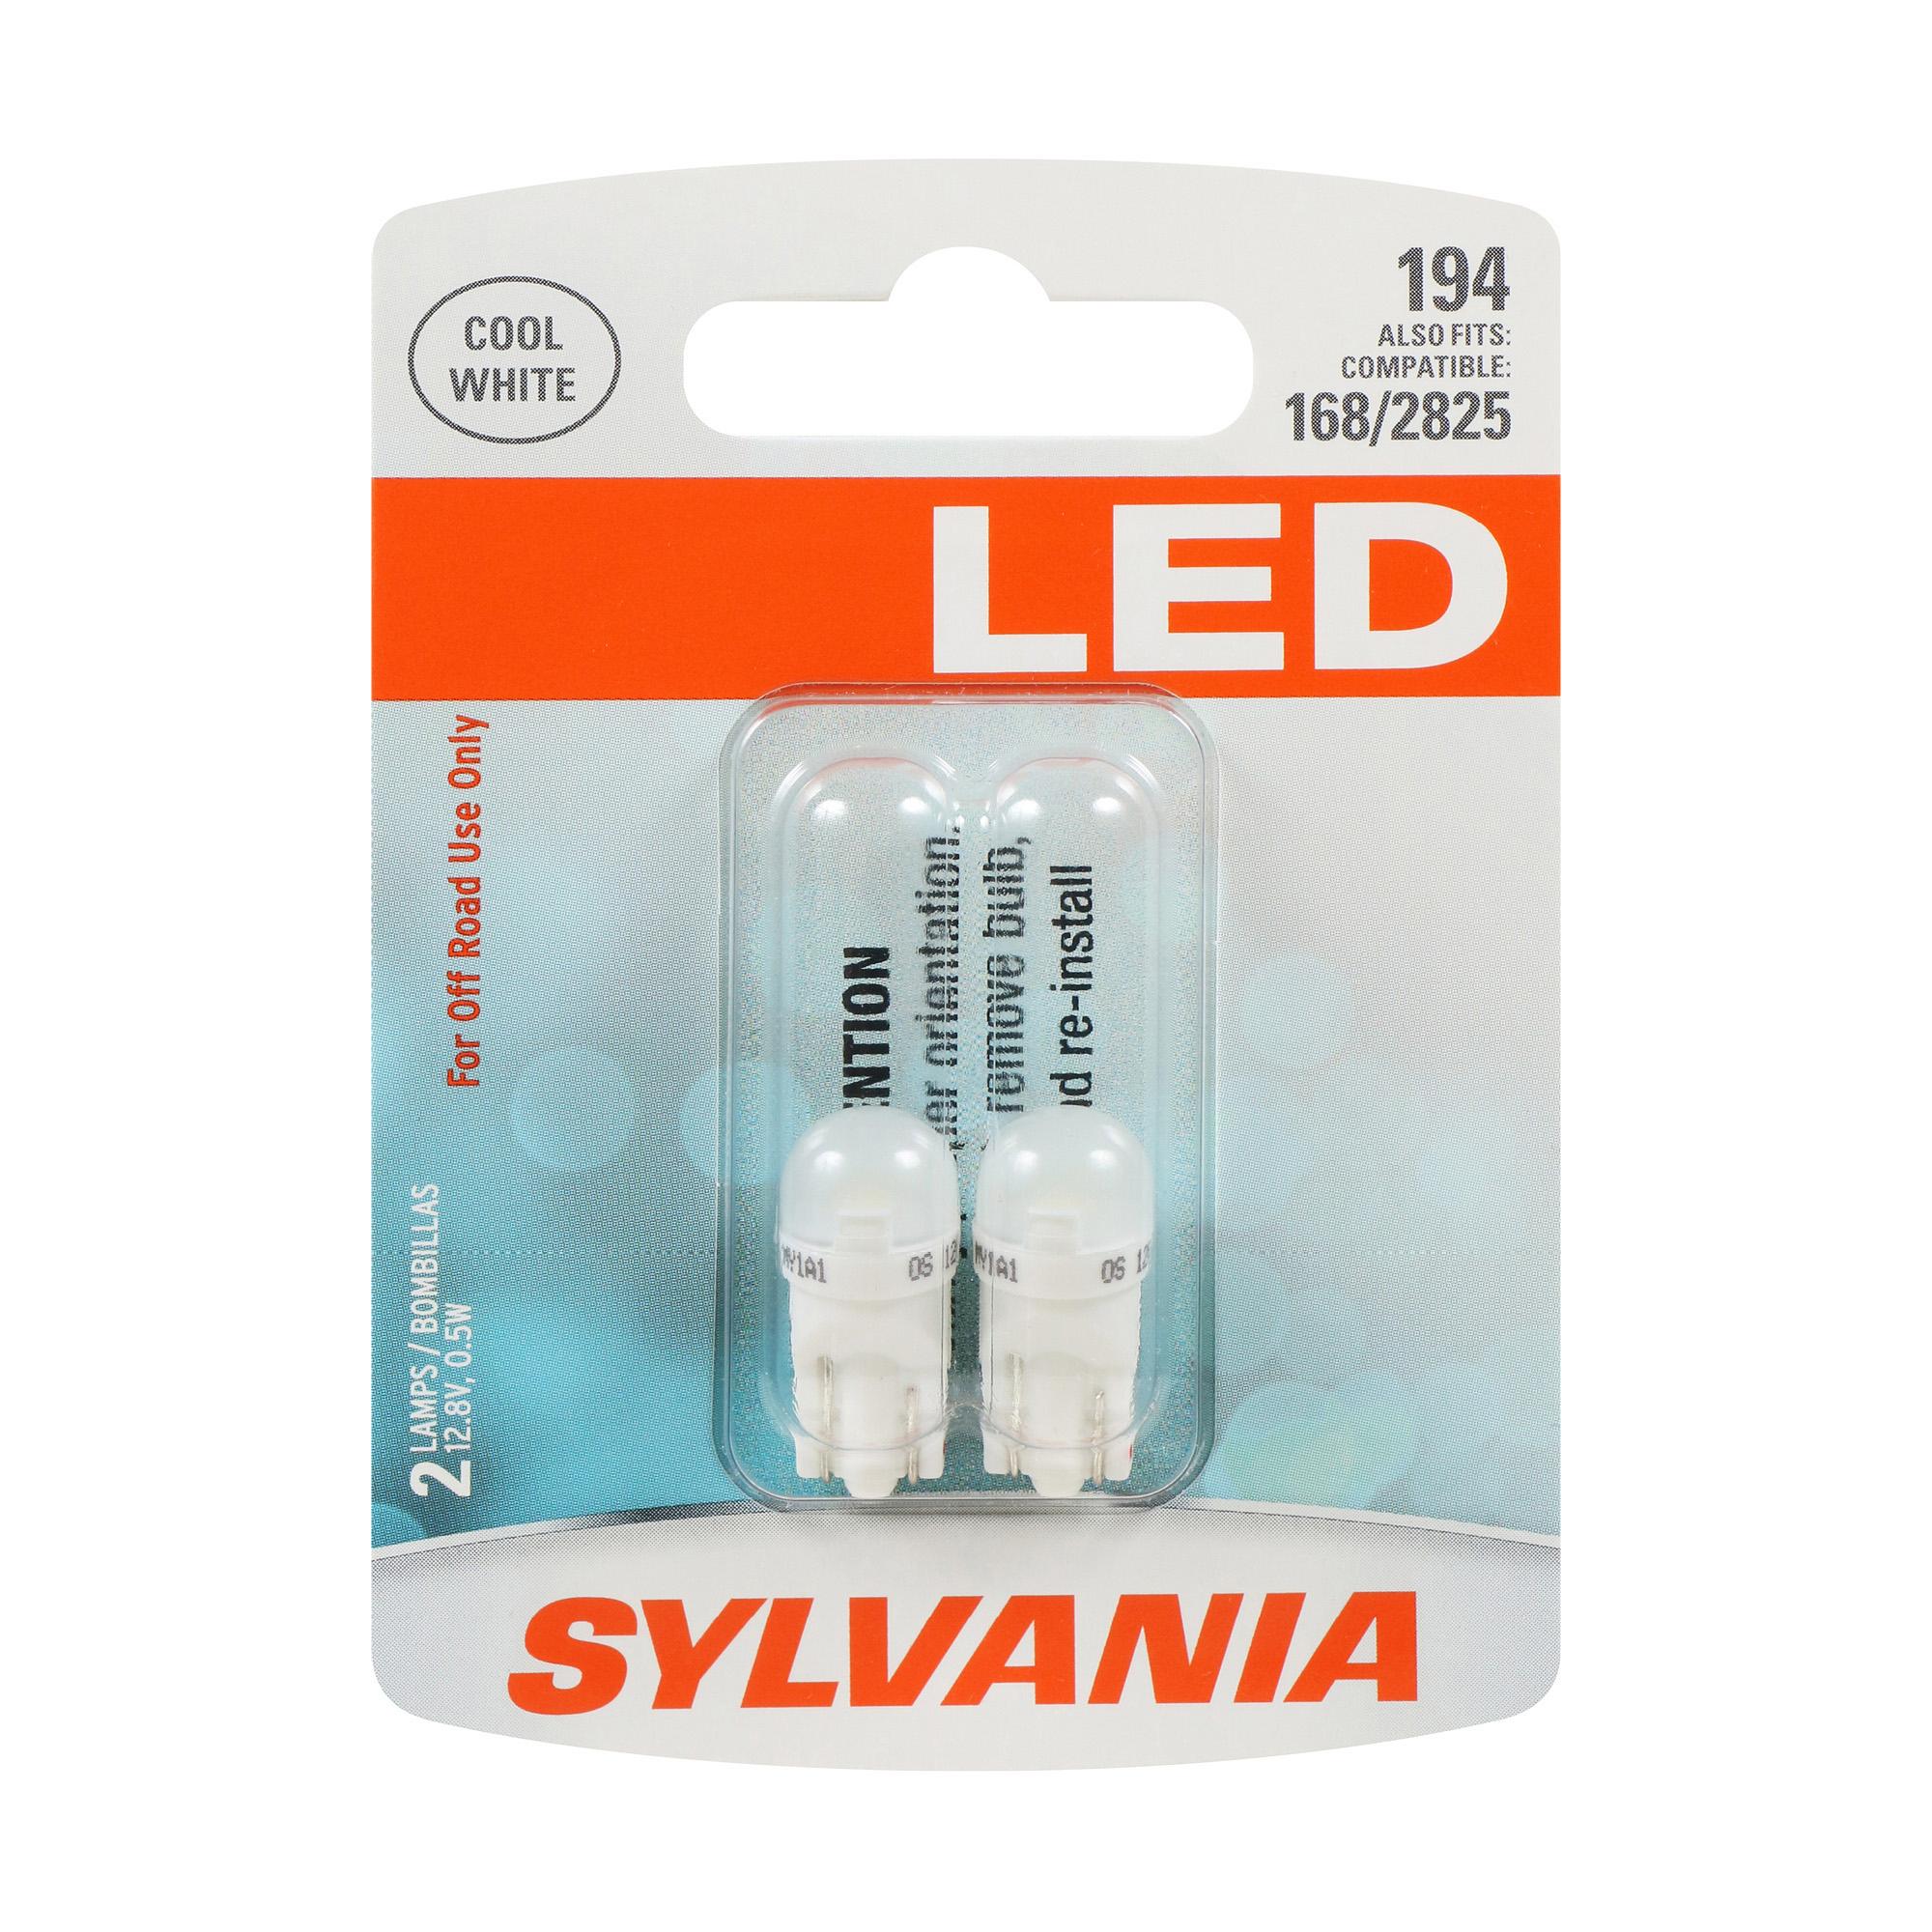
Option A: Insert Sylvania 194 LED Bulb
The most common replacement is the Sylvania 194 LED, which fits directly into the factory socket. It is also interchangeable with 168 and 2825 bulbs. Simply push the new LED into the holder until the contacts are fully seated. Orientation does not matter because LEDs work either way.
Pro Tip: Even though polarity is not critical for single bulbs, ensure the base is flush and secure to prevent flickering.
Option B: Upgrade to Full LED Bowl
For a whiter, brighter light output, many owners replace the entire bowl assembly available from F-150LS.com or aftermarket brands. To install, remove the original bowl from the holder, insert the new LED bowl, and rotate clockwise 1/4 turn until it locks. If only one light works after installation, polarity is likely reversed. Turn off the lights, remove the non-working bowl, rotate it 180 degrees, and reinsert.
Note: Some LED bowls require correct polarity due to diode design, and this fix resolves most one-side dead issues.
Reinstall the Overhead Console
With new bulbs or bowls in place, it is time to reattach the console securely.
Align and Snap into Place
Hold the console so the top edge lines up with the headliner opening. Tilt the front slightly forward to engage the upper clips first. Then push the entire unit upward and slightly backward until all clips click firmly into place. Apply even pressure along both ends, and do not force the center. Check that the console sits flush with the headliner and does not rattle when tapped.
Reinstall Sunglass Holder
If removed earlier, slide the sunglass holder back into position until it clicks. Make sure it locks securely and opens and closes smoothly.
Test the Map Lights
Power up the system to confirm your work.
Activate and Verify Both Sides
Press either map light lens or use the dome light switch to turn on the interior lights. Both driver and passenger map lights should illuminate evenly.
If one or both fail, check the following:
- Check seating by reseating the bulb holder and ensuring full contact
- Test polarity by rotating the LED bowl 180 degrees if only one side works
- Inspect the fuse in the interior fuse box, as fuse #33 or #34 often controls interior lighting
- Examine wiring for corrosion or loose connections behind the console
Troubleshoot Common Problems

Even simple jobs can go sideways. Here is how to fix frequent issues reported by F-150 owners.
One Light Does Not Work
This is almost always due to LED polarity when using upgraded bowls. Turn off the lights, remove the non-working unit, rotate it 180 degrees, and relock. If still no light, test the bulb in the other side to rule out failure.
Console Will Not Snap Back
If the housing will not stay in place, some clips are not engaged. Fully remove it and realign from one end again. Push firmly along the edges while listening for distinct clicks. A misaligned sunglass holder can also prevent full closure.
Flickering After LED Installation
Some LEDs cause flickering due to low current draw, triggering the vehicle’s bulb-out detection system. Fix this by using CANbus-compatible LEDs, installing a load resistor across the circuit, or choosing bulbs labeled error-free or anti-flicker. Avoid cheap non-coded LEDs because they may work initially but trigger dash warnings over time.
Broken Clips During Removal
Despite caution, some clips snap. If this happens, use adhesive clip repair kits available at auto parts stores, replace the entire overhead console, or consider professional installation for future repairs.
Real-World Tip: Many King Ranch and sunroof-equipped models have tighter clearances, so proceed slowly to avoid cosmetic damage.
Choose the Right Bulb Type
Not all bulbs are equal. Use the correct type to ensure fit, function, and longevity.
Compatible Bulb Numbers
- 194 is the most popular LED upgrade
- 168 has slightly lower output and is often used as backup
- 2825 has the same physical size and is interchangeable
All three share the wedge base design and fit the 2006 F-150’s twist-lock sockets. LEDs in these sizes draw less power, last longer, and run cooler than halogens.
Why LED Is the Best Choice
LEDs offer up to 50,000 hours of lifespan compared to 2,000 for incandescent bulbs. They provide 3-5 times more lumens than stock, draw less current to reduce battery drain, and offer a crisp white light that improves nighttime visibility. Stick with reputable brands like Sylvania, Philips, or F-150LS.com for reliable performance.
Prevent Future Issues
Keep your interior lighting working flawlessly with these maintenance tips.
Replace Both Bulbs at Once
Even if only one has failed, replace both. This avoids repeating the console removal in 6-12 months when the second bulb dies. Matching bulbs also ensure uniform brightness and color temperature.
Clean Before Reassembly
Wipe the lens, housing interior, and bulb contacts with a microfiber cloth before reinstalling. Dust and grime reduce light output and can cause overheating.
Check Every Six Months
During routine maintenance, test the map lights. Early detection of flickering or dimming helps prevent complete failure.
Frequently Asked Questions About Changing Map Lights in a 2006 Ford F-150
Do I need tools to remove the overhead console?
No tools are strictly required because the console is held by plastic clips. Many users successfully remove it using only their fingertips. However, a small flathead screwdriver or plastic panel tool can help initiate the release if the clips are particularly tight.
What bulb numbers are compatible with the 2006 Ford F-150 map lights?
The 194, 168, and 2825 bulb types are all compatible. They share the same wedge base design and fit the factory twist-lock sockets. The 194 is the most commonly used LED upgrade.
Why does only one map light work after installing LED bulbs?
This is almost always a polarity issue with LED bulbs. Turn off the lights, remove the non-working bulb, rotate it 180 degrees, and reinsert. This simple fix resolves most one-side dead issues.
How do I prevent LED flickering in my 2006 F-150?
LED flickering often occurs because the vehicle’s bulb-out detection system does not recognize the low current draw. Use CANbus-compatible LEDs, install a load resistor across the circuit, or choose bulbs labeled error-free or anti-flicker to resolve this issue.
Can I damage the clips when removing the overhead console?
The clips are very tight, and some users report breaking them despite careful technique. To minimize risk, start at one end, pull straight down perpendicular to the ceiling, and consider using a plastic panel tool. If clips break, replacement kits are available at auto parts stores.
How long does it take to replace map light bulbs?
The entire process takes approximately 10-15 minutes for most DIYers. This includes removing the console, replacing the bulbs, reinstalling the housing, and testing the lights.
Key Takeaways for Changing Map Lights in Your 2006 Ford F-150
Changing the map light in a 2006 Ford F-150 is a fast, tool-free fix that restores convenience and safety. By starting at one end and pulling straight down, you can remove the overhead console without damaging clips. Swapping in Sylvania 194 LED bulbs or full LED bowls gives brighter, longer-lasting light with minimal effort. If one side does not work, check polarity because this simple fix solves most post-installation issues. With the right technique and parts, this repair is perfect for beginners and experienced DIYers alike. Upgrade to LED today and enjoy modern lighting in your trusted truck with no trip to the dealership needed.


