

If your Ford F-150 is running rough, hesitating during acceleration, or showing a check engine light with misfire codes, worn spark plugs could be the culprit. Replacing them is one of the most cost-effective ways to restore performance, improve fuel economy, and ensure smooth engine operation. For F-150 owners, this DIY task can save hundreds of dollars compared to dealership pricing, especially on models like the 3.5L EcoBoost or 5.0L Coyote where labor costs add up quickly.
The process varies slightly across engine types, but the core steps remain consistent. With the right tools, a few hours of time, and attention to detail, you can complete a full spark plug replacement in under 90 minutes. This guide covers every step from selecting the correct plugs to torquing them properly and avoiding costly mistakes like stripped threads or dropped components.
Removing Engine Covers and Ignition Coils
Disconnect Battery and Prepare Work Area
Before touching any components, ensure the engine is cool or slightly warm, never hot. A hot cylinder head can cause thermal expansion, increasing the risk of thread damage when removing spark plugs.
Start by disconnecting the negative battery terminal using a 10mm wrench. Loosen the bolt and tuck the cable aside to prevent accidental ECU resets or electrical shorts during the job.
Next, remove the engine cover, which is held by two or four 10mm bolts on 2.7L, 3.5L EcoBoost, and some 5.0L models. Set the bolts aside with the cover.
Cover the air filter opening with a rag to prevent debris from entering the intake system during the job.
Unplug and Extract Ignition Coils
Each cylinder has a coil-on-plug unit that must be removed before accessing the spark plug. Begin with the most accessible coil, usually cylinder 1 near the front of the engine.
To disconnect the electrical connector, follow these engine-specific steps:
On 3.5L EcoBoost engines, slide the white locking tab backward, then press the gray clip down and to the side before pulling the connector straight off.
On 2.7L and older models, press the red tab down while pulling the connector toward the coil pack.
On 5.4L V8 engines from 2009 to 2014, press the side locking tab and pull straight up without twisting.
Never yank the wiring harness, as this can break internal wires.
After disconnecting, remove the coil mounting bolt using an 8mm socket for most models or a 7mm socket for 2009 to 2014 5.4L V8s. Keep the washer aligned, as it is often captive.
Gently wiggle the coil side-to-side while pulling straight up. If it resists, use a coil pack puller tool to prevent boot damage. Label each coil or take a photo before removal to avoid confusion during reassembly.
Cleaning Spark Plug Wells Before Removal
Blow Out Debris to Prevent Cylinder Damage
With the coils removed, inspect each spark plug well for dirt, oil, or debris. Use compressed air or a vacuum with a narrow hose attachment to blow out the well thoroughly. This prevents foreign material from falling into the cylinder when removing the plug.
Oil in the well is a red flag that usually indicates a leaking valve cover gasket, common on high-mileage 5.0L and 5.4L engines. If oil is present, clean the well completely and consider replacing the gasket during reassembly.
Also check for carbon buildup, especially in EcoBoost and Coyote engines. Heavy deposits can interfere with plug seating and cause misfires.
Use a flashlight to inspect the well depth and surrounding area. Make sure no tools or fasteners can fall into the cylinder during the next step.
Removing Old Spark Plugs Safely
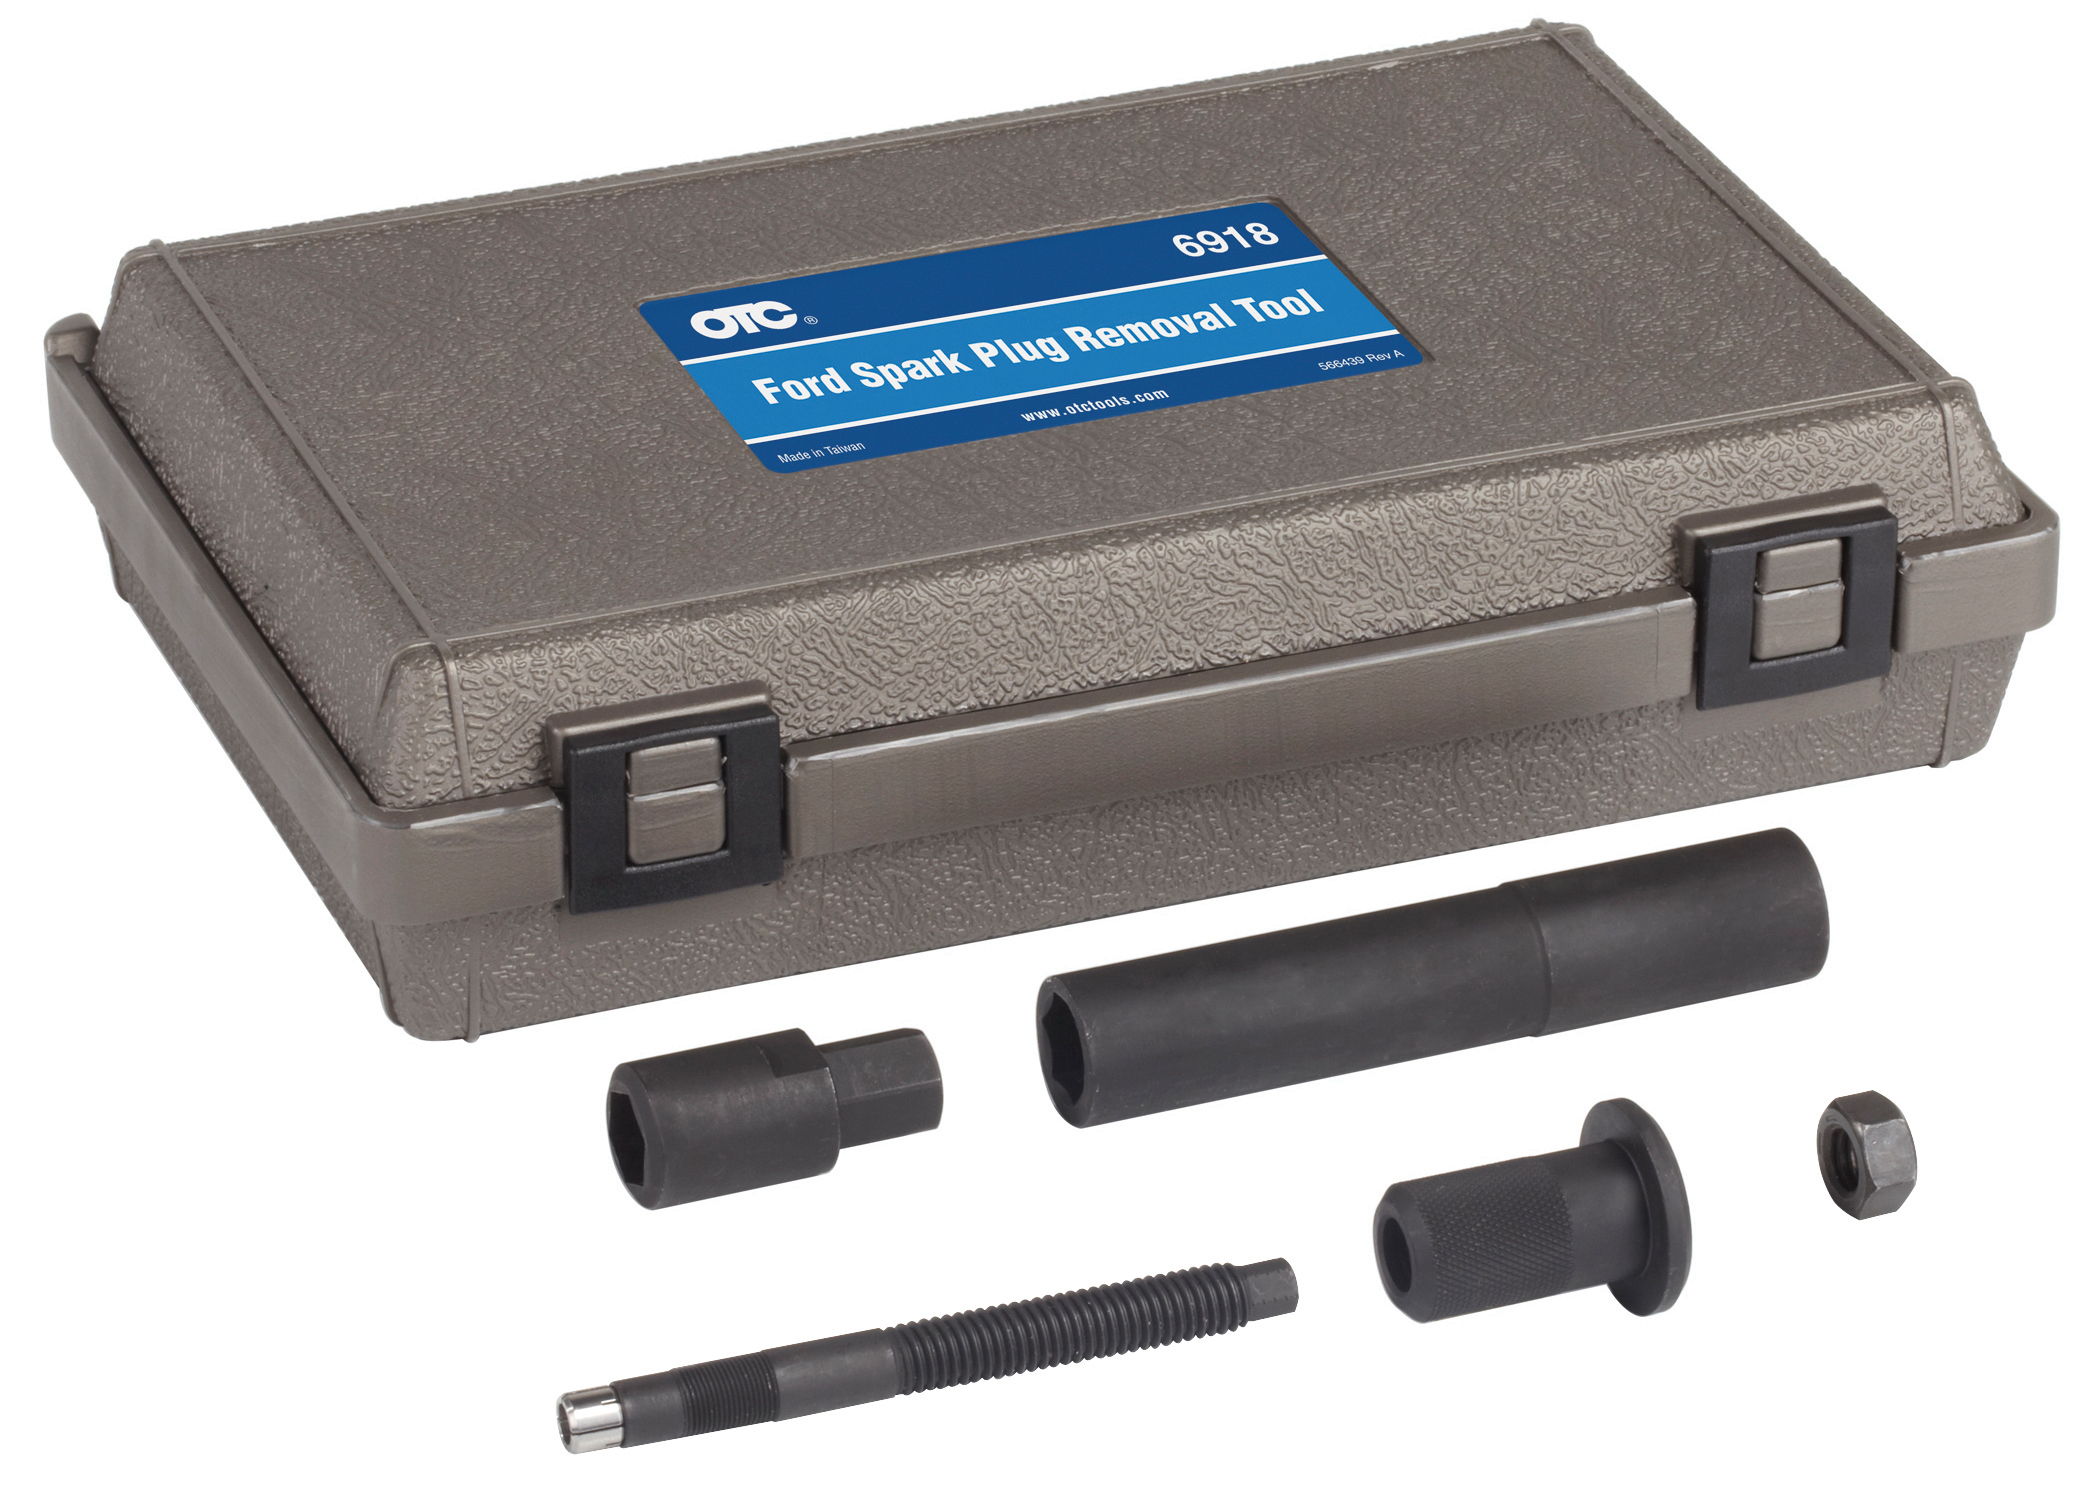
Extract Plugs Without Causing Damage
Attach a 5/8-inch deep-well spark plug socket with a rubber or magnetic insert to a 3/8-inch drive ratchet and 6 to 9-inch extension. For rear cylinders, especially driver’s side on V6 and V8 models, a swivel adapter or flex extension helps navigate tight spaces.
Insert the socket over the plug and begin loosening it by hand if possible. If using a ratchet, turn slowly and smoothly. Never use an impact gun, as the ceramic insulator can crack under sudden force, rendering the plug useless.
Once loose, unscrew the plug completely and remove it by hand. Let the socket’s insert hold it securely during extraction.
Inspect Removed Plugs for Diagnostic Clues
Examine each old plug to diagnose engine health. Light tan or gray deposits indicate normal combustion, while a black, sooty appearance suggests carbon fouling from a rich fuel mixture or short trips. Wet, oily deposits mean oil is entering the combustion chamber, possibly from valve seals or piston rings. A white or melted electrode indicates overheating, which could signal an incorrect plug heat range or pre-ignition.
Measure the gap with a feeler gauge. If it is significantly wider than specification, the plug was overdue for replacement. Keep the old plugs as they serve as a diagnostic tool for engine health.
Installing New Spark Plugs Correctly

Verify Gap and Apply Anti-Seize Properly
Before installation, verify the gap even if the plug is labeled pre-gapped. Use a feeler gauge for accurate measurement. For 2.7L and 3.5L EcoBoost engines, the gap should be 0.030 inch. For 5.0L Coyote engines from 2018 to 2020, it should be 0.045 to 0.050 inch. For 5.4L and 4.6L engines, the gap should be 0.052 inch.
Do not adjust Motorcraft fixed-gap plugs, as they are designed to be non-adjustable.
Apply a tiny amount of anti-seize compound to the threads only, just a light coating. Avoid getting it on the electrode or insulator. Many OEM plugs come pre-coated, so do not double-dip. Excess anti-seize can cause false torque readings or thread galling in aluminum heads.
Hand-Thread and Torque to Specification
Start the new plug by hand-threading it into the cylinder head. Turn it at least 2 to 3 full revolutions smoothly. If you feel resistance, back it out and realign. Never force it, as this risks cross-threading, which can strip the aluminum head.
Once hand-tight, use your ratchet with extension to snug it. Then switch to a torque wrench for final tightening using these specifications:
For 2.7L V6 engines, torque to 12 ft-lbs within the 7.2 to 14.4 ft-lbs range. For 3.5L EcoBoost engines, torque to 133 in-lbs, which equals approximately 11.1 ft-lbs. For 5.0L Coyote engines from 2018 to 2020, torque to 128 in-lbs, approximately 10.7 ft-lbs. For 5.4L V8 engines, torque to 13 ft-lbs. For 4.6L V8 engines, torque to 12 ft-lbs.
Use a swivel socket in tight spots to maintain straight alignment and avoid side-loading the plug. Over-torquing can strip threads, while under-torquing leads to poor heat transfer and plug overheating.
Applying Dielectric Grease to Coil Boots
Protect Connections from Moisture and Corrosion
Dielectric grease prevents moisture, corrosion, and sticking, making future removal easier. Apply it inside the rubber boot, not on the metal terminal.
The correct method involves removing the boot cap if serviceable, flipping it over, punching a small hole in the seal, inserting a grease tube, and filling the boot from the inside out.
Use silicone-based grease only, as petroleum-based types degrade rubber. A little goes a long time, just coat the insulator and inner boot surface.
Never apply dielectric grease to the spark plug electrode or coil terminal, as it is non-conductive and can interfere with the spark.
Reinstalling Ignition Coils Properly
Seat Coils and Secure Connections
Align the coil pack directly over the spark plug and press down firmly until it seats fully. You may hear a soft click when it is properly seated.
Reinstall the 8mm or 7mm mounting bolt and tighten by hand first. Final torque should be approximately 5 ft-lbs or 60 in-lbs, snug but not tight. Over-tightening can crack the coil housing.
Reconnect the electrical connector, ensuring the locking tab clicks into place. On 5.0L Coyote engines, cylinder 3 uses a satellite coil connected via Motorcraft wire WR 6155, which should be handled as a complete unit.
Reattach the wire loom bracket securely to prevent harness movement. Repeat for all cylinders.
Final Reassembly and Engine Testing
Reinstall Components and Start Engine
Once all coils are back, reinstall the engine cover. Align the clips and tighten the 10mm bolts snugly, but do not over-torque the plastic inserts.
Reconnect the negative battery terminal. Start the engine and listen for a smooth idle within seconds. There should be no misfires, hesitation, or rough running.
If issues occur, shut off immediately and recheck plug seating, coil connections, correct plug gap, and part number. Take a short test drive to confirm normal acceleration and power delivery.
Scan for OBD-II codes if the Check Engine Light appears. Common post-replacement codes are P0300 through P0308, indicating misfires.
Engine-Specific Tips for F-150 Spark Plug Changes
2.7L V6 Rear Plug Access
The driver’s side rear cylinder is tight due to the wiring harness. Use a 9-inch extension or combine a 6-inch plus 3-inch extension with a swivel socket for better reach. Gently move the harness aside without forcing it. Fragile wire loom brackets break easily, so use pliers carefully.
3.5L EcoBoost Critical Torque Control
The torque spec is 133 in-lbs or 11.1 ft-lbs, so use a torque wrench with an inch-pound scale. Over-tightening risks damaging nutserts in the plastic valve cover. NGK Ruthenium HX plugs are a popular upgrade. Users report eliminating 1,500 RPM hesitation after replacement at approximately 99,000 miles.
5.0L Coyote Carbon and Oil Considerations
The 5.0L Coyote is prone to carbon buildup and oil consumption after 80,000 miles. Clean plug wells thoroughly and use anti-seize lightly on threads. A swivel socket is recommended for rear plugs. Replace every 80,000 to 100,000 miles. Remember that cylinder 3 uses a satellite coil, so do not lose the wiring harness.
5.4L V8 Carbon and Coil Issues
The 5.4L V8 from 2009 to 2014 is known for carbon in plug wells, so clean thoroughly before reassembly. Use a 7mm socket for coil bolts and torque plugs to 13 ft-lbs. If misfires persist after the plug change, consider replacing ignition coils, as they commonly fail after 100,000 miles.
Older V8 Engines Simpler but Prone to Coil Failure
Older 4.6L and pre-2009 5.4L engines have easier access but are more prone to coil pack failure. Torque to 12 ft-lbs and use Motorcraft SP-589 or equivalent. Check for carbon tracking, which appears as black lines on the boot, and replace coils if cracked.
Preventing Future Spark Plug Problems
Protect Bolts and Connections for Easier Service
To avoid seized coil bolts on future services, apply anti-seize to bolt threads under the head. Coat bolt heads with a paint marker for moisture resistance. Install coil cover caps, available on Amazon, for low-cost rust protection.
Keep old plugs for inspection, as they reveal engine health clues like oil fouling or pre-ignition. Replace plugs in complete sets, even if only one looks bad, because mismatched wear can cause imbalance.
Frequently Asked Questions About Ford F-150 Spark Plug Replacement
How Often Should I Replace Spark Plugs on My Ford F-150?
Ford F-150 spark plugs should be replaced every 60,000 to 100,000 miles, depending on the engine type and driving conditions. Turbocharged EcoBoost engines typically last toward the higher end of this range, while older 5.4L V8s may need attention sooner, especially if experiencing carbon buildup or oil consumption.
Can I Change Spark Plugs on My F-150 Without Special Tools?
You need a few specific tools to change spark plugs properly. A 5/8-inch deep-well spark plug socket with a rubber or magnetic insert is essential. You also need a torque wrench to achieve proper torque specifications, which is critical for aluminum cylinder heads. A swivel adapter helps with tight rear cylinder access. While an experienced DIYer can complete this job with basic tools, having the right equipment prevents costly mistakes like stripped threads.
What Happens If I Don’t Replace Worn Spark Plugs?
Worn spark plugs cause multiple problems including rough idle, reduced fuel economy, hesitation during acceleration, difficulty starting, and check engine light with misfire codes. In severe cases, worn plugs can lead to catalytic converter damage from unburned fuel reaching the exhaust system. Replacing worn plugs is one of the most cost-effective maintenance tasks for your F-150.
Why Is My F-150 Still Running Rough After Spark Plug Replacement?
If rough running persists after replacing spark plugs, check several common causes. Verify that all coil connections are fully seated and locked. Confirm the spark plug gap is correct for your engine type. Ensure you installed the correct spark plug part number. If the problem continues, the ignition coils may be faulty, especially on vehicles over 100,000 miles.
Should I Use OEM or Aftermarket Spark Plugs on My Ford F-150?
OEM Motorcraft plugs are recommended for most F-150 applications because they are specifically designed for your engine’s requirements. Aftermarket options like NGK Ruthenium HX work well, especially for EcoBoost engines, but verify compatibility before purchasing. Avoid cheap, non-OEM plugs, as they may not withstand high cylinder pressures in turbocharged engines.
How Long Does It Take to Replace Spark Plugs on an F-150?
An experienced DIYer can complete a full spark plug replacement in 30 to 60 minutes. First-time installers should plan for 60 to 90 minutes. Rear cylinders on V6 and V8 engines take the most time due to limited access. Taking photos before disassembly helps speed up reassembly.
Key Takeaways for Changing Spark Plugs in Your Ford F-150
Changing spark plugs on your Ford F-150 is a high-impact, low-cost maintenance task that restores smooth performance and saves 300 dollars or more over dealer pricing. Success depends on using the correct spark plug type and gap for your specific engine, applying proper torque specifications to protect aluminum cylinder head threads, and cleaning plug wells thoroughly to prevent debris from entering cylinders.
Protecting coil pack connectors with dielectric grease and preventing corrosion on mounting bolts ensures easier service in the future. Whether you drive a turbocharged EcoBoost or a powerful Coyote V8, this job pays dividends in drivability, fuel economy, and peace of mind. Take your time with rear cylinder access, double-check all connections before starting the engine, and keep old plugs for future inspection to diagnose engine health.


