Your F350 sits in the dark because the cab lights refuse to turn on. This common electrical failure leaves you fumbling for keys or tools when you need visibility most. A simple blown fuse or stuck switch often causes this frustrating issue.
This guide shows you exactly how to fix F350 cab lights not working using proven diagnostic steps. You will learn to test fuses, inspect switches, and trace wiring faults without visiting a dealership. Follow these clear instructions to restore your interior lighting quickly.
Inspect F350 Interior Fuse Box Locations
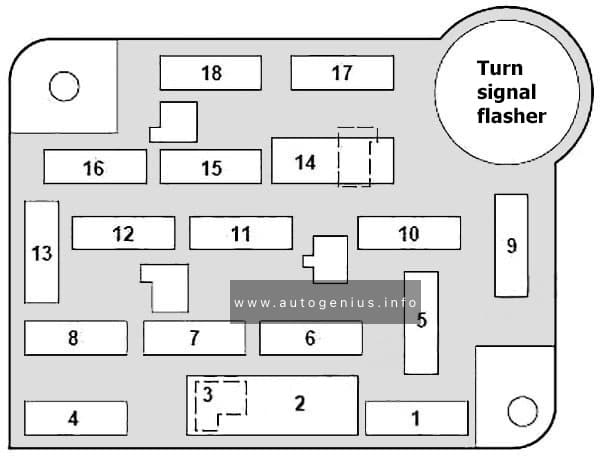
Electrical failures in your truck often start with a simple blown fuse. The F350 uses specific fuses to protect the interior lighting circuits from power surges. Checking these first saves you time before digging into complex wiring.
Find the Interior Junction Block
The primary control center for your cab lights sits under the dashboard. You need to access the panel near the driver side kick area.
- Open the driver door fully to access the side of the dash.
- Look for the plastic cover below the steering column.
- Pull the cover off to reveal the fuse grid.
Identify DOME and ILLUM Fuse Ratings
Your fuse box lid contains a diagram labeling every circuit. You must find the specific fuses responsible for cabin illumination.
- Locate fuses labeled DOME, ILLUM, or CAB CLUSTER.
- Check the amperage rating printed on the top of the fuse.
- Most F350 models use a 10-amp or 15-amp blue or red fuse.
Replace Blown Fuses Safely
A visual inspection tells you if a fuse has failed its duty. The metal strip inside connects the circuit, and a break stops all power flow.
- Use fuse pullers to remove the suspect fuse gently.
- Hold it up to the light to check for a broken wire.
- Insert a new fuse with the exact same amperage rating.
- Turn your ignition on to test if the lights work now.
Pro Tip: If your new fuse blows instantly, do not replace it again. This indicates a short circuit in the wiring that needs professional attention.
Test Dome Light Switch Functions

The switch controlling your overhead lights can fail mechanically or get stuck in the wrong position. This component tells the system when to illuminate the cabin.
Toggle Overhead Console Controls
Your overhead console usually features a three-position switch for lighting control. Rotating this dial changes how the system behaves.
- Turn the dial to OFF to ensure lights stay dark.
- Rotate to ON to force lights on regardless of door status.
- Set to DOOR to let door switches control the lights.
If the light does not turn on in the ON position, the switch itself may be defective.
Verify Door Ajar Switch Operation
The “DOOR” setting relies on plunger switches located in your door jambs. These small buttons detect when you open or close a door.
- Open the driver door and listen for the chime.
- Press the black plunger switch with your finger repeatedly.
- Watch the dome light while pressing the button.
No light activation suggests the switch is stuck or broken. Dirt and moisture often cause these plungers to seize up.
Common Issue: Spray electrical contact cleaner on the plunger to free it up. Work the button in and out several times to clean internal contacts.
Examine Overhead Console Wiring

Loose connections behind your overhead console cause many lighting failures in older trucks. Vibration from driving can shake wires loose over time.
Remove Overhead Console Trim
Accessing the wiring requires removing the plastic housing holding your lights. You must work carefully to avoid breaking plastic clips.
- Disconnect the negative battery terminal for safety.
- Insert a plastic trim tool between the console and headliner.
- Gently pry down until the clips release.
- Unplug the electrical connector at the back of the unit.
Check for Corrosion or Broken Wires
Inspect the exposed wires and connector pins for signs of damage. Heat and moisture can degrade these connections quickly.
- Look for blackened terminals indicating overheating.
- Check for green or white corrosion on metal pins.
- Wiggle the wire harness to spot intermittent connection loss.
Use a multimeter to test continuity if you see no visible damage. Re-crimp any loose terminals and seal them with heat-shrink tubing.
Evaluate Light Bulbs and Sockets
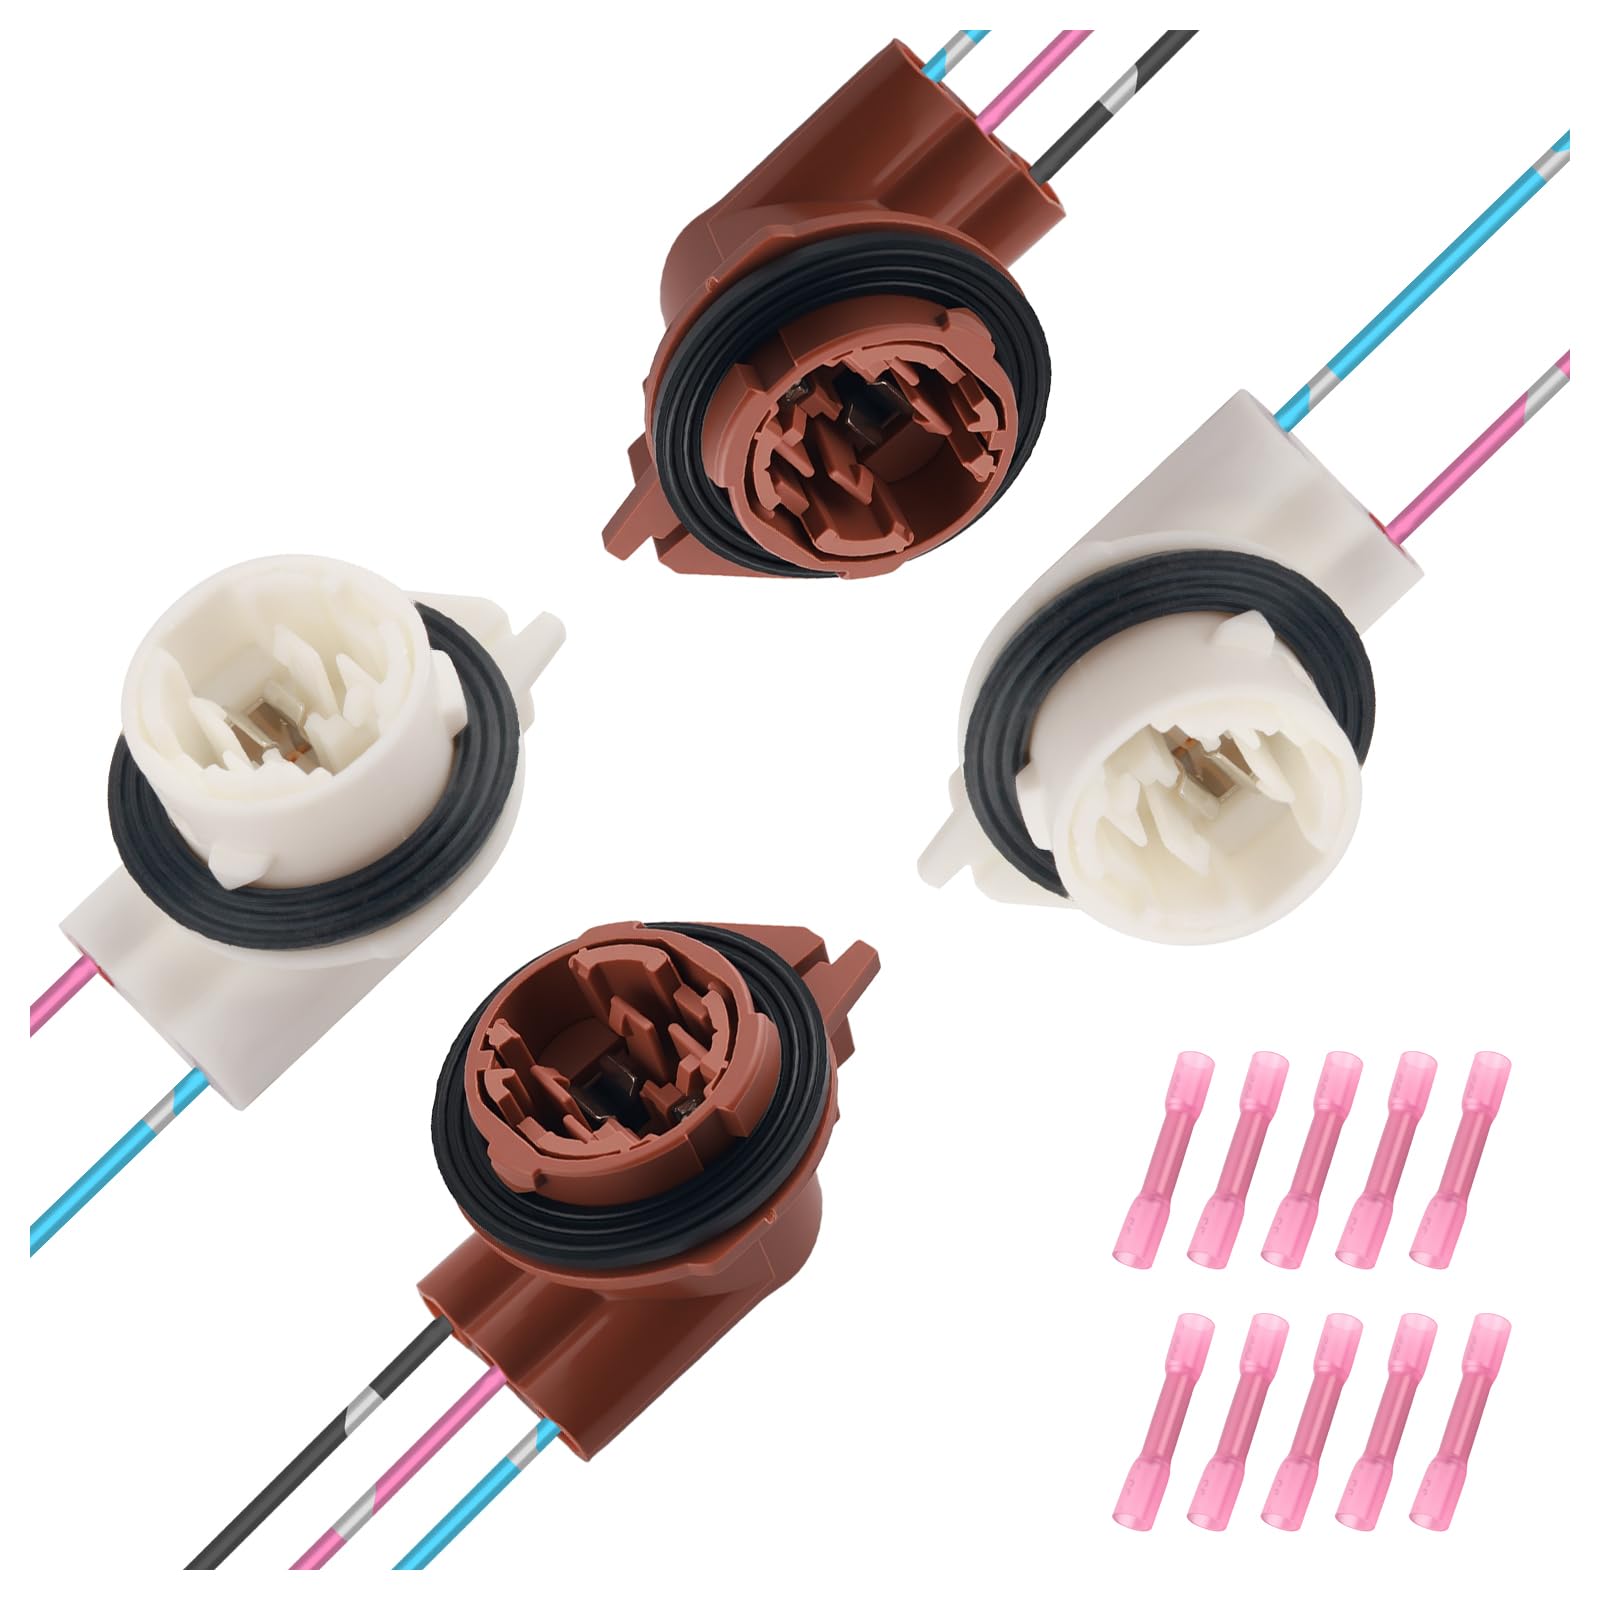
Even with perfect power delivery, your lights will not work if the bulbs are dead. Both map lights often fail around the same time due to age.
Remove and Inspect Bulb Filaments
Standard incandescent bulbs have a thin filament that burns out eventually. You can see this damage with the naked eye.
- Twist the lens cover counterclockwise to remove it.
- Pull the bulb straight out of the socket.
- Check the glass for a broken filament or dark spots.
Replace any damaged bulbs with the correct type for your F350 model year. Common replacements include 3157 or T10 wedge bulbs.
Measure Socket Voltage Output
Testing the socket confirms if power is reaching the bulb location. This step isolates the problem to the bulb or the circuit.
- Reconnect your battery and turn the light switch on.
- Set your multimeter to measure DC voltage.
- Touch the positive probe to the socket center contact.
- Touch the negative probe to the metal side of the socket.
You should read approximately 12 volts. Zero voltage means the issue lies upstream in the wiring or switches.
Diagnose GEM Module Problems
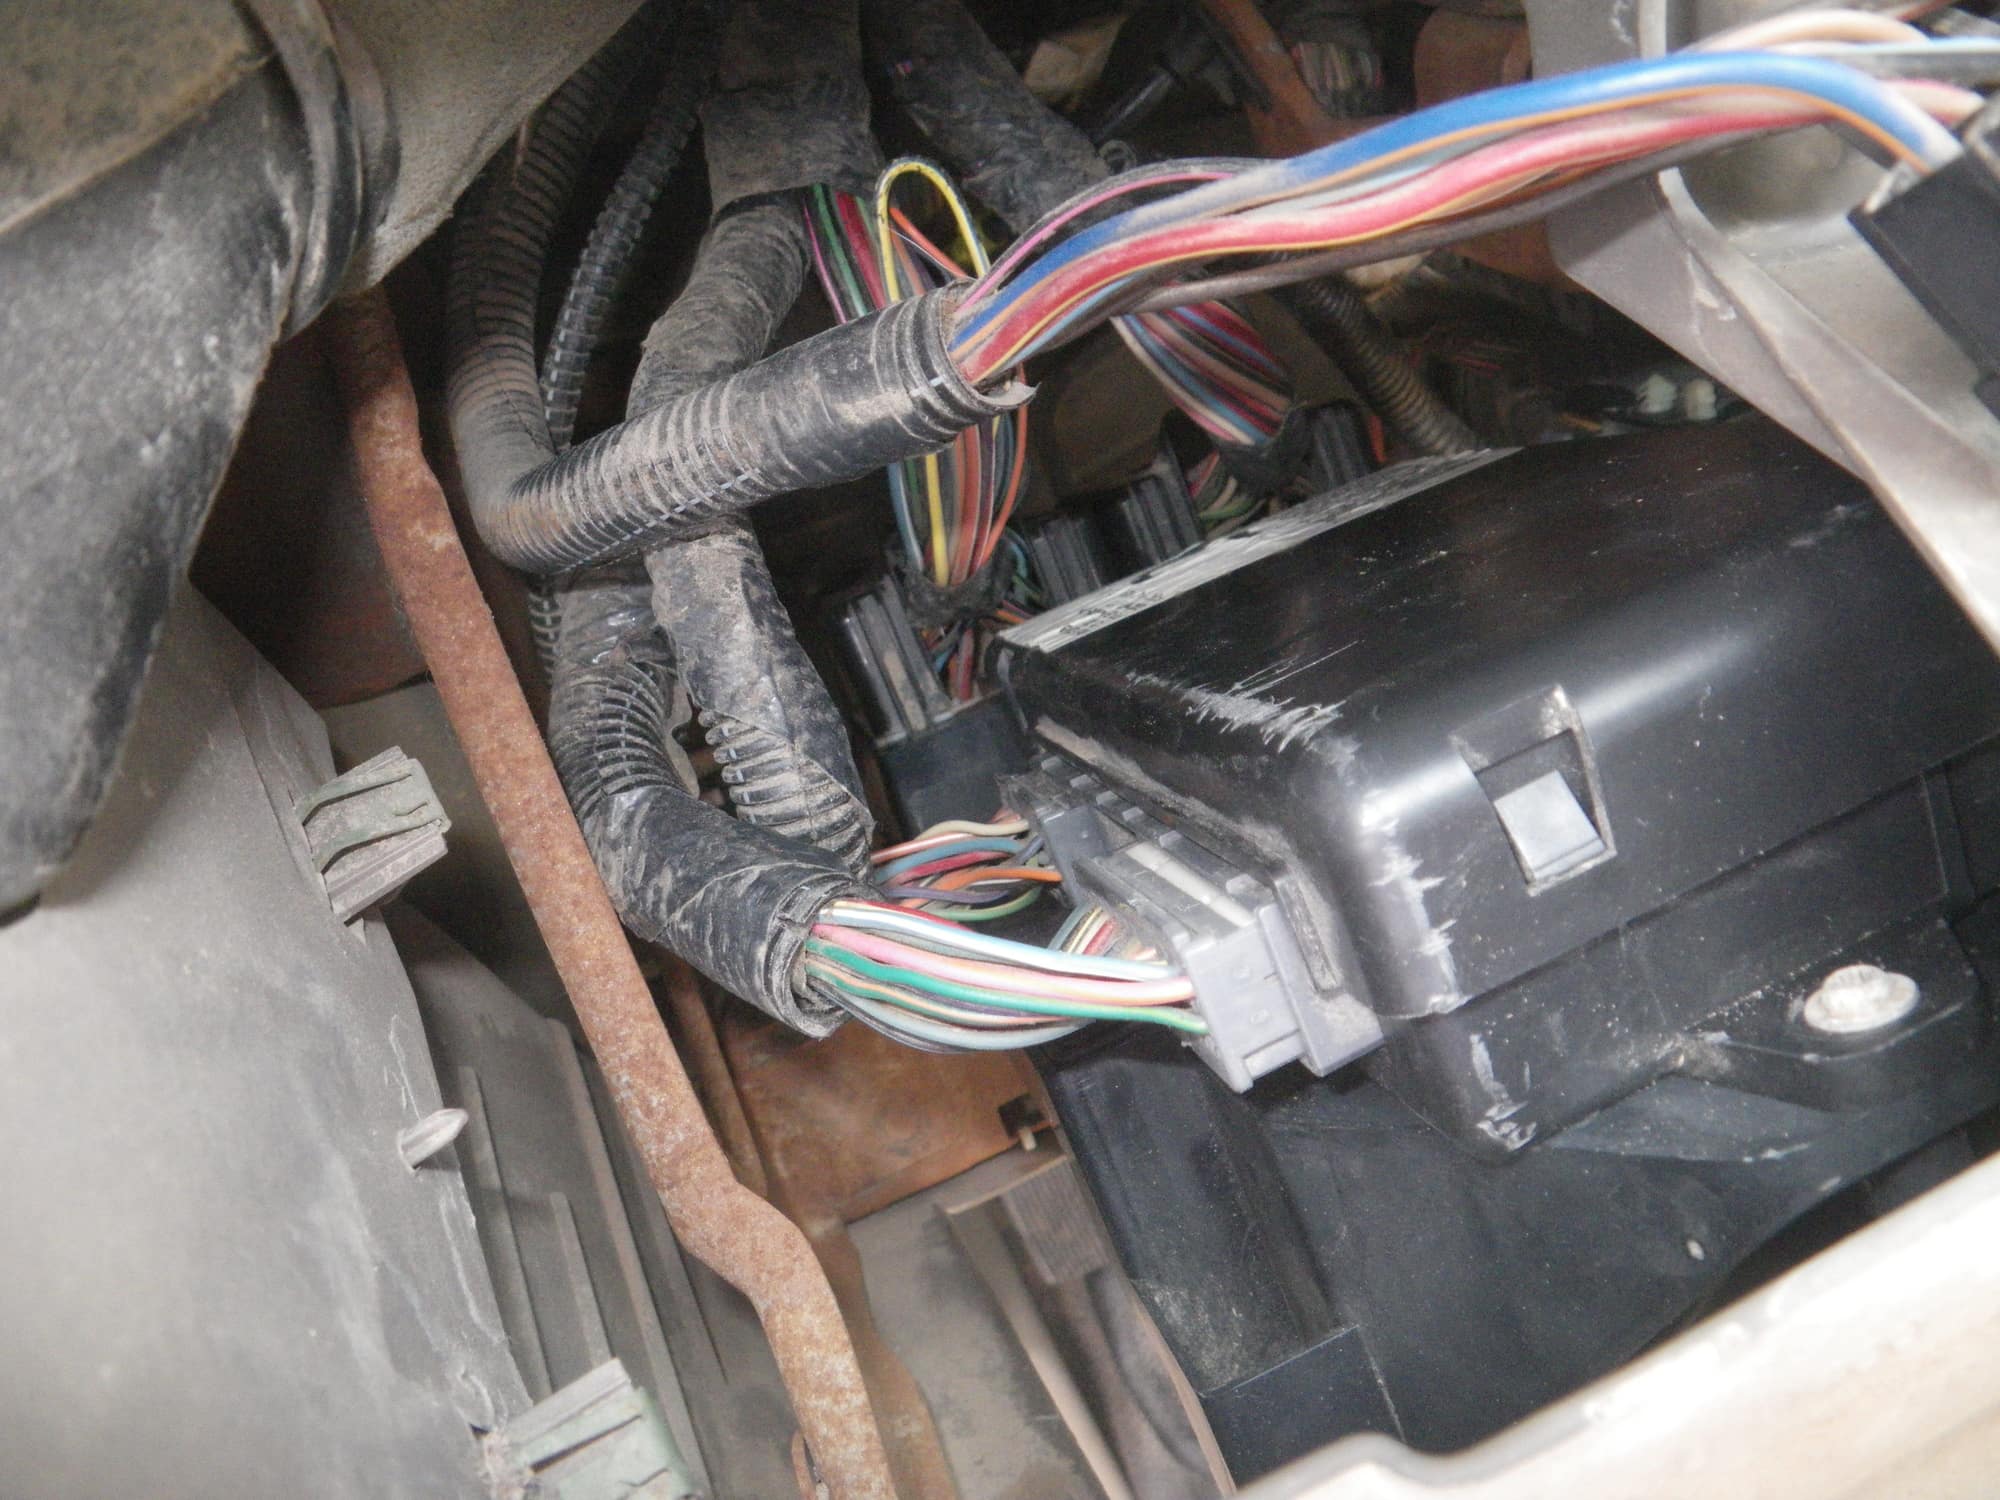
The Generic Electronic Module (GEM) manages interior lights on many F350 trucks. This computer module can fail and stop sending power to your cab lights.
Recognize GEM Failure Symptoms
A failing GEM module affects more than just your lighting system. Multiple electrical glitches often appear together when this unit fails.
- Cab lights refuse to turn on or stay on constantly.
- Door locks operate erratically or not at all.
- Delayed accessory power does not work after shutting off the truck.
Access and Inspect GEM Unit
The module sits under the dashboard near the brake pedal assembly. It looks like a gray or black box with several large wire harnesses plugged in.
- Disconnect the battery before touching any modules.
- Locate the GEM module above the pedal cluster.
- Unplug the connectors and check for bent pins or water damage.
Expert Note: GEM modules are not user-repairable. If all other tests pass, you may need an OEM replacement and programming with a scan tool.
Review Aftermarket Accessory Installations
Recent additions to your truck like alarm systems or LED bars can disrupt factory wiring. Improper installation often taps into the wrong circuits.
Disconnect Recent Electrical Add-ons
Any device wired into your dome light circuit can cause overloads. You need to isolate these variables to find the root cause.
- Unplug any dash cams wired to the interior fuse box.
- Remove fuse taps labeled for auxiliary lighting.
- Disconnect aftermarket alarm system LEDs.
Test your cab lights after removing each accessory. If the lights work, the added device caused the failure.
Prevent Future Cab Light Failures
Regular maintenance keeps your electrical system reliable for years of service. Simple steps prevent corrosion and connection issues.
Protect Electrical Connections
Moisture and dirt are the enemies of good electrical contact. Cleaning your connectors twice a year extends component life significantly.
- Spray contact cleaner on switches and plug connections.
- Apply dielectric grease to prevent future corrosion.
- Ensure all trim panels snap back tightly to keep water out.
Upgrade to LED Bulbs
LED bulbs last much longer than standard halogen options. They draw less power and generate less heat in your console.
Ensure you buy CANBUS-compatible LEDs to avoid flickering. This upgrade reduces the load on your fuses and wiring harness.
Frequently Asked Questions About F350 Cab Lights
Why do my F350 cab lights work sometimes but not others?
Intermittent operation usually points to a loose wire or a failing switch. Check the overhead console connections and door jamb switches for wear.
Can a bad battery cause interior lights to fail?
Yes, low voltage can prevent lights from illuminating properly. Test your battery voltage to ensure it reads above 12 volts when the engine is off.
How do I reset the F350 interior lighting system?
Disconnecting the negative battery terminal for 15 minutes often resets the GEM module. Reconnect the battery and test the lights again.
Where is the fuse for the F350 dome light located?
The fuse is in the interior junction block under the driver side dash. Look for the fuse labeled DOME or ILLUM on the diagram.
Do I need special tools to fix F350 cab lights?
You only need basic tools like a fuse puller, screwdriver, and multimeter. Most repairs require no specialized automotive equipment.
Key Takeaways for Fixing F350 Cab Lights

Restoring your interior lighting starts with checking the simplest components first. Most F350 cab lights not working issues resolve by replacing a blown fuse or cleaning a door switch. Always verify your fuses and bulb condition before suspecting complex module failures.
Take action today by inspecting your interior fuse box and testing your door switches. These quick checks solve the majority of lighting problems in minutes. Regular maintenance of your electrical contacts prevents these issues from returning in the future.