

If your Ford F-150 won’t shift into 2nd gear, the overdrive light is flashing, or you’re seeing a P0755 trouble code, you likely have a failing shift solenoid. This issue is common in F-150s from 1993 to 2006 equipped with the 4R70W, 4R75E, or E4OD transmission. The good news? You can fix it yourself with basic tools and about 3 hours of work.
Replacing the shift solenoid requires removing the transmission oil pan, but you don’t need to pull the transmission. The real key to long-term success is addressing the electrical system too. Many DIYers replace the solenoid only to see the same P0755 code return because the root cause was a corroded connector in the internal wiring harness.
Diagnose the Problem First
Before dropping the pan, confirm the issue is actually a failed shift solenoid. Jumping straight to replacement without testing can waste time and money.
Check for Common Symptoms
Look for these telltale signs of a failing shift solenoid.
• No 2nd gear: Truck starts in 1st, then jumps to 3rd, skipping 2nd
• Flashing O/D light on the dashboard
• Check Engine Light with stored codes
• Harsh or delayed shifts
• Intermittent operation: Works fine when cold, fails after warm-up
• Limp mode: Transmission locks into 2nd or 3rd gear
Pro Tip: If symptoms only appear after the truck warms up, suspect an electrical connection issue. Heat expands metal, breaking marginal wire contacts.
Scan for Trouble Codes
Use an OBD-II scanner capable of reading transmission codes. Generic scanners may miss critical codes.
| Code | Likely Issue |
|---|---|
| P0755 | Shift Solenoid B malfunction (most common) |
| P0750 | Shift Solenoid A failure |
| P0751 / P0752 | Solenoid B stuck on/off or performance issue |
| P0743 | Torque Converter Clutch circuit fault |
Critical: P0755 points to Solenoid B, which controls the 2-3 shift. This is the one you’ll most likely replace.
Test Solenoid Resistance
- Disconnect the battery negative terminal.
- Locate the transmission wiring connector on the driver’s side.
- Unplug it and use a digital multimeter to test resistance across the Solenoid B pins.
- Normal range: 12–30 ohms.
• Infinite (OL): Open circuit (failed coil)
• Zero ohms: Short circuit
• Fluctuating readings when wiggling wires: Bad connection
Expert Note: If resistance is out of spec or unstable, the solenoid or harness is faulty. Always test before replacing.
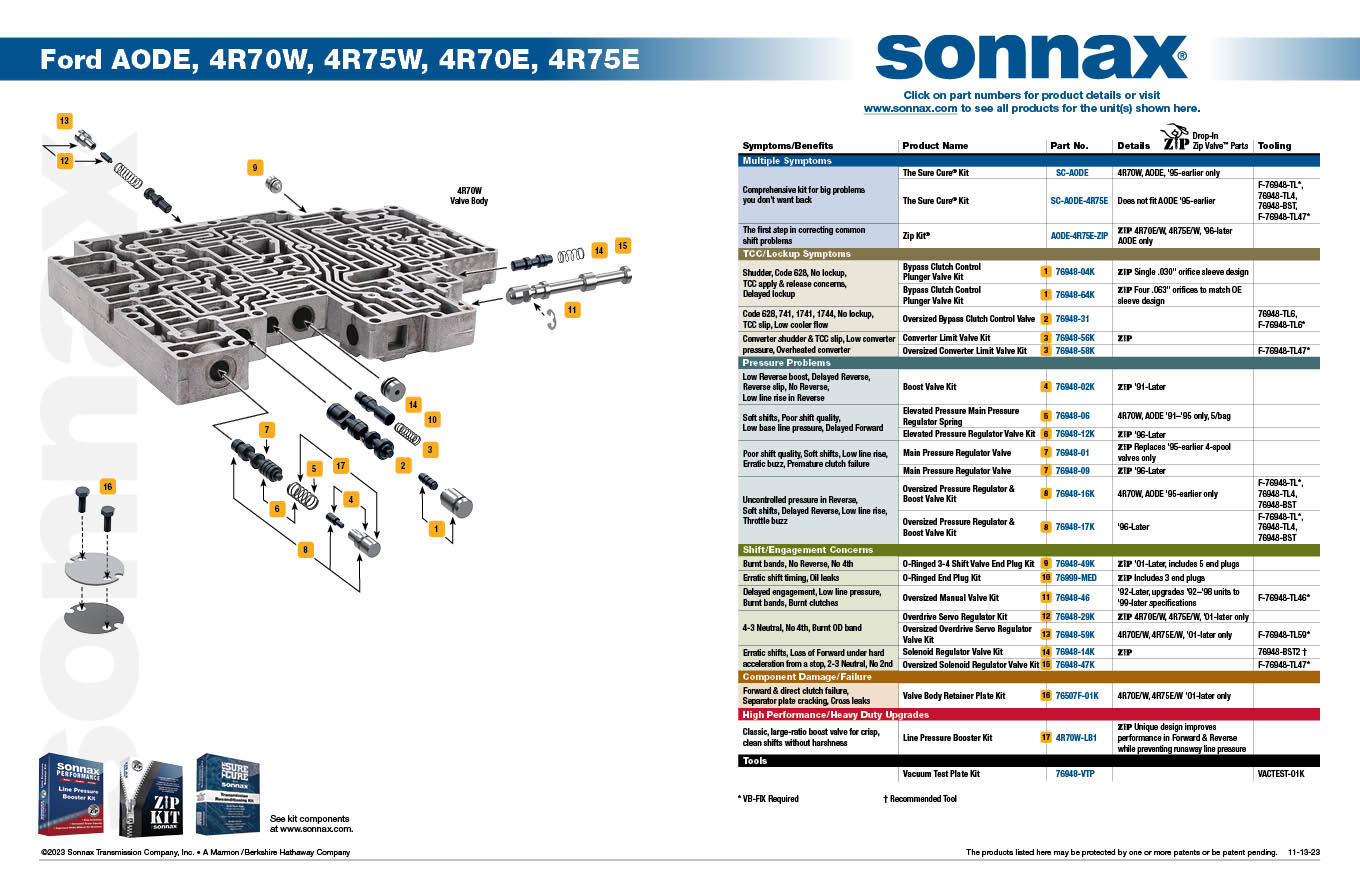
Locate and Identify the Solenoids
You cannot replace the shift solenoid without removing the transmission pan. There is no external access.
Remove the Oil Pan
- Park on level ground, engage parking brake, and chock rear wheels.
- Jack up the truck and secure on jack stands.
- Place a drain pan under the oil pan.
- Remove 10 mm pan bolts (typically 14 total), leaving one front and two rear bolts.
- Loosen front bolt slightly, then rear bolts to tilt pan and drain fluid safely.
- Once drained, remove all bolts and carefully pry pan loose with a flat-head screwdriver.
- Inspect the pan for metal shavings or burnt fluid.
Warning: Wear gloves. Transmission fluid is hot and slippery.
Identify Shift Solenoid B
With the pan off, look at the valve body.
• Two square solenoids side-by-side near the front
• Left: Shift Solenoid A (1-2 shift)
• Right: Shift Solenoid B (2-3 shift)
• Round solenoid above: TCC solenoid
• Cylindrical unit in rear: Pressure Control Solenoid
Visual Cue: Solenoid B is the right-hand square unit. Confirm by connector position if unsure.
Replace the Shift Solenoid
Now that you have confirmed the fault and located the solenoid, it is time to replace it.
Disconnect Electrical Connectors
- Unsnap the electrical connector from Solenoid B.
- If replacing the internal wiring harness, unplug all solenoid connectors and gently pull the harness out through the case hole.
Pro Tip: Take a photo before disconnecting to ensure correct reconnection.
Remove the Old Solenoid
- Use a 2 mm hex (Allen) wrench to remove the retaining screw.
- Gently pull the solenoid straight out. Do not twist or tilt.
- Inspect the O-ring for tears or hardening.
- Inspect the solenoid tip for carbon buildup or scoring.
- Check the bore in valve body for debris.
Caution: Damaged O-rings or bores can cause leaks or erratic operation.
Install the New Solenoid
- Lubricate the new O-ring with clean Mercon V fluid.
- Insert solenoid straight into the bore. Do not cross-thread.
- Secure with the 2 mm screw. Tighten just until snug (over-tightening strips threads).
- Reconnect the electrical connector. Listen for the click.
Best Practice: Replace the internal wiring harness at the same time, especially on high-mileage trucks. Use a hard plastic connector type for durability.
Replace Filter and Pan Gasket

While you are in there, replace the filter and gasket. Skip this and you risk contamination or leaks.
Install New Filter
- Pull the old filter straight down from the valve body.
- Press the new filter firmly into place until fully seated.
Cost-Saving Tip: Filters cost about $15. Skipping this risks debris clogging the new solenoid.
Reinstall Pan with New Gasket
- Place a new pan gasket on the pan. Never reuse.
- Position pan carefully. Ensure no wires are pinched.
- Install bolts hand-tight in a crisscross (star) pattern.
- Torque to 120 in-lb (10 ft-lb) using a torque wrench.
Critical: Over-torquing warps the aluminum pan. Under-torquing causes leaks.
Refill and Test the Transmission
Now it is time to refill, reset, and road test.
Refill with Correct Fluid
- Reconnect the battery.
- Add 6 quarts of Mercon V through the dipstick tube.
- Start engine, let it idle.
- Shift through all gears: P → R → N → D → 2 → 1. Pause 3–5 seconds in each.
- Return to Park, engine running.
- Check dipstick. Fluid must be at “Hot” mark when warm.
- Add fluid in ½-quart increments if needed.
Warning: Never use Mercon LV or Dexron in 4R70W/4R75E. It causes solenoid sticking and damage.
Clear Codes and Test Drive
- Use your OBD-II scanner to clear DTCs (like P0755).
- Take a 10+ mile test drive. Verify smooth 1-2-3-4 shifts.
- Confirm O/D engages and light stays off.
- Watch for slipping or hesitation.
- Re-scan for codes after driving.
Success Signal: No return of P0755, stable shifting, and no CEL.
Fix Common Post-Repair Issues
Even after replacement, problems can occur. Here is how to fix them fast.
P0755 Returns After Replacement
Cause: Usually a faulty internal harness, not the solenoid.
Fix: Test harness continuity with a multimeter. Replace with hard plastic connector harness (like ATP or Motorcraft). Verify correct part number using your VIN.
User Data: Over 60% of repeat P0755 codes are solved by harness replacement alone.
No 2nd Gear Still Missing
Cause: Debris in valve body or stuck spool valve.
Fix: Remove valve body (advanced) or use transmission flush. Blow out passages with compressed air. Inspect for blockages or damaged check balls.
Transmission Leaks After Reassembly
Cause: Over/under-torqued pan bolts or damaged gasket.
Fix: Re-torque bolts to 10 ft-lb in star pattern. Replace gasket if torn or deformed. Never use RTV unless specified.
Prevent Future Failures
A replaced solenoid can fail again if underlying issues are not addressed.
Use Only Mercon V Fluid
• Required: Mercon V
• Avoid: Mercon LV, Dexron, universal ATF
• Change every 30,000–60,000 miles if towing or in stop-and-go traffic
Fact: Using Mercon LV in a Mercon V system is a leading cause of solenoid failure.
Maintain Electrical Connections
- Clean connectors with electrical contact cleaner.
- Apply dielectric grease to prevent corrosion.
- Inspect for moisture or cracked insulation.
Pro Tip: Do this every time you check the fluid.
Replace Solenoid and Harness Together
• Solenoid-only replacement: 60–90k mile lifespan
• Solenoid + harness replacement: 100k–150k+ mile lifespan
Expert Advice: Spend $30 more on a quality harness to avoid repeat work.
Final Checklist: Did You Do It Right?
• Battery disconnected before starting
• Transmission fluid fully drained
• Oil pan removed without sealing surface damage
• Shift Solenoid B identified and replaced
• New O-ring lubricated and installed
• Internal wiring harness inspected or replaced
• Electrical connectors cleaned and greased
• New filter and pan gasket installed
• Pan bolts torqued to 10 ft-lb in star pattern
• 6 quarts Mercon V added. Level checked hot.
• DTCs cleared with scanner
• Test drive completed with smooth shifts
Frequently Asked Questions About Ford F-150 Shift Solenoid Replacement
How do I know if my Ford F-150 needs a shift solenoid replacement?
Common signs include failure to shift into 2nd gear (jumping from 1st to 3rd), a flashing overdrive light, Check Engine Light with P0755 code, harsh or delayed shifts, and limp mode activation locking the transmission in 2nd or 3rd gear.
Can I replace the shift solenoid without removing the transmission pan?
No. On Ford F-150s with 4R70W, 4R75E, or E4OD transmissions (1993-2006), the shift solenoids are mounted inside the valve body and are only accessible after removing the transmission oil pan.
What tools do I need to replace shift solenoid Ford F-150?
You will need a 10 mm socket, 2 mm hex (Allen) wrench, torque wrench, drain pan, jack and jack stands, digital multimeter, OBD-II scanner, and basic hand tools. The procedure takes about 2-4 hours for DIYers.
Which shift solenoid is most commonly replaced on Ford F-150?
Shift Solenoid B is the most commonly replaced. It controls the 2-3 shift and is associated with the P0755 trouble code. It is the right-hand square solenoid when facing the valve body.
Why does the P0755 code keep returning after replacement?
The most common cause is a faulty internal wiring harness rather than the solenoid itself. Corroded or cracked connectors create intermittent electrical contact. Replacing both the solenoid and harness together has a success rate over 90%.
What fluid should I use for my Ford F-150 transmission?
Use only Mercon V fluid. Never use Mercon LV, Dexron, or universal ATF in 4R70W/4R75E transmissions. Using the wrong fluid causes solenoid sticking, valve body damage, and premature failure.
Key Takeaways for Replacing Shift Solenoid on Your Ford F-150
Replacing a shift solenoid on your Ford F-150 is a manageable DIY job, but success depends on more than just swapping a part. The most critical insight from this guide is that electrical issues, particularly in the internal wiring harness, are often the real culprit behind persistent P0755 codes. Always test solenoid resistance with a multimeter before replacement, and seriously consider replacing the harness at the same time, especially on trucks over 100,000 miles.
Use only Mercon V transmission fluid. This is not optional. Using Mercon LV or Dexron in these transmissions causes solenoid sticking and irreversible valve body damage. Additionally, always replace the filter and pan gasket during the pan drop. Skipping these $20-$30 in parts risks contaminating your new solenoid and voiding your repair effort.
Finally, follow proper torquing procedure. Tighten pan bolts to 10 ft-lb in a star pattern to prevent leaks and pan warping. After reassembly, clear the codes with your OBD-II scanner and perform a thorough test drive of at least 10 miles to verify smooth shifting before considering the job complete.


