
A dim or burned-out license plate light can land you a ticket and make your F-150 harder to identify at night. The good news? Replacing these lights is a simple, 10-minute DIY job that requires no special tools on most model years. Whether you’re upgrading from yellowing incandescent bulbs to crisp white LEDs or just replacing a failed bulb, this guide covers every F-150 generation from 1997 to 2024 with exact steps, part recommendations, and pro tips to avoid common issues like backup camera glare.
You’ll learn how to safely access the housing, choose the right LED upgrade, install it correctly, and test for full compliance. Let’s get your plate properly lit.
Access License Plate Light Housing

Your method depends on the F-150’s model year. Ford redesigned the rear bumper and lighting layout multiple times, so knowing your truck’s generation is key.
1997–2003: Rear Socket Access
Crawl under the rear or stand behind the truck with the tailgate down. The license plate lights are mounted on either side of the plate, near the tailgate hinges. You’ll see a small round socket at the back of each housing. No disassembly is needed. Just twist the socket counterclockwise about a quarter-turn to unlock it, then pull it straight out.
2009–2014: Remove Plastic Lens First
These models hide the socket behind a removable lens. Lie under the rear bumper and locate the lens on each side of the plate. Insert a flathead screwdriver into the side slot and gently push the butterfly clip inward while prying the lens outward. The lens rotates off clockwise once the clip releases. Now the socket is exposed.
The lens ears break easily on these years. Don’t force it. Realign and rotate slowly if it resists.
2015–2020: Snap-In Housing Removal
No lens or clips. The entire housing pops out from below. Look for a small plastic tab on the bottom of the unit. Press it upward while pulling the housing toward you. It releases with a soft click. The grey socket twists out counterclockwise.
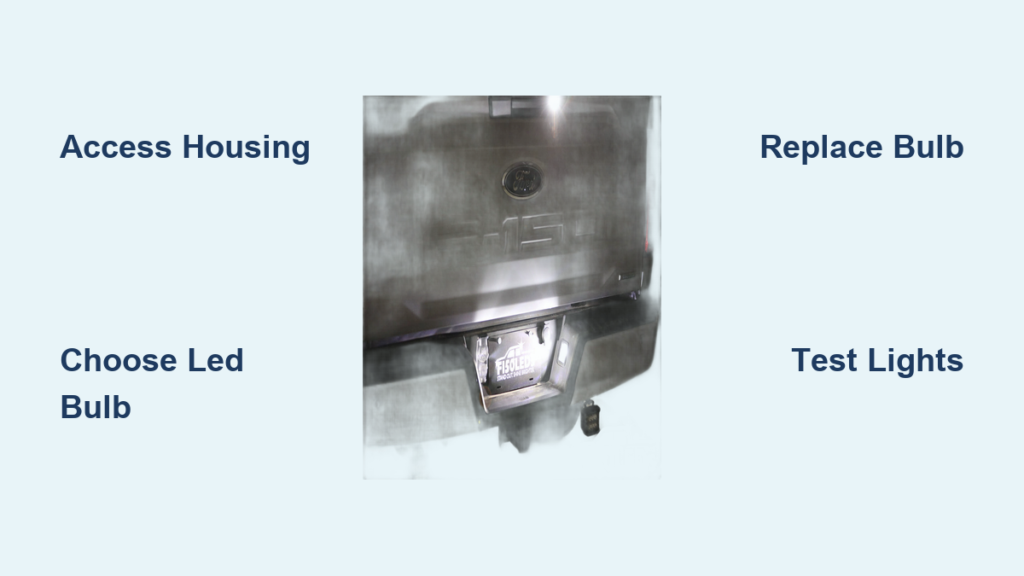
2021–2024: Reach Up from Underneath
Newer F-150s mount the lights high in the bumper. Position yourself under the rear, near the hitch, and reach up behind the license plate area. The bulb pulls straight out. No twisting or housing removal. Some models require a quarter-turn to lock the new LED in place.
Let hot bulbs cool before removal. Incandescent units can exceed 200°F.
Choose the Right LED Bulb

Stock F-150s use dim, yellow 194 or 168 incandescent bulbs. Upgrading to LED boosts brightness, cuts heat, and matches modern lighting.
Match Bulb Type to Your Model
194 (T10 wedge) fits 2009–2014 and 2021–2024 models. 168 (wedge) fits 1997–2003 and 2015–2020 models. Check your old bulb before buying. Both are wedge-base, but size differs slightly.
Best LED Upgrades
Sylvania 168 LED works best for 2015–2020 models. It offers 6000K daylight white, plug-and-play installation with no flicker, and costs $8–$12 for a 2-pack. This matches OEM taillights perfectly.
Sylvania 194 6K Ultra White fits 2021–2024 models. It provides higher output than 168, crisp white color with zero yellow tint, and resists moisture and vibration.
AUXITO 24H Series delivers maximum brightness with 24 x 3014 SMD LEDs and 360° illumination. This is best for visibility but may cause backup camera glare on some trucks.
Some LEDs only work one way. If it doesn’t light, flip the bulb in the socket.
Avoid These Mistakes
Using bare hands shortens LED lifespan because skin oils transfer to the bulb. Wear cloth gloves during installation. Never pair 3000K (yellow) with 6000K (white) color temperatures. Check fit carefully. AUXITO 2E series is ultra-thin for tight spaces.
Remove Old Bulb Safely
Method varies by model, but the goal is the same. Extract the old bulb without damaging the socket.
1997–2003 and 2015–2020
Pull the socket from the housing, then squeeze the bulb’s base and pull it straight out. If stuck, use a flathead screwdriver to gently pry it. Avoid prying against the socket itself.
2009–2014
With the lens off, twist the socket counterclockwise and pull it out. The 194 bulb slides out directly. Inspect for blackening or corrosion.
2021–2024
Reach up and pull the bulb straight out. If greasy or hot, wrap duct tape sticky-side-out around it for grip. No twisting is needed.
Look for dark spots inside the bulb. This signals filament failure and indicates it’s time for replacement.
Install New LED Bulb Correctly
Now insert the new LED. This step is simple but critical for performance and longevity.
Insert and Lock the Bulb
For 2009–2014 and 1997–2003 models, push the LED firmly into the socket until it seats fully. Reinsert the socket and twist clockwise to lock.
For 2015–2020 models, transfer the OEM socket to the new LED housing if replacing the whole unit. Snap the housing back until it clicks.
For 2021–2024 models, push the LED in, then rotate a quarter-turn counterclockwise to lock. Some units click clockwise instead. Secure until it feels firm.
LEDs are directional. Test before finalizing. If the light stays dark, reverse the bulb orientation.
Reassemble with Care
For 2009–2014, align the larger ear of the lens first, then rotate clockwise until it clicks. Ensure the clear side faces the plate.
For 2015–2020, push housing in until it audibly clicks. No force is needed.
For 2021–2024, there’s no reassembly. Just verify the lock is secure.
Test Lights and Fix Issues
Never assume it works. Test thoroughly before calling it done.
Immediate Function Check
Turn on parking lights or headlights. Unlock the truck with the key fob to activate the lights. Verify both sides illuminate with even brightness, no flickering, and the license plate is fully lit.
Do this test at night. You’ll spot dark spots or glare instantly.
Diagnose Common Problems
Light doesn’t work. This usually means a loose socket, wrong polarity, or bad connection. Re-seat the socket, flip the LED, and check for power.
Flickering indicates corroded or dirty socket. Spray with electrical contact cleaner, dry thoroughly, and apply dielectric grease.
Lens won’t click on 2009–2014 models. This means misaligned ears. Rotate slowly and listen for the click. Don’t force it.
Uneven lighting comes from mixed LED models or a failing unit. Replace both bulbs with identical units.
Prevent Backup Camera Glare

A common issue exists on 2015+ models. Bright LEDs reflect off the tailgate camera lens and create glare.
Why It Happens
High-output LEDs like the AUXITO 24H cause this. Dirty, wet, or foggy camera lenses make it worse. 360-degree camera systems are particularly sensitive.
Reduce or Eliminate Glare
Clean the camera lens monthly with a microfiber cloth. Switch to lower-lumen LEDs like Sylvania or AUXITO 14E. Add anti-glare film over the license plate lights. Avoid 360° LEDs if you have a camera-mounted tailgate.
Test your camera view after dark. If glare interferes, downgrade to a less powerful bulb.
Maintain Lights for Longevity
LEDs last 25,000+ hours, but maintenance keeps them working flawlessly.
Routine Checks Every 6 Months
Inspect lenses for cracks or haze. Check sockets for moisture or corrosion. Ensure housing is secure. Wipe the camera lens clean.
Clean Safely
Use mild soap and water. Avoid abrasive cleaners. Dry thoroughly before reassembly.
Protect the Socket
Apply dielectric grease to the socket contacts during replacement. It prevents corrosion and ensures reliable connection.
LEDs start instantly in -40°F, making them perfect for winter climates.
Ensure Legal Compliance
Avoid fines with a compliant setup.
U.S. Requirements
Color must be white. No blue, red, or amber bulbs are legal. Function must fully illuminate the plate without glare or shadows. Characters must be readable from 50 feet at night.
Avoid These Violations
Tinted or colored bulbs are illegal in most states. Flashing or animated lights violate regulations. Obscured characters due to dark housings cause problems.
6000K daylight white is fully legal and enhances visibility.
Watch Video Guides Before Starting
Visual learning speeds up the job.
Recommended Tutorials
@auto.x.pertsOfficial provides step-by-step guidance for 2015–2020 models. It shows tab release and camera glare testing.
AUXITO Official offers real installs with 14E, 24H, and 2E series bulbs.
Watch first. See socket removal, bulb insertion, and reassembly in real time. This is especially helpful for first-timers.
Frequently Asked Questions About Changing F-150 License Plate Lights
What bulb size does my F-150 use?
Your F-150 uses either a 194 or 168 bulb depending on the model year. 1997–2003 and 2015–2020 models use 168. 2009–2014 and 2021–2024 models use 194.
Can I replace license plate lights myself at home?
Yes. This is a 10-minute DIY job on most model years. No special tools are required, and no wiring modifications are needed.
Will LED license plate lights cause backup camera glare?
Some high-output LEDs can create glare on the backup camera, especially on 2015+ models. Use lower-lumen options like Sylvania or AUXITO 14E to avoid this issue.
Are 6000K LED license plate lights legal?
Yes. White LEDs at 6000K are DOT-compliant in all U.S. states. Avoid colored bulbs like blue, red, or amber.
How often should I replace license plate light bulbs?
LEDs last 25,000 to 50,000+ hours. Unlike incandescent bulbs that fail every few years, quality LEDs rarely need replacement.
Key Takeaways for Changing Your F-150 License Plate Lights
Upgrading your F-150 license plate lights is one of the easiest, most impactful mods you can do. In under 15 minutes, you gain brighter, whiter lighting, eliminate heat damage, and modernize your truck’s look. Use Sylvania or AUXITO LEDs, follow your model’s specific steps, and test for camera glare afterward.
The access method varies by generation. 1997–2003 models have direct rear socket access. 2009–2014 requires lens removal. 2015–2020 uses snap-in housing. 2021–2024 lets you reach up from underneath. Match your procedure to your year.
With no wiring, minimal tool requirements on most years, and zero impact on warranty, this fix pays off every time you drive at night. Your license plate will be clearly visible, and you’ll avoid those annoying citations for burned-out lights.


