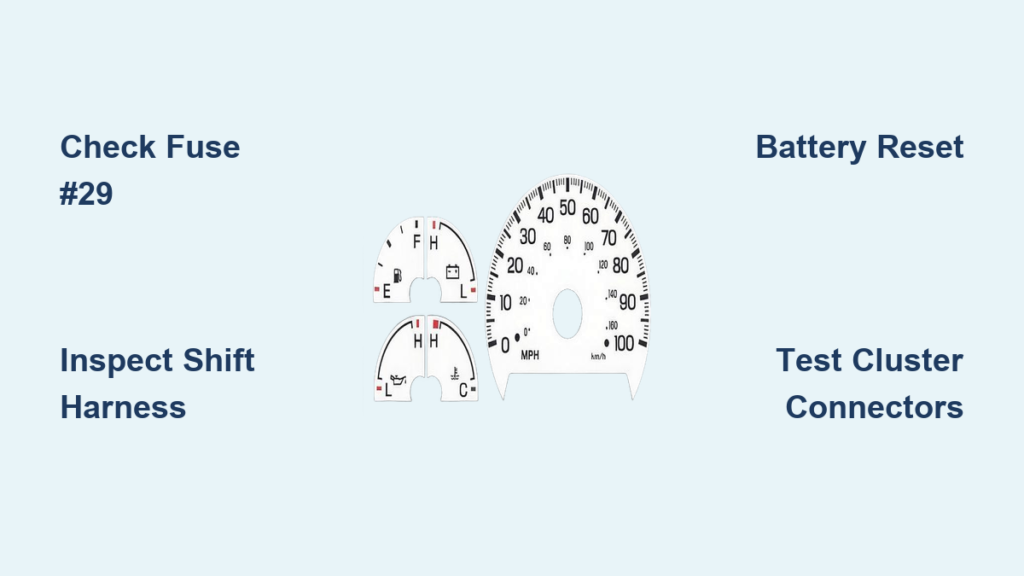
Your 2005 F150 dash lights go dark, but the engine runs fine, the odometer displays, and warning lights still work. You are not alone. This is a common electrical issue affecting hundreds of owners. The problem is not a dead instrument cluster, but a failure in the dashboard illumination circuit that powers gauge backlighting, HVAC controls, radio lighting, and the gear indicator. Most cases stem from simple, low-cost fixes like a blown 3A fuse or a failing headlight switch. With the right steps, you can diagnose and repair the issue in under an hour. This guide walks you through every likely cause, starting with the most common, so you can restore full visibility and avoid unnecessary repairs.
Check INST PNL 3A Fuse First
The INST PNL fuse is the most frequent culprit behind dark gauges in the 2005 F150. This tiny fuse powers the entire dashboard lighting circuit, including the speedometer, tachometer, fuel gauge, HVAC panel, and transmission indicator. Despite its critical role, it is often overlooked because of its low amperage.
Locate the Instrument Panel Fuse
Find the INST PNL fuse in the interior fuse panel beneath the steering column on the driver side. Remove the plastic cover and look for the fuse labeled “INST PNL” or “Instrument Panel.” Refer to your owner is manual or the panel is diagram for exact positioning. Fuse layout varies slightly by trim level.
Test and Replace the Fuse
Never assume a fuse is good based on appearance. Internal breaks can be invisible. Use a fuse tester or multimeter to verify continuity. Set the multimeter to continuity mode, touch the probes to both metal ends of the fuse, and listen for a beep. If silent, the fuse is blown. Replace it with an identical 3A mini fuse. After replacement, turn the headlights on and check if dash lighting returns. If it does, the issue is resolved. If the new fuse blows immediately, a short circuit exists and you must trace the wiring for damage or moisture.
Diagnose Headlight Switch Failure
The headlight switch is not just for headlights. It controls power to the dash lighting circuit via the dimmer. A worn or corroded switch can cut power to the INST PNL fuse even if the fuse itself is good.
Why the Headlight Switch Matters
Symptoms include working headlights but completely dark gauges, or flickering illumination when wiggling the knob. The switch receives 12V from the ignition via yellow/black wire and sends power to the dimmer circuit via black/orange wire. If internal contacts fail, the signal stops before reaching the fuse.
Test Switch Output with Multimeter
Turn the ignition to ON. Remove the headlight switch by depressing the release button on the back and pulling the knob and rod out together. Set your multimeter to DC voltage. Probe the yellow/black wire. This should read approximately 12V as input power. Rotate the dimmer knob and probe the black/orange wire. This should also show 12V when the switch is functional. If input power is present but no output, the switch is faulty. Replace it with an OEM or high-quality aftermarket unit. This single step resolves the issue in about 30% of cases.
Inspect Fuse 21 GEM Circuit

Fuse 21 powers the Generic Electronic Module, which controls interior lighting, power windows, delayed accessories, and instrument panel illumination. If this fuse blows, you may lose dash lights, radio, interior lamps, and window operation simultaneously.
Locate and Test Fuse 21
Locate Fuse 21 in the same interior panel as the INST PNL fuse. Test it with a fuse checker or multimeter. Replace if blown.
When Fuse 21 Keeps Blowing
If the fuse fails repeatedly, suspect a short in one of the GEM-controlled circuits. Aftermarket accessories like LED lights or alarms are common culprits. Moisture in door wiring or footwells can also cause problems. Disconnect suspect devices and retest. If the fuse holds, the removed accessory was the cause.
Verify Dimmer Switch Position
Before disassembling anything, rotate the dimmer knob fully clockwise. Many owners assume their dash lights are broken when they have simply turned the brightness down. Even a slight turn can make gauges appear completely dark at night.
Test for Intermittent Dimmer Contacts
If turning the knob produces flickering or partial illumination, the dimmer internal contacts are worn or dirty. Test by wiggling the knob while watching the cluster. Listen for crackling sounds. Check for inconsistent output on the black/orange wire. No repair is possible. Replace the entire headlight switch assembly.
Examine Wiring and Connectors

A large electrical connector in the passenger-side kick panel is a known failure point. It can become loose, corroded, or dislodged, especially after carpet replacement or water exposure.
Check Passenger Footwell Connector
Pull back the carpet and inspect the connector. Reseat it firmly and secure with a zip tie. One user restored full lighting simply by reconnecting this harness.
Inspect Driver Side Harness
Check the wiring near the steering column and driver footwell for chafing, pinching, or disconnection. Aftermarket installations like radios or alarms often tap into lighting circuits and can create shorts. Look for cut or spliced wires, heat-damaged insulation, and loose ground screws near the parking brake pedal. Wiggle harnesses while the key is on. Intermittent flickering indicates a loose connection.
Test Ground Connections
Poor grounding disrupts lighting circuits. The main ground for the instrument panel is typically a screw connecting the dash frame to the chassis, often near the parking brake pedal.
Locate and Clean Ground Points
Remove the screw, clean any corrosion from both the bolt and metal surface, and reinstall tightly. Use a multimeter to test continuity. Set to ohms, touch one probe to the ground point and the other to the battery negative terminal. Reading should be near 0 ohms. Over 5 ohms indicates a poor ground.
Apply Dielectric Grease
Apply dielectric grease to all electrical connectors under the dash after cleaning. This seals out moisture and prevents future corrosion, especially important if you drive in rain or wash your truck frequently.
Rule Out GEM Module Failure
The GEM controls multiple interior systems. If dash lights fail along with power windows, interior lamps, and delayed accessories, and you hear clicking from the fuse box, the GEM may be faulty. It is located inside or near the interior fuse panel. GEM failure is less common but can mimic simpler issues.
Test by Process of Elimination
Before replacing the GEM, confirm all relevant fuses are good. Verify power at the headlight switch. Check wiring and grounds. Ensure the instrument cluster works when powered directly. If all else checks out, suspect the GEM. One user resolved chronic issues by replacing both the GEM and fuse box. Used units from eBay cost approximately $300 versus $1,300 at a dealership.
Inspect Instrument Cluster Bulbs
If fuses, switches, and wiring are functional, the issue may be burned-out bulbs. Remove the lower dash cover, upper dash trim, and instrument cluster to access the bulb sockets on the back of the cluster.
Replace Wedge-Base Bulbs
Flip the cluster over. Locate bulb holders on the back. Use pliers to turn each counterclockwise to remove. Inspect bulbs for broken filaments or darkening. Replace as needed. Bulbs typically cost $2 to $5 each. Consider an LED retrofit kit for brighter, longer-lasting lighting.
Diagnose Cluster Circuit Board Issues
Even with good bulbs, a damaged circuit board can prevent illumination. Inspect for cracked solder joints, burnt or corroded traces, and delamination of flexible wiring.
Repair or Replace the Cluster
DIY reflow soldering requires skill and a soldering iron. Professional repair costs $100 to $200. Shops reball joints and replace bulbs. Swap with a known-good cluster to confirm the fault lies upstream.
Perform Full Electrical Test
When simple fixes fail, follow this diagnostic protocol. Check battery voltage first. Test INST PNL fuse terminals with key on. Both should show 12V. Probe black/orange wire at headlight switch. Verify ground continuity at parking brake and dash frame. Check voltage at cluster connector using a test light or multimeter.
Scan for Module Codes
Use an OBD2 scanner to check for communication errors with the GEM or BCM. No communication may indicate a loose connector or module failure. A voltage drop across a connector suggests corrosion or poor contact.
Prevent Future Failures
Apply dielectric grease to all electrical connectors under the dash. This seals out moisture and prevents corrosion. Avoid low-quality LED bulbs in dome or cargo lights. They can draw erratic current or short internally, blowing fuses. Use only CANbus-compatible LEDs. Keep spare 3A and 10A mini fuses in your glove box. They are cheap and can save you from a dark dash on a night drive. Never weld with the battery connected. Welding induces voltage spikes that can fry the GEM, cluster, or other modules.
Frequently Asked Questions About 2005 F150 Dash Lights Not Working
Why do my dash lights work but gauges are dark?
This indicates the instrument cluster is functional but the illumination circuit has failed. Check the INST PNL fuse and headlight switch first. These are the most common causes of isolated gauge backlight failure.
Can I drive my 2005 F150 with no dash lights?
Yes, the vehicle will run normally. The odometer, warning lights, and gauges function properly. However, driving at night is dangerous because you cannot see your speed or read critical information. Repair the issue before driving after dark.
How much does it cost to fix dash lights on a 2005 F150?
Most repairs cost between $1 and $80. A 3A fuse costs $1 to $5. A replacement headlight switch runs $40 to $80. Professional cluster repair costs $100 to $200. GEM replacement runs $150 to $300.
Why did my dash lights stop working after replacing a dome bulb?
You likely shorted the circuit while replacing the bulb. Check Fuse 21 in the interior panel. This fuse powers the GEM and multiple interior functions. Replacing the fuse should restore functionality.
Will a used instrument cluster work in my 2005 F150?
Yes, but verify compatibility with your VIN and odometer reading. Some cluster replacements require programming at a dealership. A known-good cluster swap can help diagnose whether the fault lies in the cluster or elsewhere.
What is the most common cause of 2005 F150 dash lights not working?
The blown INST PNL 3A fuse accounts for approximately 40% of cases. The faulty headlight switch accounts for about 30%. Together, these two components resolve over 70% of all dash light failures.
Key Takeaways for Fixing Your 2005 F150 Dash Lights
The 2005 F150 dash lights not working issue is usually simple to fix. Start with the INST PNL 3A fuse and headlight switch. These two checks resolve over 70% of cases. Wiring, grounds, and GEM issues follow in likelihood. With basic tools and this guide, you can fix it fast and keep your truck is interior fully illuminated. Always test fuses with a multimeter rather than relying on visual inspection. Replace the headlight switch if no power output is detected. Keep spare fuses onboard for quick repairs on the road.