

Your 1999 F150’s 4×4 isn’t engaging, but the dash light comes on. You shift into 4H, hear a clunk, yet the front wheels don’t pull. This is a common and frustrating issue, especially when you need traction in snow or mud. The root cause usually lies in the vacuum-actuated front axle system or ESOF transfer case module, both prone to age-related failures. Unlike modern trucks, this system generates no diagnostic trouble codes, so guessing won’t work. You need a step-by-step approach.
This guide gives you the exact tests, fixes, and real-world insights to diagnose and repair your 1999 F150 4×4 not working, fast, accurately, and without wasting money on unnecessary parts.
Confirm Front Axle Engagement
Before diving into solenoids or modules, verify whether the front axle is actually locking. This simple test saves hours of unnecessary troubleshooting.
Spin Test the Front Wheels
Park on level ground and set the parking brake. Jack up the front end and support with jack stands. Place the transmission in neutral, then spin the passenger-side front wheel by hand.
In 2WD, the driver-side wheel spins opposite direction due to the normal open differential. In 4WD, both wheels should spin in the same direction if engaged.
If only one wheel spins, the front axle isn’t locking. The problem is either vacuum-related or internal to the differential.
Manual Actuator Push Test
Locate the black lever on the rear of the front differential, attached to the vacuum actuator. With the truck in 4WD mode, push the lever forward toward the front axle. You should feel and hear a distinct click as the internal collar engages.
Re-test wheel spin. Both wheels should now turn together.
If manual push works, the vacuum system has failed. If there’s no click or still no lock, internal damage like a broken shift fork or worn collar is the culprit.
Test the Vacuum System

The 1999 F150 uses engine vacuum to lock the front axle. No vacuum means no 4×4 engagement.
Check Vacuum at the Actuator
Shift into 4WD with the engine running. Disconnect the vacuum line from the front axle actuator. Place your finger over the line end.
Strong suction means vacuum is reaching the actuator. No suction means the problem is upstream.
No vacuum at the actuator points to a problem in the solenoids, reservoir, or lines.
Inspect the Vacuum Reservoir
Locate the black vacuum reservoir behind the battery on the driver’s side. Remove the battery if needed for access.
Look for cracks, especially at the base or connection points. Perform a finger suction test by pulling vacuum at the outlet port. It should hold for 30 seconds or more.
The reservoir is the most common failure point. Replace it if damaged or if suction test fails.
Test Vacuum Solenoids
Two solenoids on the firewall control vacuum flow: one for 2WD and one for 4WD.
Verify Vacuum Supply to Solenoids
Disconnect the bottom hose on either solenoid. With the engine running, check for strong vacuum at this inlet.
No vacuum at the solenoid inlet means checking the check valve and line from the intake manifold.
Check Solenoid Operation
With the engine running, test each solenoid port. In 2WD, the 2WD solenoid should be passing vacuum. In 4WD, the 4WD solenoid should be open.
Use a hand vacuum pump to apply vacuum to the actuator line via the 4WD solenoid. If the actuator engages, the solenoid is faulty or not getting the proper electrical signal.
Diagnose Electrical Signals
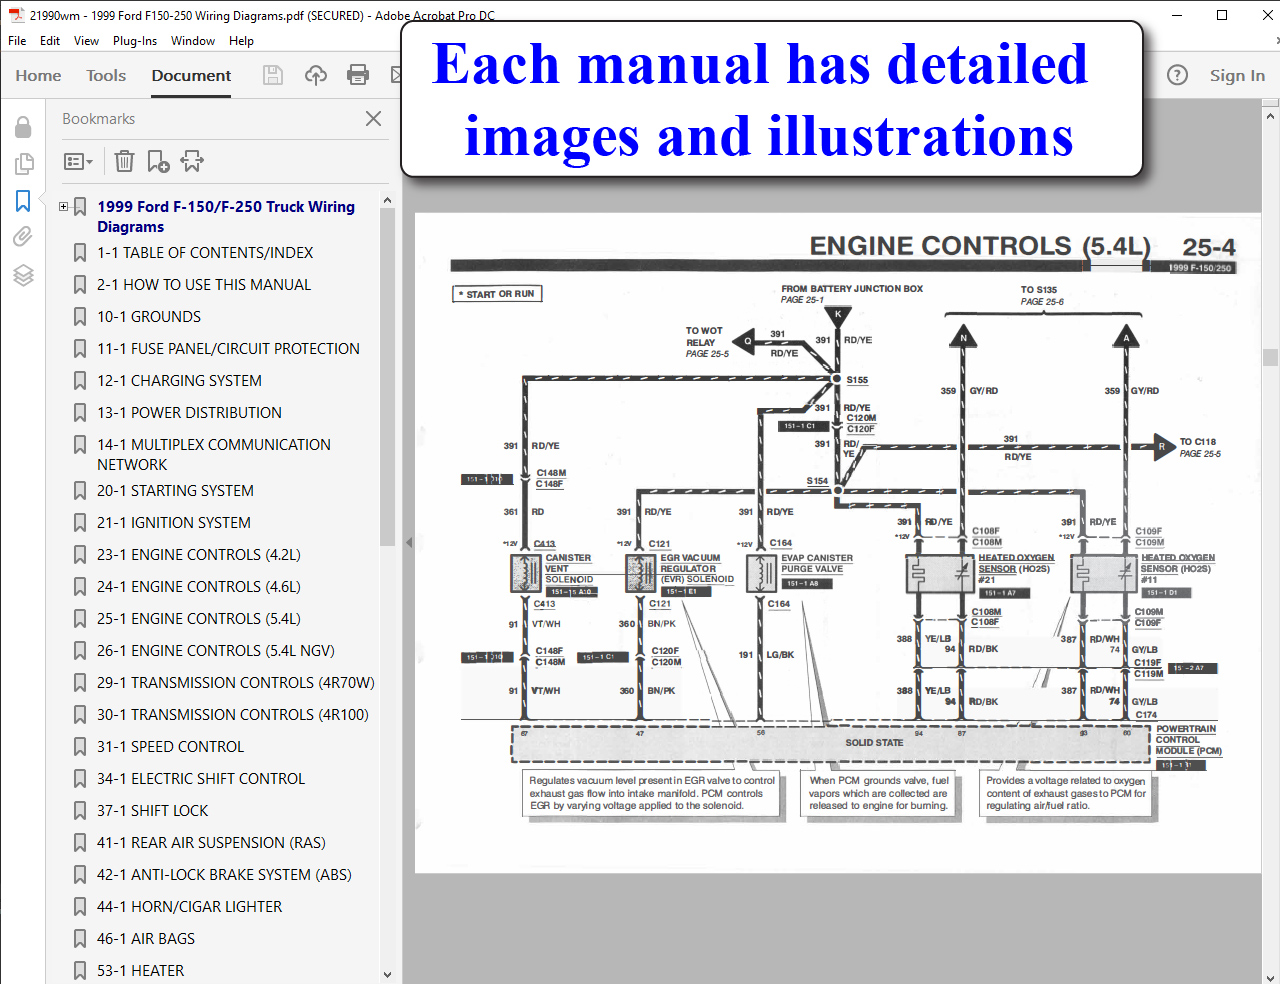
The GEM module controls solenoid grounding. No ground means no vacuum switch, even if everything else works.
Power and Ground Test
Locate the solenoid connectors. Each solenoid has two wires.
Confirm Fuse 23 (10A) in the central junction box is good.
Power Test
Set a test light to ground. Probe the right-hand terminal of either solenoid connector.
Light on with ignition ON means power is present. No light means checking the fuse, wiring, or ignition feed.
Ground Signal Test
Connect the test light to battery positive. Probe the left-hand terminal.
In 2WD, the 2WD solenoid terminal should light up (grounded). In 4WD, the 4WD solenoid terminal should light up while the 2WD goes off.
No ground signal points to a GEM module failure or wiring issue.
Measure Solenoid Resistance
Disconnect the solenoid. Use a multimeter to measure resistance across terminals.
Normal resistance is 60 to 80 ohms, typically around 73 ohms. Infinite resistance means the solenoid coil is open and needs replacement.
Replace both solenoids if one fails, as they often go together.
Fix ESOF Transfer Case Issues
If your 1999 F150 has a dash knob, the transfer case uses an electronic module to shift.
Symptoms of Module Failure
The knob turns to 4H or 4L, you hear a click under the dash, but there’s no engagement. The problem may be intermittent.
Perform the Tapping Test
Locate the transfer case switching module under the center console. While someone turns the 4×4 knob, tap the module lightly with a screwdriver handle.
If 4×4 engages when tapped, the internal relay is faulty. This test is 90% accurate for diagnosing relay failure.
Replace the EN21N1S Relay
The module contains a single EN21N1S relay that fails due to heat and vibration.
Option 1: Replace Entire Module
Cost ranges from $50 to $100 for aftermarket or about $250 for OEM. Remove the center console trim, unplug the wiring harness, and swap the module.
Option 2: Solder in New Relay
Desolder the old relay from the circuit board. Install a new EN21N1S relay, which costs about $8. Reinstall the module.
Hundreds of users report this fix lasts for years. It’s the most cost-effective solution.
Diagnose Floor Shift (MSOF) Models
If your truck has a floor-mounted 4×4 lever, the transfer case shifts mechanically.
Verify Transfer Case Engagement
Lift the front of the truck. Shift into 4H and let the engine idle in gear. Observe the front driveshaft.
Spinning front driveshaft means the transfer case is working. Not spinning means a problem with linkage or the internal shift rail.
Inspect Shift Linkage
Crawl under the truck and locate the transfer case shift lever. Check for loose or missing pivot pins, worn plastic bushings, and disconnected shift rods.
Worn bushings are common. Replace with OEM or nylon upgrades.
Check Front Driveshaft Rotation
If the transfer case is engaged but the front driveshaft doesn’t turn, the output shaft or bearing may be failed. Inspect for leaking fluid around the shift rail and excessive play in the driveshaft yoke.
Internal transfer case damage requires rebuild or replacement.
Identify Internal Axle Damage
If vacuum, solenoids, and transfer case all work but the front wheels still don’t engage, the problem is inside the front axle.
Signs of Internal Failure
The manual actuator push produces no click. Wheels still spin independently. The actuator rod moves but there’s no engagement.
Likely Components Failed
The shift fork may be bent or broken from forced engagement. The engagement collar may have worn or stripped teeth. The vacuum diaphragm may be ruptured, preventing full travel.
These require front differential disassembly by a qualified technician.
Real-World Insight
User “xxlions54xx” reports: Front driveshaft turned, actuator moved, but wheels didn’t engage. The problem was a broken shift fork.
User “jbrew” confirms: If vacuum and actuator are good, the problem is inside the axle.
Don’t waste time on solenoids if the actuator moves but there’s no lock. Go straight to internal inspection.
Inspect Vacuum Lines and Fittings
Even small leaks kill vacuum pressure and prevent 4×4 engagement.
Follow the Vacuum Path
The vacuum flows from the intake manifold to the check valve, then to the vacuum reservoir, then to the solenoids on the firewall, and finally to the front axle actuator.
Look For
Cracked or brittle hoses, loose connections at T-fittings, pinched lines near sharp metal edges, and moisture or debris inside lines.
Replace all vacuum lines with 5/32-inch silicone hose, which is more durable than OEM rubber.
Prevent Future 4×4 Failures
Keep your system reliable with simple maintenance.
Monthly 4×4 Cycling
Shift into 4H once a month and drive in a circle for 30 seconds. This prevents the vacuum diaphragm from sticking and solenoids from seizing.
Clean the Actuator Area
Spray WD-40 on the actuator lever and pivot point. Remove mud, ice, or rust that could bind movement.
Upgrade Key Components
Replace the vacuum reservoir with a reinforced plastic or metal unit. Use OEM-style solenoids with brass fittings. Replace vacuum lines with braided silicone hose.
Keep a spare EN21N1S relay in your glove box if you have ESOF.
Frequently Asked Questions About 1999 F150 4×4 Not Working
Why does my 1999 F150 4×4 light come on but not engage?
The dash light indicates the transfer case received the signal, but the front axle didn’t lock. This usually means vacuum isn’t reaching the actuator or there’s internal axle damage. Start by testing vacuum at the actuator line.
How do I test if my vacuum reservoir is bad?
Locate the reservoir behind the battery. Inspect for visible cracks. Pull vacuum at the outlet port with your mouth. If it doesn’t hold for 30 seconds, the reservoir is weak or cracked and needs replacement.
Can I drive my F150 in 2WD with a bad 4×4 system?
Yes, the truck drives normally in 2WD even with a broken 4×4 system. However, you won’t have traction in mud, snow, or off-road conditions. Fixing the issue restores full capability.
What’s the most common failure on 1999 F150 4×4?
The vacuum reservoir behind the battery fails more than any other part. It develops cracks over time and loses vacuum storage. Test it first when diagnosing 4×4 issues.
How do I know if my ESOF transfer case module is bad?
Use the tapping test. Tap the module under the center console while trying to engage 4×4. If it works when tapped, the internal relay is failing. Replace the EN21N1S relay inside the module.
Do I need a professional to fix internal front axle damage?
Yes. Internal repairs require disassembly of the front differential, including the shift fork, collar, and actuator. This is a job for a qualified 4×4 specialist or experienced mechanic.
Key Takeaways for Fixing Your 1999 F150 4×4
The vacuum reservoir behind the battery fails more than any other part. Test it first when your 1999 F150 4×4 not working issue appears. For ESOF models, the EN21N1S relay inside the transfer case module is the number one intermittent culprit. Don’t guess. Test vacuum at the actuator, then test power and ground at the solenoids.
If the manual actuator push works but vacuum doesn’t, focus on the vacuum system. If manual push fails, suspect internal axle damage. Follow this systematic approach, and you’ll fix your 1999 F150 4×4 not working issue fast, right, and for good.


