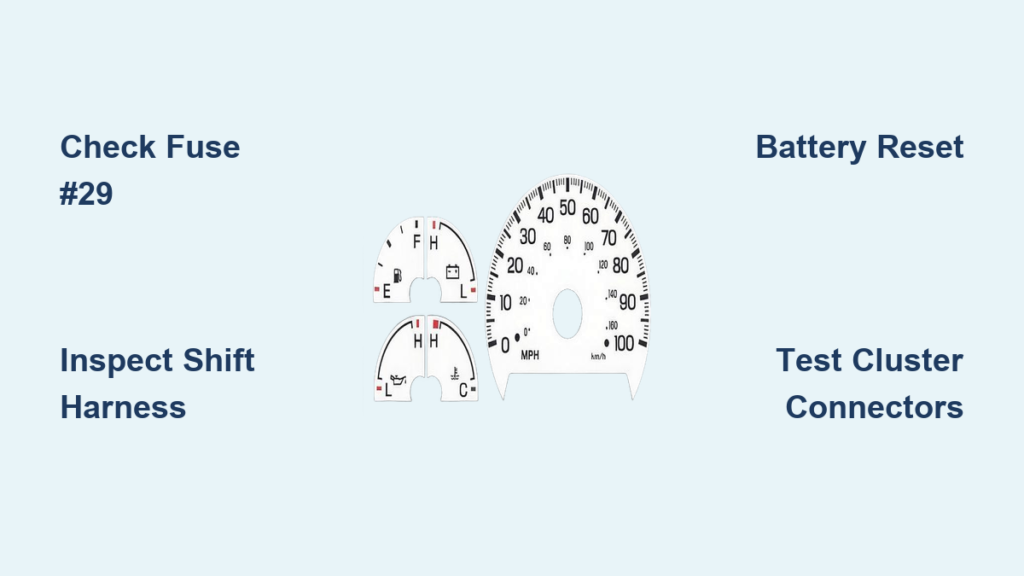
If your F-150 bed lights won’t turn on when you press the switch, you’re not alone. Thousands of owners from 2016 to 2023 models report this exact issue. The lights stay dark even though the tailgate high lamp works, zone lighting responds, and FordPass app controls function normally. The problem isn’t always a blown fuse or dead bulb.
What makes this frustrating is that your truck knows how to power the lights. It just won’t respond to the bed switch. In most cases, the fix is simple once you know where to look. Whether your truck has 10,000 miles or 100,000, this guide walks you through diagnosing and fixing F-150 bed lights not working using verified user fixes and Ford-specific diagnostics.
Decode the Real Cause First
Before tearing apart wiring or buying new parts, confirm what kind of failure you’re dealing with. The bed switch doesn’t supply power. It sends a ground signal to the BCM. When you press it, the BCM detects that ground and turns on the lights via an internal transistor.
Start your diagnosis with these checks:
Try turning on the lights via the FordPass app or infotainment screen. If they work, the bulbs and power are fine. Your issue is likely the switch, wiring, or BCM configuration.
Press the interior cargo light switch. If that turns on the bed lights, the circuit is live but the external switch isn’t communicating.
Did the truck sit for over a week? BCM timeout can disable switch response. Start the engine manually to reset the system.
Check Fuses and Power Supply

Test Under-Hood Fuses First
The bed lights rely on multiple fuses in the under-hood power distribution box. Even if a fuse looks intact, it may not be fully seated.
Check these specific fuses:
F46 (10A) controls pickup light box and bed lights.
F30 (10A) handles lower center interior lamps and may control the bed relay.
F22 (10A) covers trailer and auxiliary bed lamps.
Use a fuse puller to remove each one and inspect for internal breaks, burn marks, or loose fit. Reseat every fuse even if it looks good. Many users fixed the issue just by pushing fuses back in firmly.
Inspect Interior Fuse Panel
Open the driver side kick panel and check the cargo lamp fuse (10A) and bed lamp fuse (10A). These often share the same circuit as the bed lights. If the interior cargo light works but bed lights don’t, the fuse is likely good, but the problem splits downstream.
Verify Voltage at Fuse Output
Use a multimeter to test for 12.6V+ at the fuse terminals with the key on. If voltage is missing, the fuse box has a corroded bus bar or failed relay. If voltage is present, move to the switch connector.
Warning: If you measure only 5.6V or 6.5V at the switch, the fuse isn’t the problem. There’s a voltage drop in the wiring.
Test the Bed Switch and Ground Path
Locate Your Switch by Model Year
2016 F-150 owners: The switch is behind the driver-side tail light assembly.
2017 to 2023 F-150 owners: The switch is on the driver-side bed wall, near the tailgate.
Bypass the Switch with a Jumper Wire
This test tells you if the switch is faulty. Disconnect the switch wiring harness and use a jumper wire to short the two pins. If the lights turn on, the switch is bad. If there’s no response, the issue is upstream in the wiring or BCM.
Multiple owners fixed intermittent or dead lights by replacing the switch after a successful jumper test.
Replace the Switch on 2016 Models
Remove two screws from the driver-side tail light and gently pull the assembly outward. Locate the switch with two retaining tabs. Use a long thin screwdriver to depress the tabs through the opening. Push the switch forward and disconnect the harness. Install the new switch, apply dielectric grease to prevent moisture corrosion, and snap into place. Reinstall the tail light.
Pro Tip: Always apply dielectric grease, especially if you wash your truck often.
Replace the Switch on 2017+ Models
Gently pry the bed wall switch with a flat tool and disconnect the harness. Install the new switch and apply dielectric grease before reconnecting. Snap into place.
Warning: If you had a spray-in bedliner installed, the installer might have removed the switch and forgotten to reconnect it.
Inspect for Corroded Connectors
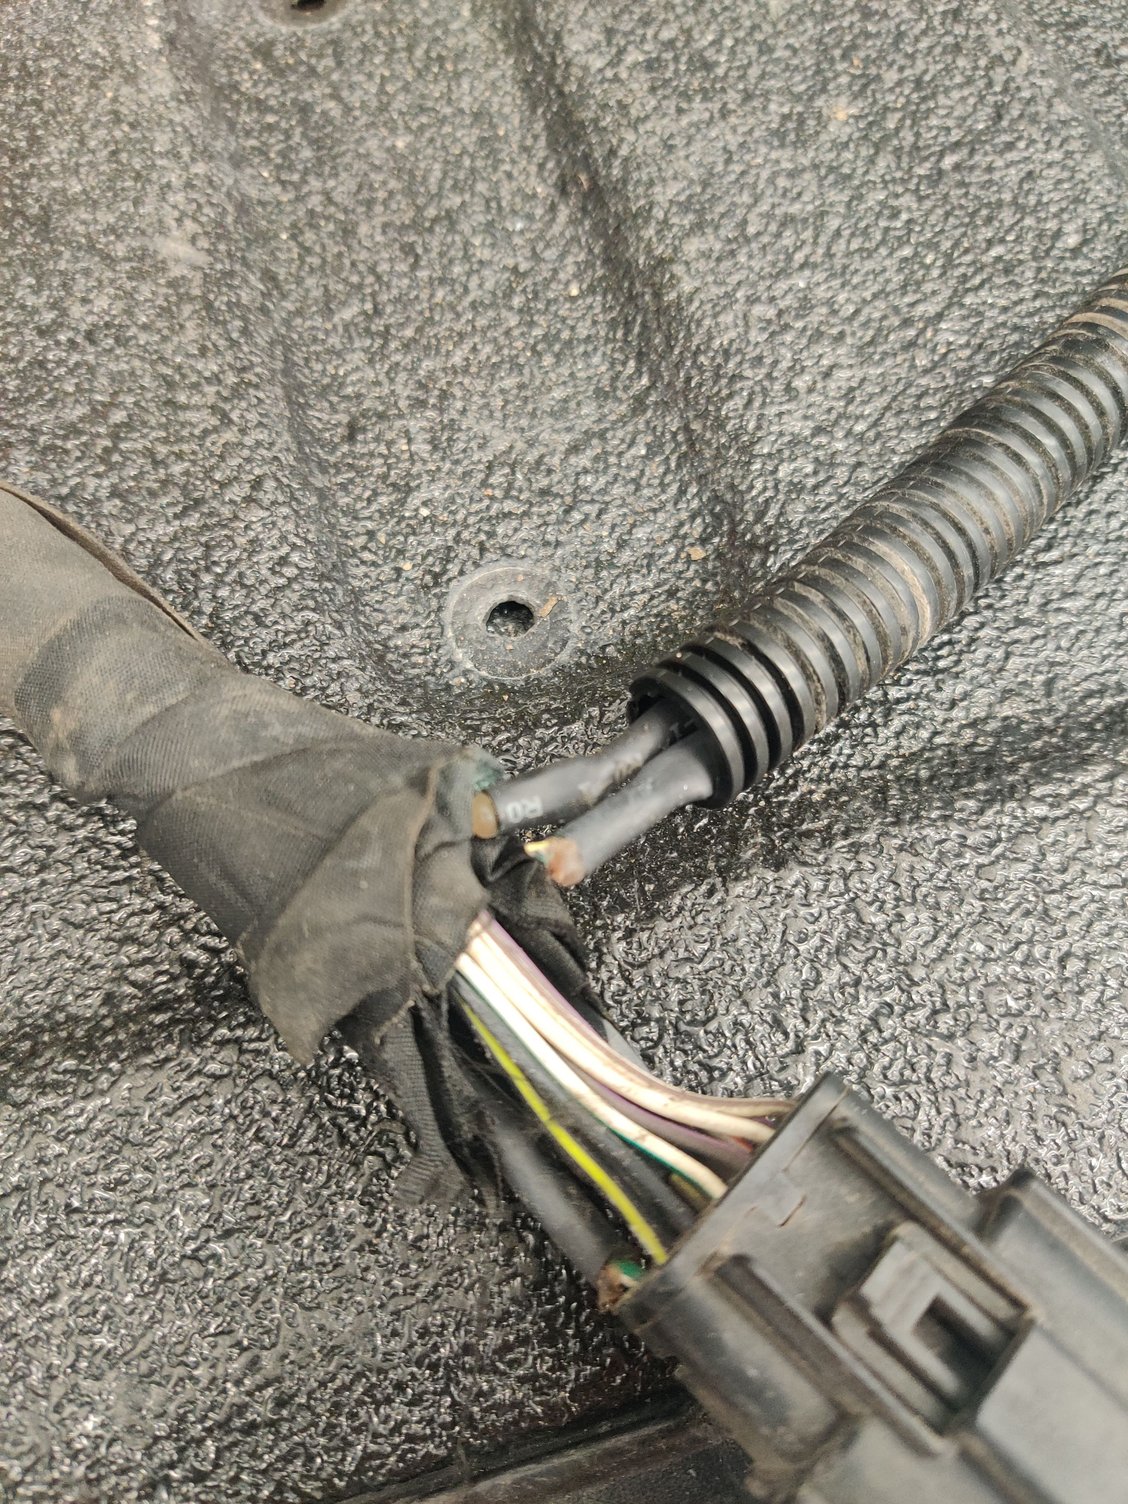
Moisture damage is a top cause of intermittent or dead bed lights. Focus on these high-risk areas:
The tailgate hinge wiring harness flexes every time the tailgate opens.
The bed-to-cab connector runs along the frame rail.
The switch connector is exposed to rain and road spray.
The light assemblies are mounted in the bed rails.
What to look for: white or green corrosion on pins, soft or brittle insulation, loose pins in the socket, or moisture inside the housing. One owner found a severely corroded pin, bypassed it with bare wires, and the lights worked instantly.
Fix the connector by disconnecting it, spraying with electrical contact cleaner, using a small brush to remove corrosion, letting it dry completely, and applying dielectric grease before reconnecting. Reapply dielectric grease quarterly or after every truck wash.
Diagnose Low Voltage Issues
Measure Voltage at the Switch
With the key on, back-probe the switch connector. Expect 12.6V with the engine off or 13.8 to 14.4V when running. If you read 5.6V or 6.5V, there’s a voltage drop in the circuit.
Trace the Wiring Path
Low voltage means resistance in the circuit. Check for a pinched or cut wire along the frame, a poor ground connection at the bed-to-frame ground strap, or a damaged splice or junction block. Use a year-specific wiring diagram to trace the path from the fuse box to the switch.
Check for Internal Fuse Box Problems
If power leaves the fuse at full voltage but drops before reaching the switch, the internal relay may have failed, the bus bar may be corroded, or a terminal may be loose. This may require removing the fuse box for internal inspection.
Fix Software and BCM Glitches
Disable Lincoln Experience Mode
This is the most reliable software fix for F-150 bed lights not working. You’ll need a FORS Scan Tool with OBD2 cable and FORScan software.
Connect to your F-150’s OBD2 port and open FORScan. Navigate to the Body Control Module (BCM) and find the Lincoln Experience setting. Change it from Enabled to Disabled and save. Owners report lights work immediately after this change, even on trucks where hardware was replaced.
Note: This setting appears even on F-150s, likely a shared module with Lincoln models.
Reset BCM After Inactivity
If the truck sat for one to two weeks, the BCM may timeout and ignore switch inputs. Start the engine manually by pressing the brake and push start button. Remote start may not reset the system. Once running, test the bed switch. One owner’s lights returned after a manual start following two weeks of storage.
Handle Aftermarket or Added Lighting
Verify Factory Wiring Is Present
If you added bed lights post-purchase, confirm the hot lead runs from the kick panel to the BCM. Use OEM-compatible switch and lights. The BCM must be programmed to recognize the feature.
Enable Bed Lights via FORScan
Even with correct hardware, the BCM may not activate the lights until configured. Install the lights and switch, then confirm the high lamp turns on when the switch is pressed. This proves the signal path exists. Use FORScan to enable bed light function, save, and test. One user installed factory lights, used FORScan, and reported Voila! They work.
Prevent Future Failures
Apply Dielectric Grease Regularly
This is the number one preventive step. Coat all exterior connectors and reapply every three to six months. This is essential after pressure washing or off-roading.
Check Lights Monthly
Test bed lights after long storage, before night trips, and after software updates.
Monitor After Dealership Visits
Software updates can reset BCM settings. Use FORScan to verify Lincoln Experience is disabled and confirm bed light function post-update.
Avoid Non-CAN-Bus Lighting Mods
Aftermarket LEDs that aren’t CAN-bus compatible can trigger false faults, even if electrically isolated. Stick to OEM parts, verified CAN-bus kits, and professional installs.
Frequently Asked Questions About F-150 Bed Lights Not Working
Why do my bed lights work with FordPass but not the switch?
This indicates the bulbs and power supply are fine. The issue is specifically with the switch, its wiring, or BCM configuration. The BCM recognizes the signal from the app but ignores the ground signal from the physical switch.
Can a loose fuse cause partial voltage at the switch?
Yes. If you measure 5.6V or 6.5V at the switch instead of the expected 12.6V, the fuse isn’t blown but isn’t fully seated, or there’s a voltage drop in the wiring downstream from the fuse.
Does disabling Lincoln Experience work on all F-150 models?
Yes. Users have confirmed this fix works across multiple model years from 2016 to 2023. The setting appears in the BCM even on F-150s because they share modules with Lincoln vehicles.
How do I test if the bed switch is faulty?
Disconnect the switch connector and use a jumper wire to short the two pins together. If the lights turn on, the switch is bad and needs replacement. If nothing happens, the problem is upstream in the wiring or BCM.
Can a spray-in bedliner cause this issue?
Yes. Some installers remove the bed wall switch to access the bed surface and forget to reconnect it. Check that the switch harness is properly connected if you recently had a bedliner installed.
Key Takeaways for Fixing F-150 Bed Lights Not Working
The F-150 bed lights not working issue is rarely about the bulbs. It’s usually a switch problem, connector issue, loose fuse, or BCM software glitch. Start with the simplest fixes first. Reseat all fuses, test the switch with a jumper wire, and disable Lincoln Experience mode in the BCM using FORScan before diving into wiring repairs.
With the right tools and this guide, you can restore full functionality in under an hour. Keep dielectric grease on hand, test your lights monthly, and use FORScan to stay ahead of software glitches. Your bed lights should work, and now you know exactly how to make them.