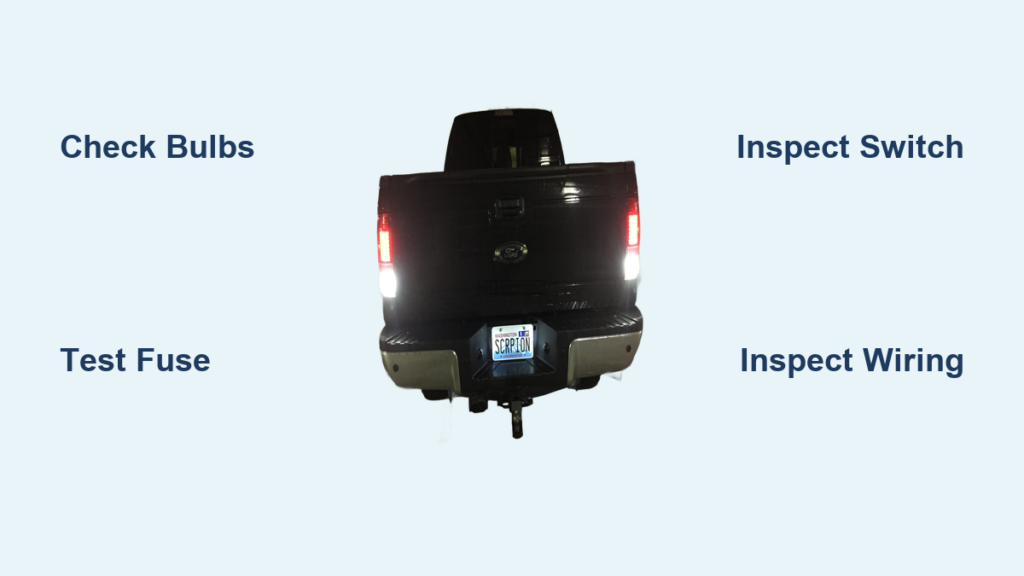
Backing out of a dark driveway becomes dangerous instantly when your Ford F350 reverse lights are not working. You lose critical visibility behind the truck while failing to signal your intentions to pedestrians and other drivers. This common electrical issue often stems from simple causes like burnt bulbs or blown fuses rather than complex transmission failures.
This guide walks you through step-by-step troubleshooting to identify and fix the root cause quickly. You will learn how to inspect bulbs, test fuses, diagnose switches, and check wiring harnesses without needing expensive diagnostic tools. Follow these proven methods to restore your lighting system and ensure safe operation today.
Inspect Reverse Light Bulbs for Damage
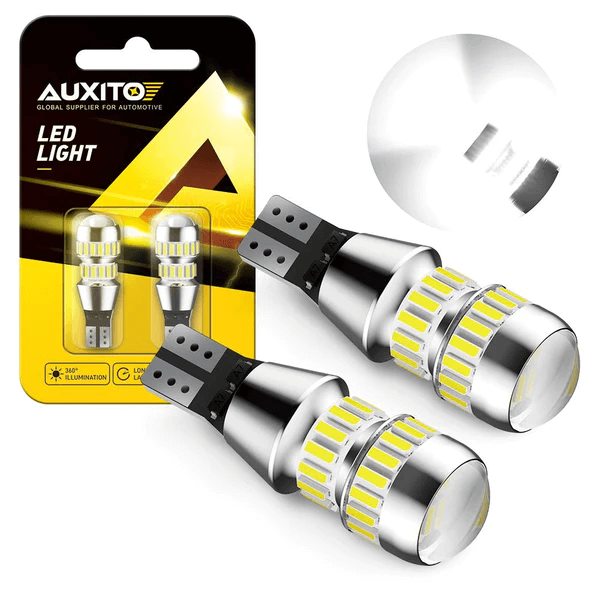
Burnt-out filaments remain the most frequent reason why Ford F350 reverse lights stop functioning entirely. Visual inspection of both rear bulbs should always be your first diagnostic step before checking electrical components.
Check Filament Integrity Visually
Remove the bulb socket by twisting it counterclockwise from the tail light housing. Examine the glass envelope closely for blackening or a broken filament wire inside. Even if one side appears bright, test both bulbs since they often fail around the same time due to similar usage hours.
Install Correct Replacement Bulbs
Replace failed units with the specific bulb type listed in your owner’s manual, typically a 921 or 3157NA model. Insert the new bulb straight into the socket and twist clockwise until it locks securely into place. Test the lights by shifting into reverse before reassembling any trim pieces.
- Use gloves or a clean cloth to handle halogen bulbs and prevent oil residue buildup.
- Ensure the bulb seats fully to maintain a proper electrical connection.
- Verify operation immediately after installation to confirm the fix.
Pro Tip: Keep spare reverse light bulbs in your glovebox so you can replace them in under five minutes whenever failure occurs.
Test the Reverse Light Fuse Panel

A single blown fuse can cut power to the entire reverse light circuit, making it look like a switch or bulb failure. Locating and testing this protective component is a quick way to rule out power supply issues.
Locate the Backup Lamp Fuse
Open the fuse panel located under the dashboard on the driver’s side of your Ford F350. Consult the fuse map printed on the inside of the cover to find the slot labeled “Backup Lamps” or “Reverse Lights.” This is often a 15-amp blue fuse, though position numbers vary by model year.
Replace Blown Fuses Safely
Pull the suspect fuse using the plastic tool provided in the fuse box or a pair of needle-nose pliers. Look at the metal strip inside the plastic housing, and if it is broken or melted, install a new fuse with the exact same amperage rating.
- Never install a higher-rated fuse as this can damage the wiring harness.
- Check the new fuse immediately after installation to ensure it holds.
- Inspect for corrosion on the fuse terminals if the fuse looks loose.
Warning: If the replacement fuse blows instantly upon shifting into reverse, a short circuit exists in the wiring that requires professional attention.
Diagnose the Reverse Light Switch

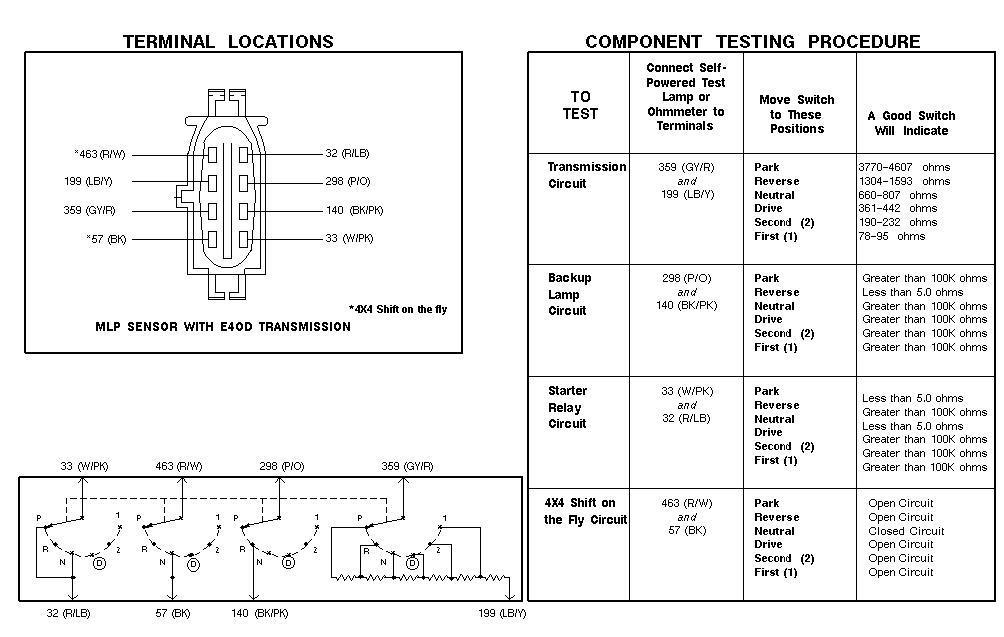
The transmission range switch sends the signal to activate lights when you shift gears, and a faulty unit will prevent illumination entirely. This component is often called the neutral safety switch on automatic transmission models.
Find Switch Mounting Location
Locate the switch mounted on the side of the transmission housing near the shift linkage. On manual transmission F350s, this switch sits on the transmission tail housing and activates when the gear lever moves. You will see a multi-wire electrical connector plugged directly into the switch body.
Test Switch Continuity with Multimeter
Set your multimeter to the continuity or ohms setting to test the switch function accurately. Disconnect the electrical connector and place probes on the appropriate terminals while an assistant shifts the transmission into reverse. The meter should beep or show near-zero resistance when in gear and open circuit when in neutral.
- Clean any corrosion from the connector pins before testing.
- Ensure the transmission is in park with the parking brake engaged.
- Replace the switch if no continuity change occurs during gear shifts.
Expert Note: Intermittent reverse light operation often indicates a failing switch that works only when vibration hits it just right.
Examine Wiring Harness and Grounds
Corroded connections or damaged wires frequently cause electrical failures in trucks exposed to harsh weather and off-road conditions. Tracing the path from the tail lights to the cab reveals breaks that stop power flow.
Trace Wiring for Physical Damage
Follow the wiring harness from the reverse light sockets back toward the front of the truck carefully. Look for sections where the insulation is frayed, pinched against the frame, or chewed by rodents near the spare tire mount. Pay special attention to areas where the wire bends near the tailgate hinges.
Clean Ground Connection Points
Find the ground wire attachment point usually located on the frame rail near the rear bumper. Remove the bolt securing the ground wire and scrub the contact surface with a wire brush until bare metal shines. Reattach the wire tightly and apply dielectric grease to prevent future moisture intrusion.
- Use a test light to verify power reaches the socket positive terminal.
- Repair any exposed wires with heat-shrink tubing and electrical tape.
- Secure loose wiring with zip ties to prevent movement damage.
Pro Tip: Applying dielectric grease to all rear electrical connectors creates a waterproof barrier against road salt and mud.
Verify Transmission Range Sensor Function
Modern Ford F350 models use a Transmission Range Sensor (TRS) to tell the computer which gear is selected for light activation. A malfunctioning sensor can disable reverse lights while causing other shifting anomalies.
Scan for Transmission Fault Codes
Connect an OBD2 scanner capable of reading transmission codes to your diagnostic port. Look for codes such as P0705 which indicate a transmission range sensor circuit malfunction even if the check engine light is off. Stored codes help pinpoint whether the sensor is sending incorrect data.
Test Sensor Output Signals
Measure voltage at the TRS connector terminals while shifting through gears with the key in the on position. Compare your readings to the factory specifications for your specific F350 model year to identify deviations. Abnormal voltage patterns suggest the internal contacts within the sensor are worn out.
- Clear stored codes after replacing the sensor to reset the system.
- Replace the O-ring seal when installing a new sensor to prevent leaks.
- Calibrate the new sensor according to service manual instructions if required.
Note: A bad TRS can cause multiple issues including no-start conditions in park and erratic gear shifting behavior.
Frequently Asked Questions About Ford F350 Reverse Lights
Why do my reverse lights work sometimes but not others?
Intermittent operation usually points to a loose connection, a failing reverse light switch, or a wire with broken internal strands. Check the bulb sockets for corrosion and wiggle the wiring harness near the transmission while in reverse to see if the lights flicker.
Can a bad fuse cause only one reverse light to fail?
No, a blown fuse typically disables both reverse lights simultaneously since they share the same power circuit. If only one side is out, the issue is likely a burnt bulb, a bad socket, or a broken wire specific to that side of the truck.
How much does it cost to fix reverse lights on an F350?
DIY repairs involving bulbs or fuses cost less than twenty dollars for parts. Replacing a reverse light switch or transmission range sensor ranges from fifty to two hundred dollars depending on parts and labor if you hire a professional.
Do I need a special tool to test the reverse light switch?
A basic multimeter is the only tool required to test switch continuity and voltage effectively. You can purchase an affordable digital multimeter at any auto parts store to perform these diagnostic tests yourself.
Will my Ford F350 fail inspection if reverse lights are out?
Yes, non-functional reverse lights are a safety violation that will cause your truck to fail mandatory vehicle inspections in most regions. Fixing this issue is essential for legal compliance and safe nighttime operation of your vehicle.
Key Takeaways for Fixing Ford F350 Reverse Lights
Restoring your reverse lights ensures safety and compliance while preventing potential accidents during night driving. Most failures result from simple issues like burnt bulbs, blown fuses, or a faulty transmission switch that you can fix yourself. Regular inspection of your lighting system and protective maintenance of wiring connections will keep your Ford F350 reverse lights working reliably for years.