
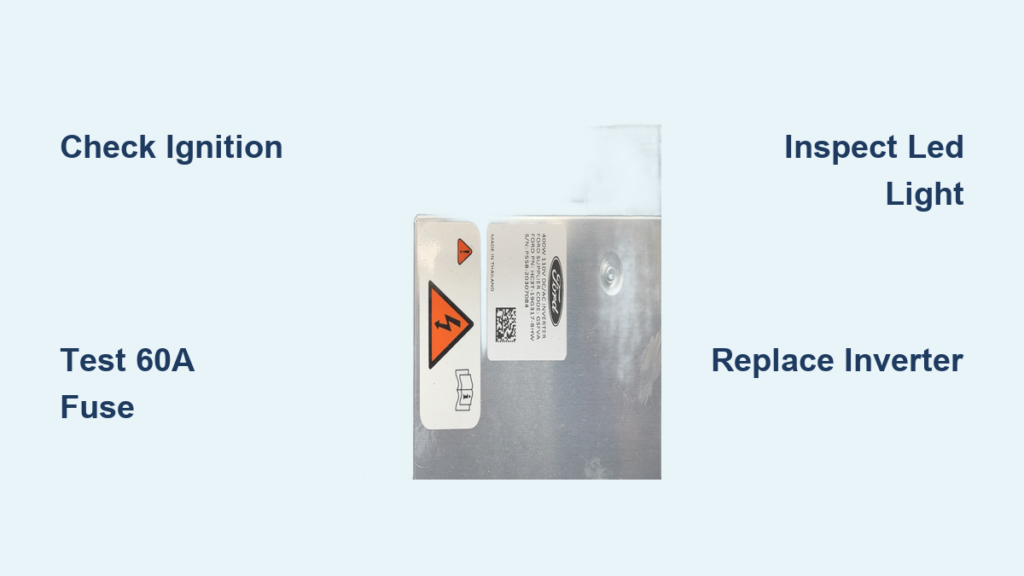
Your 2019 F250’s 110V outlet just died mid-project. The laptop charger clicks but never lights up, or the power tool won’t spin. This is one of the most common frustrations Super Duty owners face, especially those who rely on the factory inverter for job-site power. The root cause is usually simple: a blown fuse, an accidentally flipped switch, or a tripped overload sensor. This guide walks you through every diagnostic step, from the 30-second checks to full inverter module replacement. You’ll learn exactly where to look, what each LED behavior means, and how to restore 110V power without paying dealer prices.
Verify Basic Power Prerequisites First
Before assuming the worst, confirm the truck is actually ready to send power to the outlets. The 2019 F250’s inverter system has specific requirements that, if unmet, will leave you staring at a dead outlet.
Confirm Ignition Status
The 110V outlets require the ignition to be in the “Run” position or the engine running. They will not function when the truck is completely off, even with the key fob nearby. Turn the key to “Run” or start the engine, then test the outlet again.
Check the Battery Disconnect Switch
Many fleet and work-truck configurations include a battery disconnect switch under the hood near the driver-side battery. If this switch is set to “Off,” the auxiliary electrical systems receive no power. Flip it to “On,” wait 10 seconds for the system to reset, and retest.
Verify the Inverter Switch Position
A dedicated toggle switch controls the inverter directly. It sits under the dash on the driver’s side, near the fuse panel, and is labeled “Inverter” or “Power Inverter.” Make sure this switch is in the “On” position. If it was accidentally bumped off, flipping it back should restore power immediately.
Inspect the Critical Fuses

A blown fuse is the number one cause of total 110V outlet failure. Two fuse locations matter here, and checking both takes less than five minutes.
Locate the 60A Under-Hood Fuse
Open the hood and find the Battery Junction Box (BJB) on the driver side. Look for a large 60-amp J-case fuse, though some configurations use a 40A unit, so verify by label. This fuse delivers primary power to the inverter. Pull it and inspect the internal filament. A broken or discolored filament means the fuse has failed.
Warning: Never install a higher-amp fuse as a replacement. This can damage wiring or create a fire hazard.
Test Interior Fuses as Backup
Check the in-cab fuse panel below the steering column for any fuses labeled “Inverter,” “Aux Power,” or “DC/AC Converter.” Use the fuse puller tool and compare suspect fuses to known-good ones. Replace any that appear blown.
Decode the Outlet LED Indicator Behavior
The small LED on the 110V outlet is a built-in diagnostic tool. Its color and behavior tell you exactly what’s wrong.
Light Completely Off
If the LED is dark, the inverter is receiving no power. Recheck the ignition status, inverter switch, battery disconnect switch, and 60A fuse. If all are correct and the light remains off, the inverter module itself may have failed.
Solid Green or Amber Light
A steady light means the system is active and functioning. If a plugged-in device still won’t work, the problem may be device incompatibility caused by the modified sine wave output (covered later in this guide).
Flashing Amber or Yellow Light
A flashing light signals that the inverter has entered protective fault mode. Two conditions trigger this:
Overload Protection Triggered: The connected device exceeds the wattage limits. The system allows up to 400W when parked and 300W when driving. Plugging in a heater, large drill charger, or microwave, even briefly, can trip the sensor. Unplug the device, cycle the inverter switch off and on, and wait 10 seconds before retrying.
Overheating from Prolonged Use: Running high-wattage devices for extended periods causes the metal-housed module to overheat. If the light starts flashing after 10-15 minutes of use, let the system cool for 30 minutes before testing again.
Pro Tip: If the light flashes with nothing plugged in, the inverter likely has an internal short and requires replacement.
Access and Inspect the Inverter Module
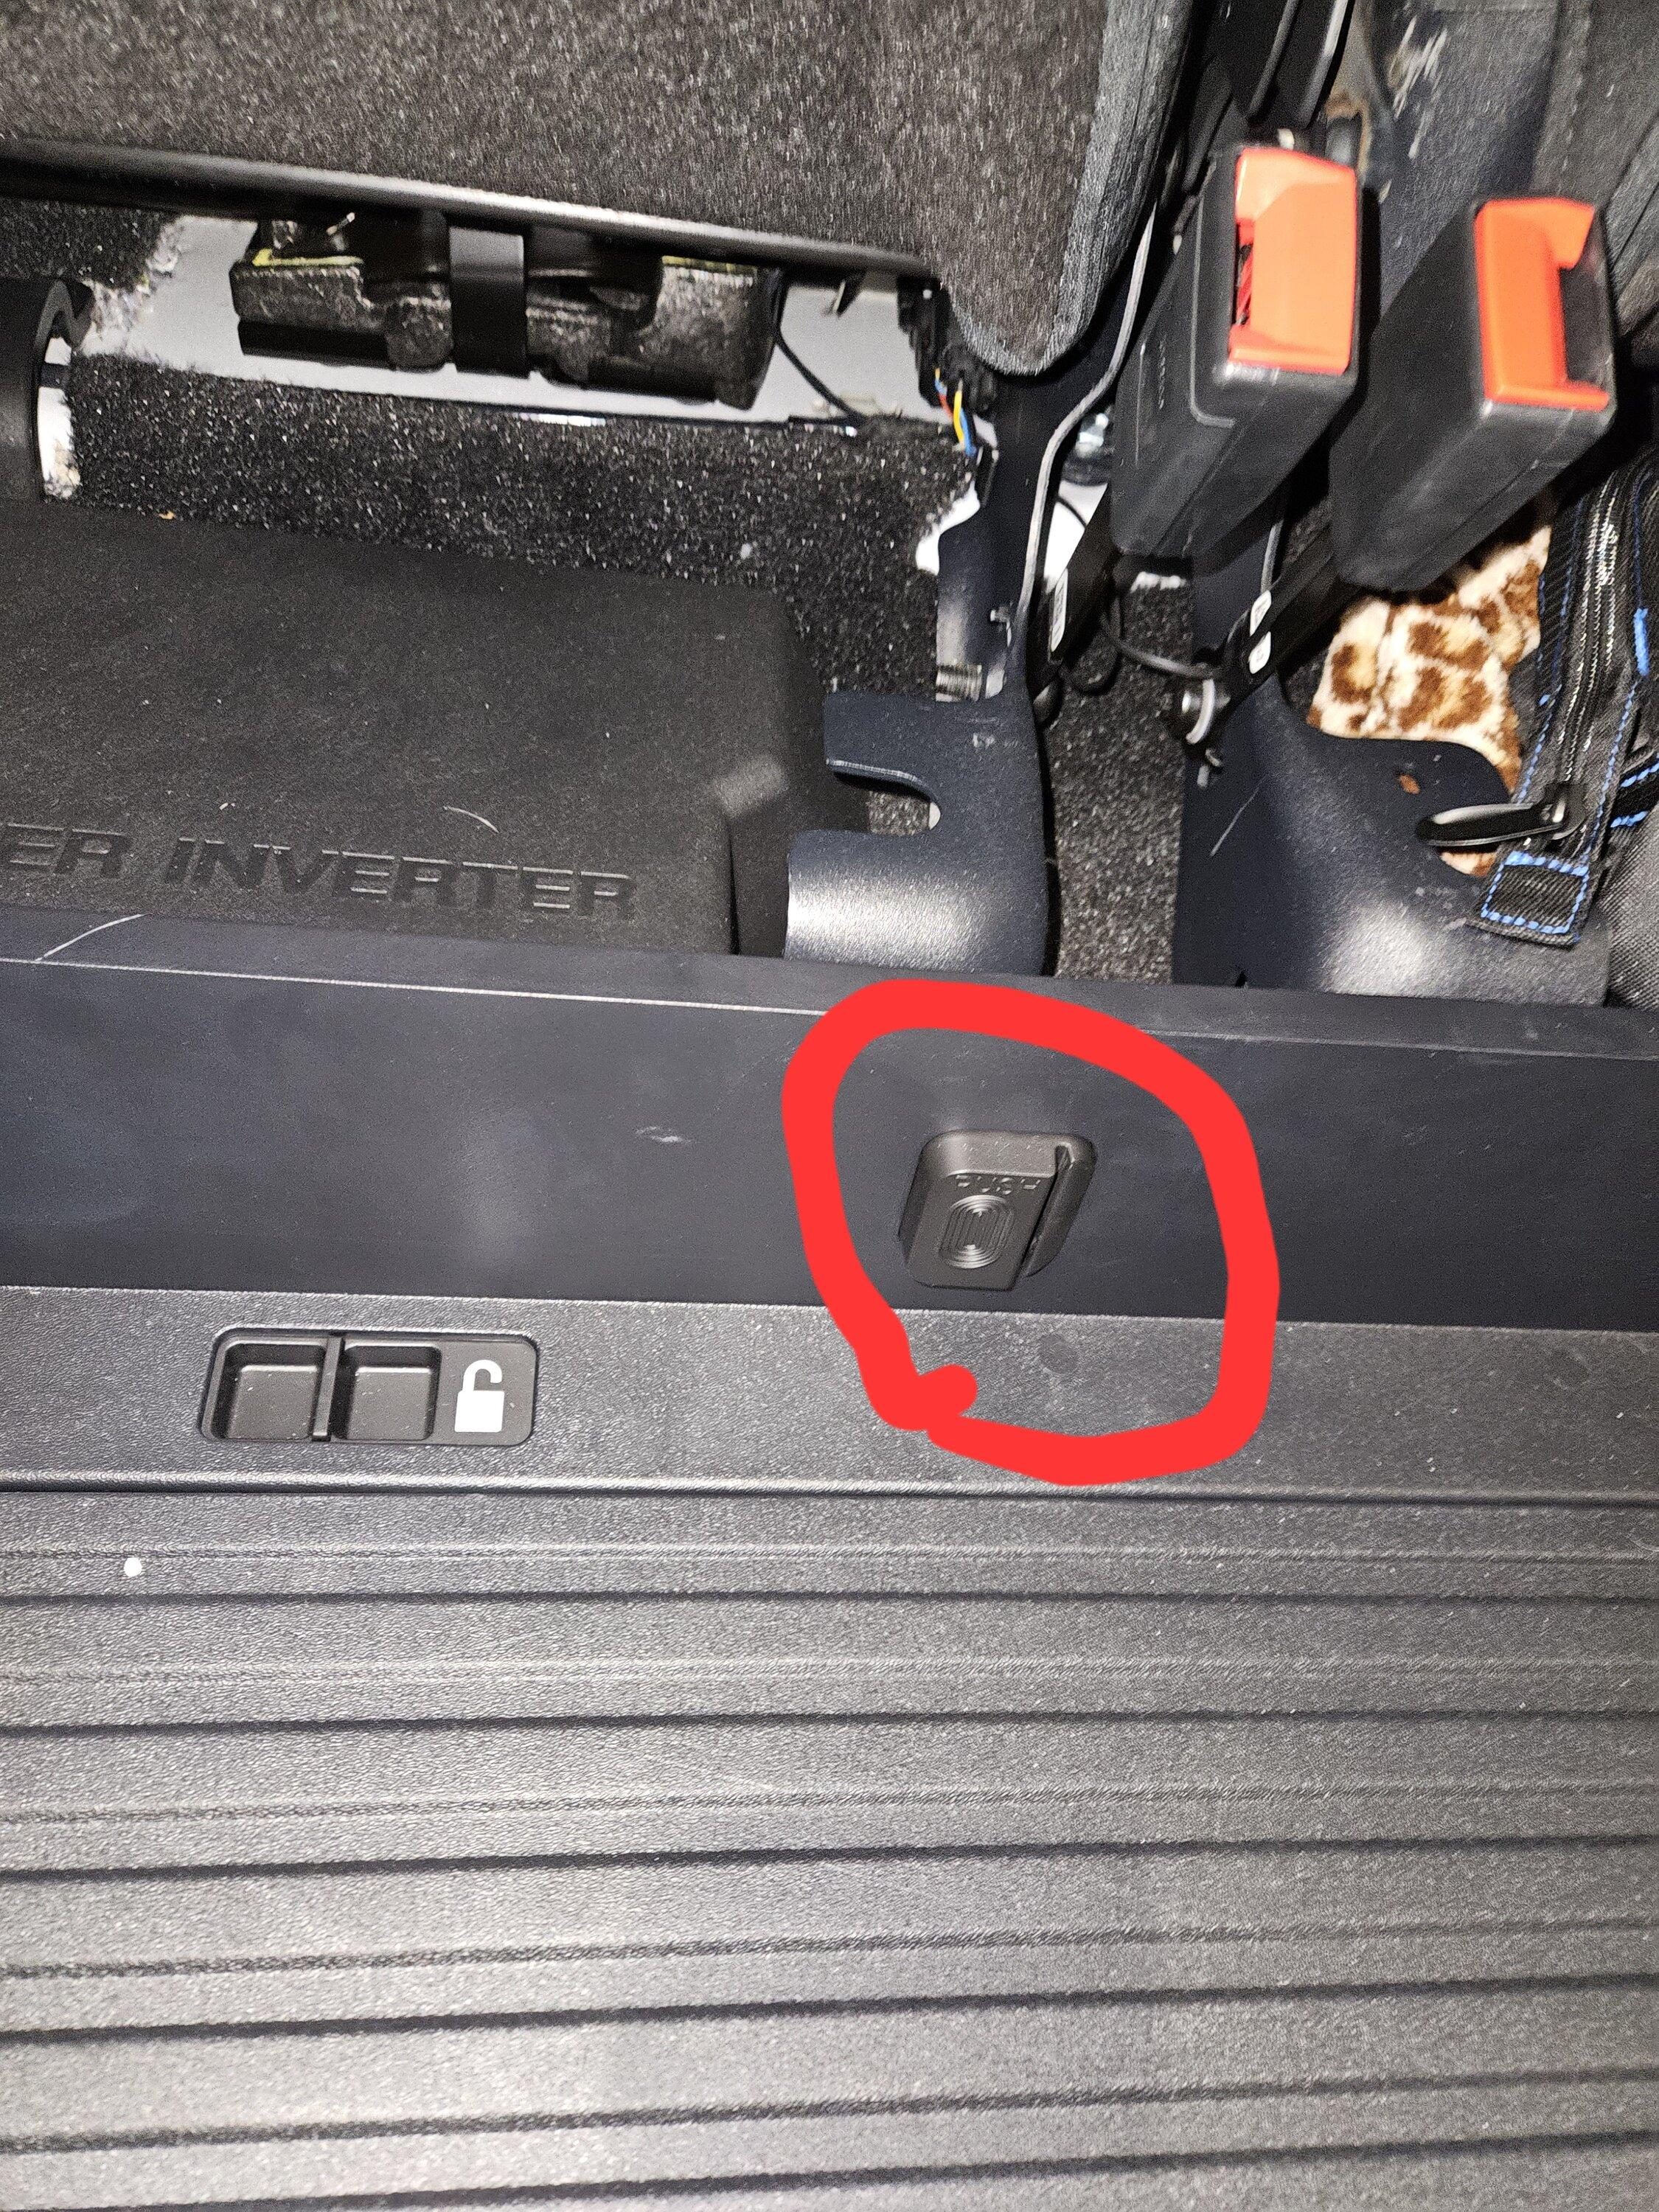
When fuses and switches check out but the outlet stays dead, physical inspection of the inverter module is the next step.
Locate the Module by Cab Style
For Crew Cab and SuperCab models, the inverter sits behind or under the rear passenger-side seat. Regular Cab locations vary, so confirm mounting points before disassembly. Access requires folding down or removing the rear seat, then pulling back the carpet or trim panel to reveal the metal-boxed unit with three electrical connectors.
Check for Water Damage
The under-seat location makes the module vulnerable to moisture from cab leaks or spills. Look for rust on the casing, corrosion (white or green powder) on connectors, water stains, or bent pins on the connection ports. Even minor moisture exposure can cause intermittent failures or permanent shorts. Clean corroded connectors with electrical contact cleaner and a soft brush, but expect ongoing issues if damage is advanced.
Diagnose with an OBD2 Scan Tool
When physical checks don’t reveal the problem, retrieve diagnostic trouble codes using a Ford-compatible scanner like FORScan.
Pull the B1330 Code
Connect the scanner and read stored codes. The B1330 code specifically indicates a fault in the DC/AC Inverter Module. If this code appears, the module has likely failed internally. Replacement is the only reliable fix, and no programming is required for the new unit.
Note: Generic OBD2 scanners may not access body control modules. Use a Ford-compatible tool or visit a mechanic with Ford IDS capability for accurate results.
Replace the Inverter Module

If all other troubleshooting fails, replacing the inverter restores functionality. The job is straightforward and requires no coding.
Match the Correct Part Number
Use one of these OEM part numbers based on your cab and trim configuration:
- HC3T-19G317-BEW
- HC3T-19G317-BGW
- HC3T-19G317-BHW
- HC3Z-19G317-A
- HC3Z-19G317-BC (common service replacement)
Verify the number on your old unit before ordering. Cab style matters because mounting brackets and harness lengths differ between Crew Cab, SuperCab, and Regular Cab models.
Follow Safe Replacement Steps
- Disconnect the negative battery terminal (both if equipped with dual batteries)
- Fold down the rear passenger seat and remove any trim panels
- Unplug all three connectors: 12V input, 110V output, and control harness
- Unbolt the module from its bracket (typically two 10mm bolts)
- Install the new unit, secure with bolts, and reconnect all connectors
- Reconnect the battery, turn ignition to “Run,” and test with a low-wattage device like a phone charger
The LED should glow solid green or amber when the system is functioning correctly.
Avoid Common Device Compatibility Issues
Even with a fully operational inverter, some electronics refuse to work due to the modified sine wave output.
Why Certain Electronics Fail
The factory inverter produces a stepped waveform rather than a smooth sine wave. This can cause laptop chargers to overheat or shut down, medical equipment to malfunction, and power tool chargers to refuse input. Devices with active power factor correction (PFC) are especially sensitive to this output type.
Workarounds and Limitations
There is no direct-swap pure sine wave module available for the factory system. To run sensitive equipment, you have three options: install a standalone aftermarket inverter wired directly to the battery, choose devices rated for modified sine wave operation, or avoid high-draw items over 300W while driving.
Warning: Do not daisy-chain power strips. This increases fault risk and may exceed load limits.
Prevent Future 110V Outlet Failures
Keep your inverter system reliable with simple maintenance and smart usage habits.
Manage Power Load Carefully
Use devices near 400W only when parked, and stay under 300W when driving. Unplug devices when not in use to prevent phantom battery drain.
Protect the Module from Moisture
Avoid spilling liquids near the rear seats, inspect cab seals annually for leaks, and consider relocating a replacement module to a drier area if your truck has chronic moisture issues.
Test the System Monthly
Plug in a small device every 30 days to keep the system active and prevent capacitor degradation from prolonged inactivity.
Frequently Asked Questions About 2019 F250 110V Outlet Problems
Why does my 2019 F250 110V outlet work when parked but fail when driving?
The inverter automatically reduces maximum output from 400W to 300W when the truck is in motion. Devices drawing between 300W and 400W will function while parked but trigger an overload fault (flashing amber light) once you shift into drive. Unplug the device and reset the system by cycling the inverter switch.
Where is the inverter switch on a 2019 F250?
The inverter switch is located under the dash on the driver’s side, near the interior fuse panel. It is typically labeled “Inverter” or “Power Inverter.” This switch must be in the “On” position for the 110V outlets to function.
Can I replace the factory inverter with a pure sine wave unit?
No direct-swap pure sine wave module exists for the factory system. To power sensitive electronics, you would need to install a standalone aftermarket inverter wired directly to the battery with custom mounting. The factory outlets cannot be retrofitted to produce pure sine wave output.
How much does it cost to replace a 2019 F250 inverter module?
A new OEM inverter from a dealer costs between $290 and $400. Used OEM units range from $75 to $150 and work reliably when sourced from low-mileage trucks. Professional installation adds $120 to $200 in labor costs, though the plug-and-play design makes DIY replacement feasible for most owners.
What does a flashing amber light on the 110V outlet mean?
A flashing amber or yellow light indicates the inverter has entered protective fault mode. This typically results from an overload (device exceeding 300W while driving or 400W while parked) or overheating from prolonged high-wattage use. Unplug all devices, cycle the inverter switch, and allow 30 minutes for cooling if overheating is suspected.
Is there a recall on 2019 F250 power inverters?
As of early 2026, there are no specific recalls or Technical Service Bulletins from Ford or the NHTSA regarding the power inverter module for 2017-2022 Super Duty trucks. Most reported problems stem from design limitations rather than manufacturing defects.
Key Takeaways for Restoring Your 2019 F250 110V Outlet
Most 110V outlet failures trace back to simple oversights: a flipped inverter switch, a tripped battery disconnect, or a blown 60A fuse. Methodically checking these basics, reading the LED indicator behavior, and inspecting for water damage resolves the majority of issues in under an hour. When replacement becomes necessary, OEM modules are plug-and-play and widely available on the used market for a fraction of dealer prices. Remember that the 300W driving limit and modified sine wave output are design constraints, not defects. Plan your power usage accordingly, and your factory inverter will deliver reliable job-site performance for years to come.


