Your Ford F-250 trailer lights suddenly stopped working right before a trip. You check the connector, wiggle the plug, and still nothing. This frustrating scenario plays out constantly for Super Duty owners, especially across model years 2012 through 2020. The root cause is almost always electrical, ranging from a single blown fuse to hidden ground faults deep in the wiring harness. The encouraging news is that most Ford F250 trailer lights not working issues can be tracked down and repaired in under an hour using basic tools.
This guide walks you through model-specific fuse locations, step-by-step voltage testing, and proven repair techniques used by professional technicians. You will also learn simple prevention habits that stop most trailer light failures before they ever happen.
Identify Your Model Year Before Troubleshooting

Trailer light wiring differs significantly between F-250 generations. Confirming your exact model year first prevents wasted time chasing the wrong fuses. What fixes a 2019 may not apply to a 2020 or 2012.
2019 F-250 Fuse Layout
For 2019 trucks with the factory tow package, Fuse #99 is your primary suspect when running lights fail. This 20A fuse controls the Trailer Tow Parking Lamps and frequently blows when the trailer is unplugged while the truck is running.
Additional fuses to check:
– #42 and #65: Power the Trailer Tow Lighting Module
– #72: Controls Brake and Turn Signals
– #84: Manages Trailer Backup Lights
Always verify fuses with a multimeter. Visual inspection alone is unreliable because a fuse can look perfect but fail under electrical load.
2020 F-250 Critical Fuses
The 2020 model shifts the architecture slightly:
– Fuse #42 (20A) in the under-hood box now controls trailer running lights
– Fuse #30 (20A) is often misdiagnosed. It powers the heated wiper park, not trailer lights
– Relay #7 (Trailer Tow Park Lamp Relay) must be tested by swapping with an identical relay, such as the hazard flasher
If your brake lights work but running lights do not, start with Fuse #42 and Relay #7.
2012 F-250 Dual Panel Check
Older models require checking both fuse panels:
– Passenger Compartment:
– Fuse #30 (15A): Dedicated to trailer lamps and a frequent failure point
– Fuses #13, #14, #15: General lighting circuits
– Under-Hood Box:
– Fuses #22, #26, #29, #74, #75, #100: All must be tested
Swap the trailer lighting relay with the blower motor relay to quickly verify relay function.
Isolate the Problem to Truck or Trailer
Before replacing parts, confirm where the fault actually lives. This single test saves hours of unnecessary work.
Test with a Known Good Trailer
Connect a different trailer that you know works perfectly. If it lights up correctly, your original trailer has the wiring problem. If no trailer receives power, the fault lies inside your F-250.
Check Headlight Switch Position
On trucks with automatic headlights, running lights may not activate when the switch sits in the Auto position. Manually turn the headlights On to force the running light circuit to engage. Many owners overlook this simple fix and assume a major wiring fault.
Inspect the 7-Pin Connector Condition
Examine both the truck-side and trailer-side connectors carefully:
– Look for corrosion, moisture, bent pins, or loose terminals
– Clean all contacts with electrical contact cleaner
– Apply dielectric grease to prevent future oxidation
A dirty or wet connector can mimic a complete electrical failure.
Test Voltage Directly at the Connector

Basic plug-in testers often give false readings. A digital multimeter provides accurate, real-world voltage measurements.
Measure Running Light Voltage
Set your multimeter to DC volts and have an assistant turn on the headlights. Probe the brown wire at the 11 o’clock position on the 7-pin connector.
- 12V or higher: Circuit is healthy
- Below 10V (such as 3 to 9V): Indicates high resistance, a partial short, or a failing fuse
- 0V: No power reaching the connector. Check fuses and wiring upstream
Check Brake and Turn Signal Voltage
While an assistant presses the brake pedal or activates the turn signals:
– Test the yellow wire (left turn) at the 9 o’clock position
– Test the green wire (right turn) at the 3 o’clock position
– Expect full 12V during activation
If brake and turn signals work but running lights fail, focus on Fuse #99 (2019) or Fuse #42 (2020).
Diagnose Ground Circuit Failures
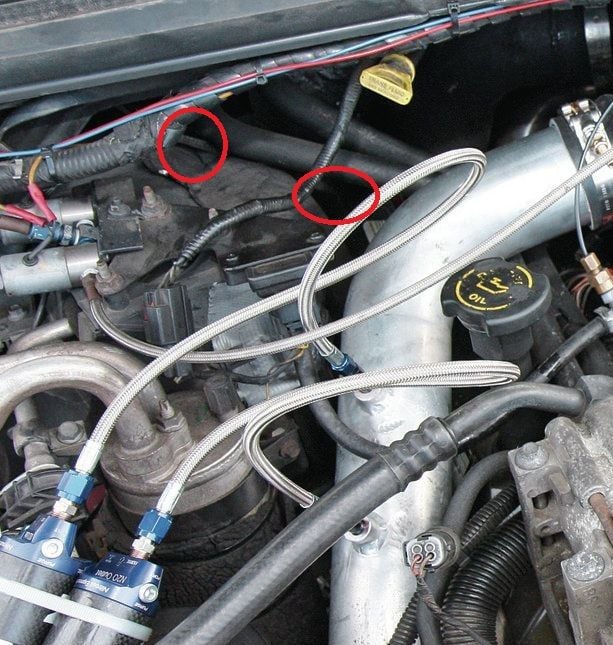
A poor ground causes flickering, dim lights, or total failure even when fuses are perfectly good. Ground faults are among the most common reasons for Ford F250 trailer lights not working.
Test Ground Continuity
Switch your multimeter to continuity mode:
– Place one probe on the white ground wire at the 7 o’clock pin
– Touch the other probe to bare metal on the truck frame
A healthy ground produces an audible beep. No sound indicates:
– Corroded ground wire
– Loose connection
– Paint or rust blocking metal-to-metal contact
Inspect Chassis Ground Points
Locate the main ground strap connecting the trailer harness to the frame:
– Remove the mounting bolt
– Sand the contact area down to bare metal
– Reattach the bolt securely
Every ground connection must be tight, clean, and free of corrosion.
Replace Suspect Fuses and Relays
Never skip fuse testing, even when fuses appear visually intact.
Replace Fuse #99 on 2019 Models
If running lights are completely dead:
1. Locate Fuse #99 in the passenger compartment panel
2. Pull it using fuse pliers
3. Test with a multimeter or dedicated fuse checker
4. Replace with a fresh 20A fuse regardless of appearance
Pro Tip: If the new fuse blows immediately, stop and inspect the wiring for a short before installing another fuse.
Swap Relay #7 on 2020 Models
Relay #7 controls park lamps on 2020 trucks. To test it:
1. Find an identical relay, such as the hazard flasher
2. Swap the two relays
3. Test the trailer lights
If lights now work, replace the faulty relay with a new one.
Check Fuse #30 on 2012 Models
In older trucks, Fuse #30 (15A) in the cabin panel is critical. Replace it when:
– Running lights are out
– No voltage appears on the brown wire
– All other fuses test good
Trace Wiring for Breaks and Shorts
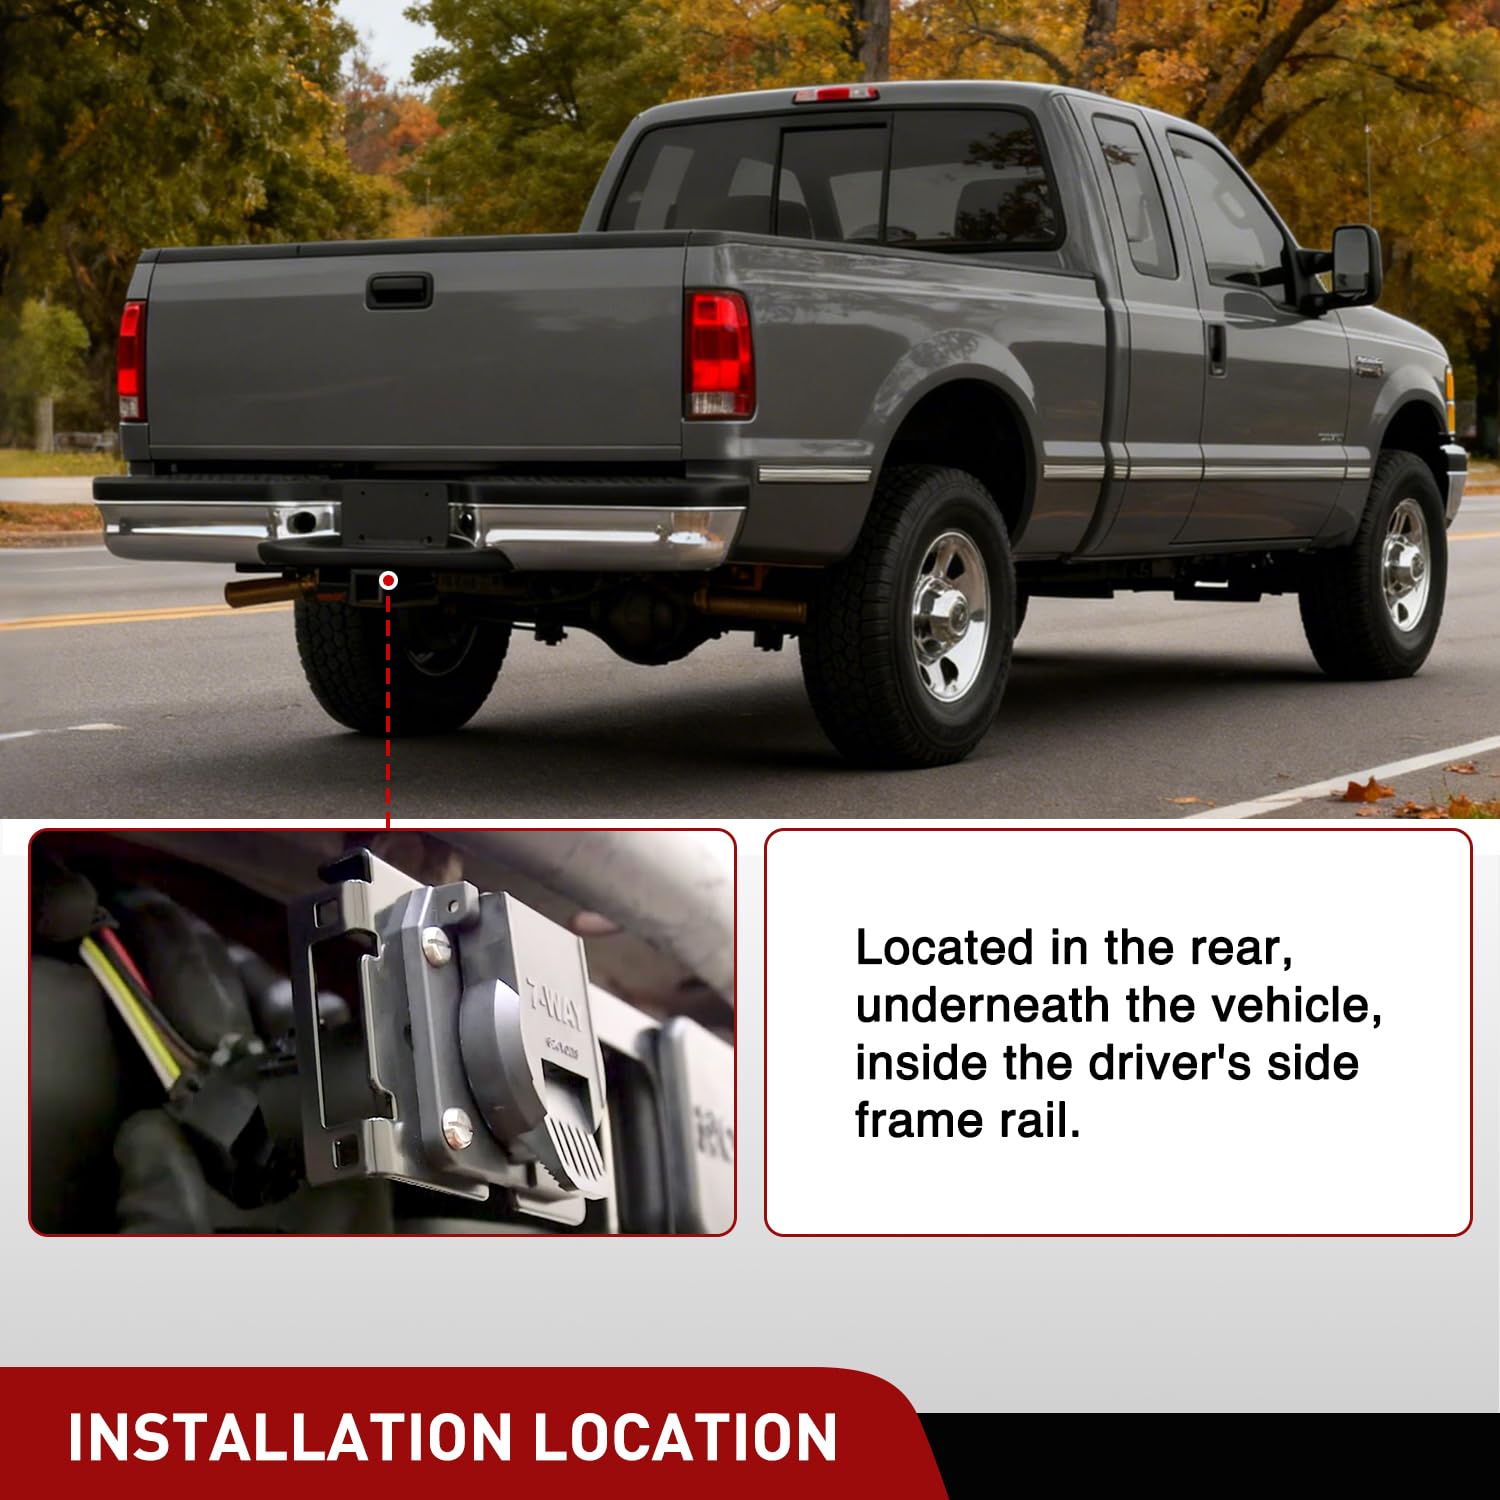
When fuses and grounds check out but no power reaches the connector, the wiring harness itself is suspect.
Locate the Frame Connector
Find where the 7-way harness plugs into the truck frame, usually near the rear bumper. This circular connector is vulnerable to:
– Moisture intrusion
– Corrosion buildup
– Loose or backed-out pins
Unplug it and inspect both sides thoroughly. Clean with contact spray and apply fresh dielectric grease before reconnecting.
Test for Open Circuits
Use your multimeter in ohms mode:
– Disconnect the harness at both ends
– Test continuity from the fuse box to the connector
– Look for infinite resistance, which indicates an open circuit
When found, cut out the damaged wire section and splice in new wire using solder and heat-shrink tubing.
Repair Corroded Brake or Running Light Wires
The brown wire (running lights) and blue wire (electric brakes) commonly suffer internal corrosion. When damage is present:
1. Cut out the corroded segment completely
2. Strip and solder in new 14-gauge wire
3. Seal the repair with adhesive heat-shrink tubing
Avoid standard butt connectors because they corrode and fail over time.
Scan for Diagnostic Trouble Codes
Modern F-250s use a Trailer Tow Module (TTM) and Body Control Module (BCM) that can intentionally shut down power when a fault is detected.
Use an OBD2 Scanner
Plug in a scanner capable of reading body and chassis codes, not just engine codes. Look for:
– U-coded faults: Communication errors between modules
– B-coded faults: Body circuit issues
– Trailer lighting circuit faults
– Ground short codes
Clear and Reset Modules
If a short circuit caused the module to disable its output:
1. Repair the underlying wiring fault
2. Clear all stored codes
3. Cycle the ignition off and on
Some systems require professional module reprogramming if lights remain off after the repair.
Prevent Future Trailer Light Failures

A few simple habits prevent the vast majority of trailer light problems.
Apply Dielectric Grease Regularly
Every time you disconnect the trailer:
– Apply dielectric grease to all connector pins
– Coat the inside of the plug housing
This blocks moisture and stops corrosion before it starts.
Unplug Safely Every Time
Always turn off the lights and ignition before disconnecting the trailer. Unplugging under load creates voltage spikes that frequently blow Fuse #99 and similar fuses.
Maintain a Spare Fuse Kit
Keep these items in your glovebox:
– 15A, 20A, and 30A automotive fuses
– One spare relay matching your model year
– A small tube of dielectric grease
You can fix most roadside failures in under 10 minutes with this kit.
Inspect Grounds Annually
Once per year:
– Check every ground strap for tightness
– Sand contact points down to bare metal
– Re-tighten all mounting bolts
This prevents slow degradation that leads to sudden lighting failures.
When to Seek Professional Help
Some issues go beyond typical DIY repairs.
Persistent Problems After Fuse Replacement
If you have replaced fuses, swapped relays, and cleaned connectors but lights still refuse to work:
– The TTM or BCM may be damaged
– Internal wiring harness faults may require removing interior panels
A qualified technician with Ford-specific diagnostic tools can trace these deep faults.
Diagnostic Codes That Will Not Clear
If OBD2 codes return immediately after clearing:
– The module may need professional reprogramming
– A short may be hidden inside the firewall or under the dash
Dealerships and specialty shops have access to complete wiring diagrams and module testers.
Major Wiring Damage
Melted wires, rodent-chewed harnesses, or shorts near the battery require:
– Full harness replacement
– Professional soldering and sealing
– Module resets and relearns
These jobs demand significant time, specialized skill, and proper tools.
Frequently Asked Questions About Ford F250 Trailer Lights Not Working
Why do my trailer running lights work but brake lights do not?
This usually points to a problem with the brake controller circuit or the blue wire at the 5 o’clock position on the 7-pin connector. Check the brake controller fuse and inspect the blue wire for breaks or corrosion. A faulty brake controller can also cause this symptom.
Can a bad ground cause trailer lights to flicker?
Yes. A poor ground connection is one of the most common causes of flickering or dim trailer lights. Even with perfectly good fuses, a corroded or loose ground prevents proper current flow. Clean and tighten all ground points to resolve this issue.
Why does my trailer fuse keep blowing immediately after replacement?
An immediately blown fuse indicates a short circuit in the wiring. Common causes include chafed wires touching the frame, water intrusion in the connector, or a failed trailer-side component. Do not keep replacing the fuse. Inspect the entire harness for damage before installing a new fuse.
Do I need to disconnect the battery before working on trailer wiring?
It is strongly recommended. Disconnecting the negative battery terminal prevents accidental shorts that can damage the Trailer Tow Module or Body Control Module. This simple safety step takes one minute and can prevent hundreds of dollars in module replacement costs.
How do I know if my Trailer Tow Module has failed?
Signs of TTM failure include complete loss of trailer lighting with no blown fuses, persistent diagnostic trouble codes that will not clear, and trailer lights that work only intermittently. An OBD2 scan showing TTM communication errors confirms the diagnosis. Replacement typically requires dealership programming.
Key Takeaways for Fixing Ford F250 Trailer Lights
Most Ford F250 trailer lights not working issues trace back to just a handful of root causes. Blown fuses (especially #99 on 2019, #42 on 2020, and #30 on 2012 models), faulty relays, corroded connectors, and poor ground connections account for the vast majority of failures. Start your diagnosis by identifying your model year, then test the specific fuses listed above with a multimeter. Inspect the 7-pin connector for corrosion and verify ground continuity before replacing any parts.
Your next step is to gather a multimeter, a set of spare fuses, and dielectric grease. With these basic tools and the procedures outlined in this guide, you can diagnose and repair nearly any trailer light issue on your F-250 in under an hour, saving money and keeping your trailer road-ready for every job or trip ahead.