
Your 2001 Ford F250 dash lights going dark is more than a minor annoyance. Without illuminated gauges, you lose visibility into critical warnings like low oil pressure, engine overheating, brake system failures, and battery alerts. This problem often appears suddenly, sometimes at night, making driving risky. The root cause is frequently hidden in wiring shorts, degraded splices, or aftermarket harness faults rather than a simple burnt bulb.
This guide walks you through proven diagnostic steps to locate and fix the problem. You will learn how to test fuses, inspect critical wiring junctions, isolate aftermarket components, and verify switch functionality. By following a systematic approach, you can restore your dash lights and keep your truck safe on the road.
Check Fuse #8 and Verify Power Supply

Test Under-Hood Fuse #8 First
Start your diagnosis with Fuse #8, a 15-amp fuse in the under-hood fuse block. This fuse powers the tan wire with a white tracer, which feeds the instrument cluster lighting circuit. If the fuse is blown, your dash lights will go dark immediately. Replace it and see if the lights return. If the new fuse blows the moment you turn on the headlights, you have an active short somewhere in the system.
Never upgrade to a higher amp fuse to stop it from blowing. Doing so risks melting wire insulation or starting an electrical fire. The fuse is protecting you from a real fault that needs fixing.
Use a Circuit Breaker for Safe Diagnosis
When a fuse blows repeatedly, swap it temporarily for a 15-amp self-resetting circuit breaker. This lets you test the circuit without burning through a stack of fuses. Turn on the headlights and watch whether the breaker trips. If it does, a short is present and you can begin isolating components one at a time.
A circuit breaker also lets you disconnect parts like the flatbed harness or brake controller while monitoring the circuit in real time.
Confirm Voltage on the Tan/White Wire
With the key on and headlights activated, use a multimeter to probe the tan/white wire at the fuse block. You should see approximately 12 volts. If voltage is missing, the fuse may not be seated properly, the fuse box may be damaged, or power is interrupted upstream. If voltage is present but the lights stay off, the fault lies further down the line in the wiring, connectors, or instrument cluster.
Inspect the 5-Way Splice Under the Master Cylinder
Locate the Hidden Junction Point
One of the most common failure points on the 2001 F250 is the 5-way splice buried beneath the brake master cylinder. This junction splits the brown wire coming from the headlight switch to feed both front and rear parking lamps. Over time, heat, vibration, and moisture loosen the connections or cause the wires to chafe. The splice sits near three large connectors in the left front engine compartment, often wrapped in tape or split loom.
Finding this splice takes patience. Look for bundled wires tucked against the firewall on the driver’s side.
Test Each Leg of the Splice Individually
Once located, carefully unwrap the splice and separate each leg. Using your circuit breaker setup, power the circuit and test each branch one at a time. In many documented cases, none of the individual legs trip the breaker on their own, yet the system shorts when fully connected. This points to a momentary fault caused by poor contact or a pinched wire at the junction.
Clean all terminals thoroughly, make sure no bare copper is touching metal, and reassemble using dielectric grease and heat-shrink connectors for a durable repair.
Examine the Left Front Wheel Well Harness
The wiring harness running through the left front wheel well frequently rubs against the frame or suspension components. Inspect this area carefully for cracked insulation, exposed copper, or melted spots. Even minor abrasion can create a ground fault when the truck hits bumps or rough roads.
Repair any damaged sections using crimp connectors sealed with heat-shrink tubing. Reroute the harness away from sharp edges and secure it with new zip ties to prevent future wear.
Diagnose Aftermarket Flatbed and Trailer Wiring

Disconnect the Flatbed Harness
Aftermarket flatbed installations are a frequent cause of dash light failures. The flatbed harness often includes a molded connector that develops internal shorts between signal and ground wires, even when the exterior looks perfectly fine. Disconnect the flatbed harness completely and retest the lighting circuit. If the fuse stops blowing and the dash lights come back, the short is inside the flatbed wiring.
Test for Internal Connector Shorts
Use a multimeter in continuity mode to check for unintended connections between pins inside the flatbed connector. A reading of zero ohms between a power pin and ground confirms a short. These faults are common in low-quality harnesses or connectors exposed to road salt and moisture over time. If you find a short, cut out the damaged section and install a new sealed connector rated for outdoor use.
Bypass Trailer Wiring Temporarily
Factory or aftermarket trailer wiring can also introduce faults into the system. Disconnect the trailer harness at the vehicle’s main connector, usually located near the rear bumper, and retest the dash lights. If the problem disappears, inspect the trailer wiring for pinched wires, corroded sockets, or overloaded circuits that may be backfeeding into the truck’s electrical system.
Test and Replace Switches
Rule Out Dimmer Switch Problems
The dash light dimmer switch on the steering column can fail mechanically or electrically. Turn the knob fully clockwise and counterclockwise, paying attention to whether the lights flicker or work only when pushed past the detent. If adjusting the dimmer restores function intermittently, the switch is worn out and needs replacement. Use a genuine Ford part or a high-quality aftermarket equivalent for reliable operation.
Swap the Headlight Switch to Confirm the Fault
While less common, the headlight switch itself can fail and cut power to the dash lights. If all other tests pass, replace the switch as a final step. Be aware that newer replacement switches may have a different pin count than the original. Part number 13CZ-11564 has one fewer pin than the older 13CT-11564, but both are compatible with matching model years. A pin difference does not automatically mean the part is wrong; the real fault is often downstream in the wiring.
Perform the C273B Pin-Jump Test
For a definitive switch diagnosis, locate the C273B connector behind the dash. With the circuit breaker installed, jump Pin #10 (power) to Pin #12 (exterior lights). If this action trips the breaker, the short is confirmed downstream of the switch. This means the wiring or connectors are at fault, not the switch itself, saving you the cost of an unnecessary replacement.
Address Instrument Cluster Failures
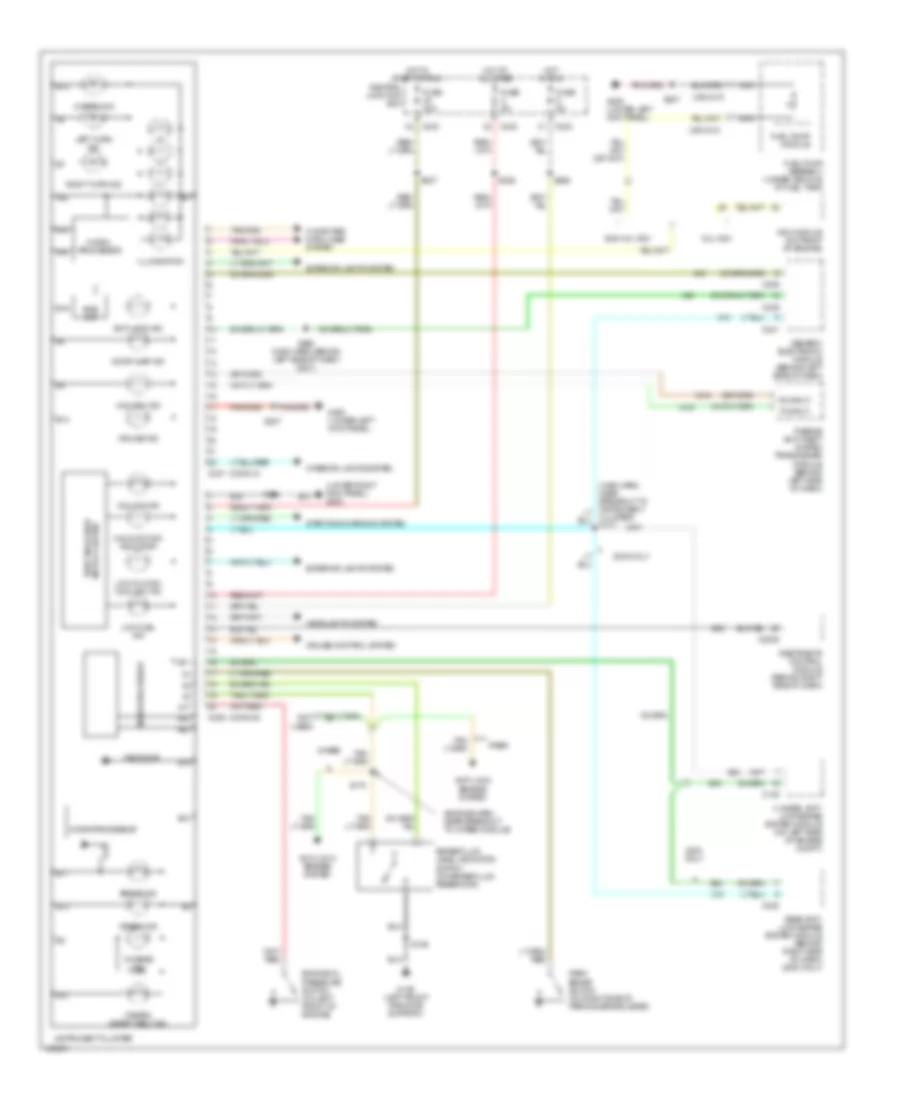
Replace Burned-Out Cluster Bulbs
Over time, the small incandescent bulbs inside the instrument cluster simply burn out. Removing the cluster requires taking off trim panels and unscrewing mounting hardware, which can be tedious. Once the cluster is out, inspect each bulb visually. Replace any that appear dark, broken, or blackened. Use the correct replacement type, typically #168 or #194, and avoid touching the glass with bare fingers. Skin oils cause hot spots that shorten bulb life.
Check for Flickering or Partial Illumination
Flickering lights or gauges that light up only partially often indicate a failing circuit board inside the cluster. Solder joints crack due to years of heat and vibration, breaking electrical connections. If new bulbs do not solve the problem, the cluster may need professional repair or full replacement. Rebuilt units are available, but verify compatibility with your specific 7.3L Powerstroke model before purchasing.
Inspect the Cluster Ground Connection
A poor ground can kill dash lights even when power is reaching the cluster. Locate the ground wire, usually a black wire near the steering column or behind the dash. Disconnect it, clean away any corrosion with a wire brush, and reconnect it tightly to bare metal. A loose or dirty ground is a silent cause of many electrical issues and is often overlooked.
Prevent Recurring Electrical Failures
Install a Self-Resetting Circuit Breaker
Consider replacing Fuse #8 with a self-resetting 15-amp circuit breaker once diagnostics are complete. This does not fix the root cause of a short, but it prevents the frustration of repeated fuse blowouts during future troubleshooting. It is especially helpful if you frequently tow trailers or run aftermarket accessories that stress the lighting circuit.
Seal and Protect Critical Splices
After repairing the 5-way splice or any harness damage, seal the repair properly. Use heat-shrink tubing with adhesive lining rather than electrical tape, which degrades over time. Wrap the entire junction in UV-resistant loom or conduit and secure it away from moving parts and heat sources. This prevents moisture, dirt, and vibration from causing the same failure again.
Schedule Regular Wiring Inspections
Prevention saves money and headaches. Every six months, inspect the following areas:
- The 5-way splice under the brake master cylinder
- Harness routing in the left front wheel well
- Condition of aftermarket connectors and seals
- Ground points for corrosion or looseness
Catching small issues early prevents them from becoming major electrical failures.
Frequently Asked Questions About 2001 F250 Dash Lights
Why do my dash lights and tail lights stop working at the same time?
This usually points to a shared wiring fault rather than separate bulb failures. The most common cause is a problem at the 5-way splice under the brake master cylinder, where the brown wire splits to feed both front parking lamps and rear lighting. A short or loose connection at this junction can knock out multiple lighting systems simultaneously.
Which fuse controls the dash lights on a 2001 F250?
Fuse #8, a 15-amp fuse in the under-hood fuse block, controls the dash light circuit. It feeds power through a tan wire with a white tracer to the instrument cluster. If this fuse blows repeatedly, you have an active short that needs diagnosis before the lights will stay on reliably.
Can a bad dimmer switch cause dash lights to fail completely?
Yes. A faulty dimmer switch can interrupt power to the entire dash lighting circuit, not just dim the lights. Try rotating the knob fully in both directions and pushing past the detent. If the lights flicker or come on only at certain positions, the switch is worn and should be replaced.
Is it safe to use a higher amp fuse to stop it from blowing?
No. Upgrading to a higher amp fuse is dangerous and does not fix the underlying short. The fuse is sized to protect the wiring from overheating. Installing a larger fuse allows excessive current to flow, which can melt wire insulation or start a fire. Always use the correct 15-amp fuse and diagnose the real cause of the failure.
How do I know if my instrument cluster is bad?
Signs of a failing cluster include flickering lights, gauges that stop moving, and bulbs that burn out repeatedly even after replacement. These symptoms often indicate cracked solder joints on the internal circuit board. A professional repair shop can rebuild the cluster, or you can replace it with a verified compatible unit.
Will disconnecting my flatbed harness fix the dash lights?
It might. Aftermarket flatbed harnesses are a frequent source of hidden shorts, especially inside molded connectors where damage is not visible. Disconnect the flatbed harness and retest the circuit. If the fuse stops blowing and the lights work, the short is in the flatbed wiring and needs repair or replacement.
Key Takeaways for Restoring Your 2001 F250 Dash Lights
A dark dashboard in your 2001 F250 is a safety hazard that deserves immediate attention. Start your diagnosis with Fuse #8 and use a self-resetting circuit breaker to test safely without burning through fuses. Pay close attention to the 5-way splice under the brake master cylinder, which is a known failure point that can knock out dash lights, tail lights, and dome lights at once. Disconnect any aftermarket flatbed or trailer wiring early in the process, as these are common sources of hidden shorts.
If basic checks do not reveal the problem, inspect the dimmer switch, headlight switch, and instrument cluster ground connection. Methodically isolating each component is the fastest path to a permanent fix. Once repaired, seal all splices properly and inspect the wiring every six months to prevent future failures. Taking these steps restores full functionality to your truck and keeps you safe on the road.


