
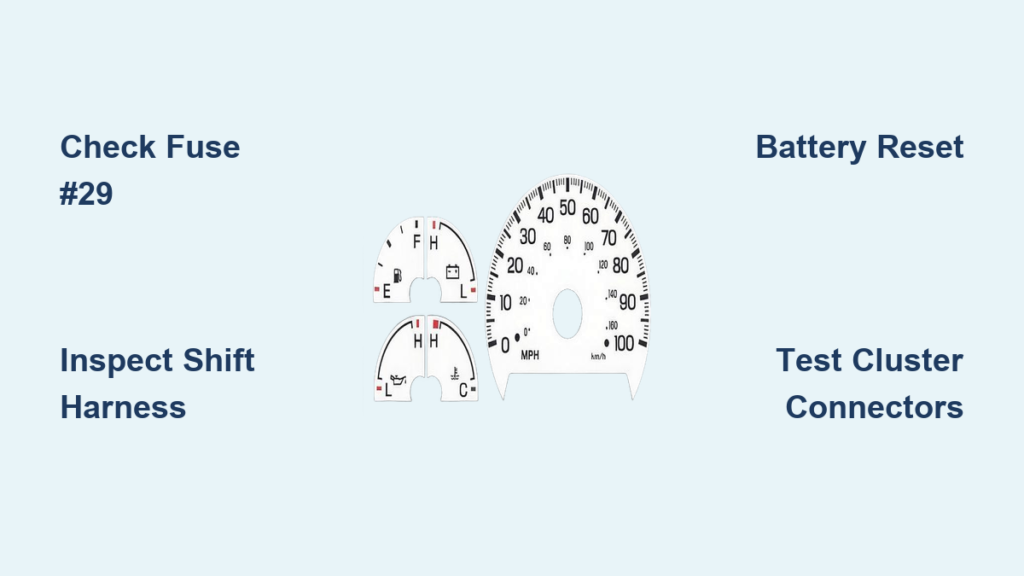
You turn the key, the engine starts, but your dashboard is dead. The speedometer sits at zero, fuel gauge stuck, no tach reading. Yet the check engine light and other warning icons illuminate normally. If you’re dealing with ford f150 gauges not working, you’re experiencing a well-documented issue affecting models from 1997 to today. The good news? Most cases are fixable without replacing the entire cluster.
This guide walks you through every diagnostic step, repair option, and prevention tip. You’ll learn how to identify whether the problem is a simple fuse, a wiring short, or internal cluster failure—so you can get your dashboard back without wasting money on guesswork.
Check Fuse #29 First
Locate and Test the Instrument Cluster Fuse
The 5A Fuse #29 in the Central Junction Box (CJB) under the dashboard powers the instrument panel cluster in most 1997–2004 F150s. If all gauges are dead but warning lights work, this fuse is your first suspect.
To check the fuse:
- Open the fuse panel below the steering column
- Find Fuse #29 (labeled “Instrument Cluster” or “IPC”)
- Remove it and inspect for a broken filament
- Use a multimeter to test continuity
If the fuse is blown, replace it with a 5A fuse only. Never jump to a higher rating. If the new fuse blows immediately when turning the key to RUN, you have a short circuit downstream.
Warning: Repeated fuse blowouts mean a hard short exists. Replacing the fuse without fixing the root cause risks fire or further damage.
Inspect the Shift Lever Wiring Harness
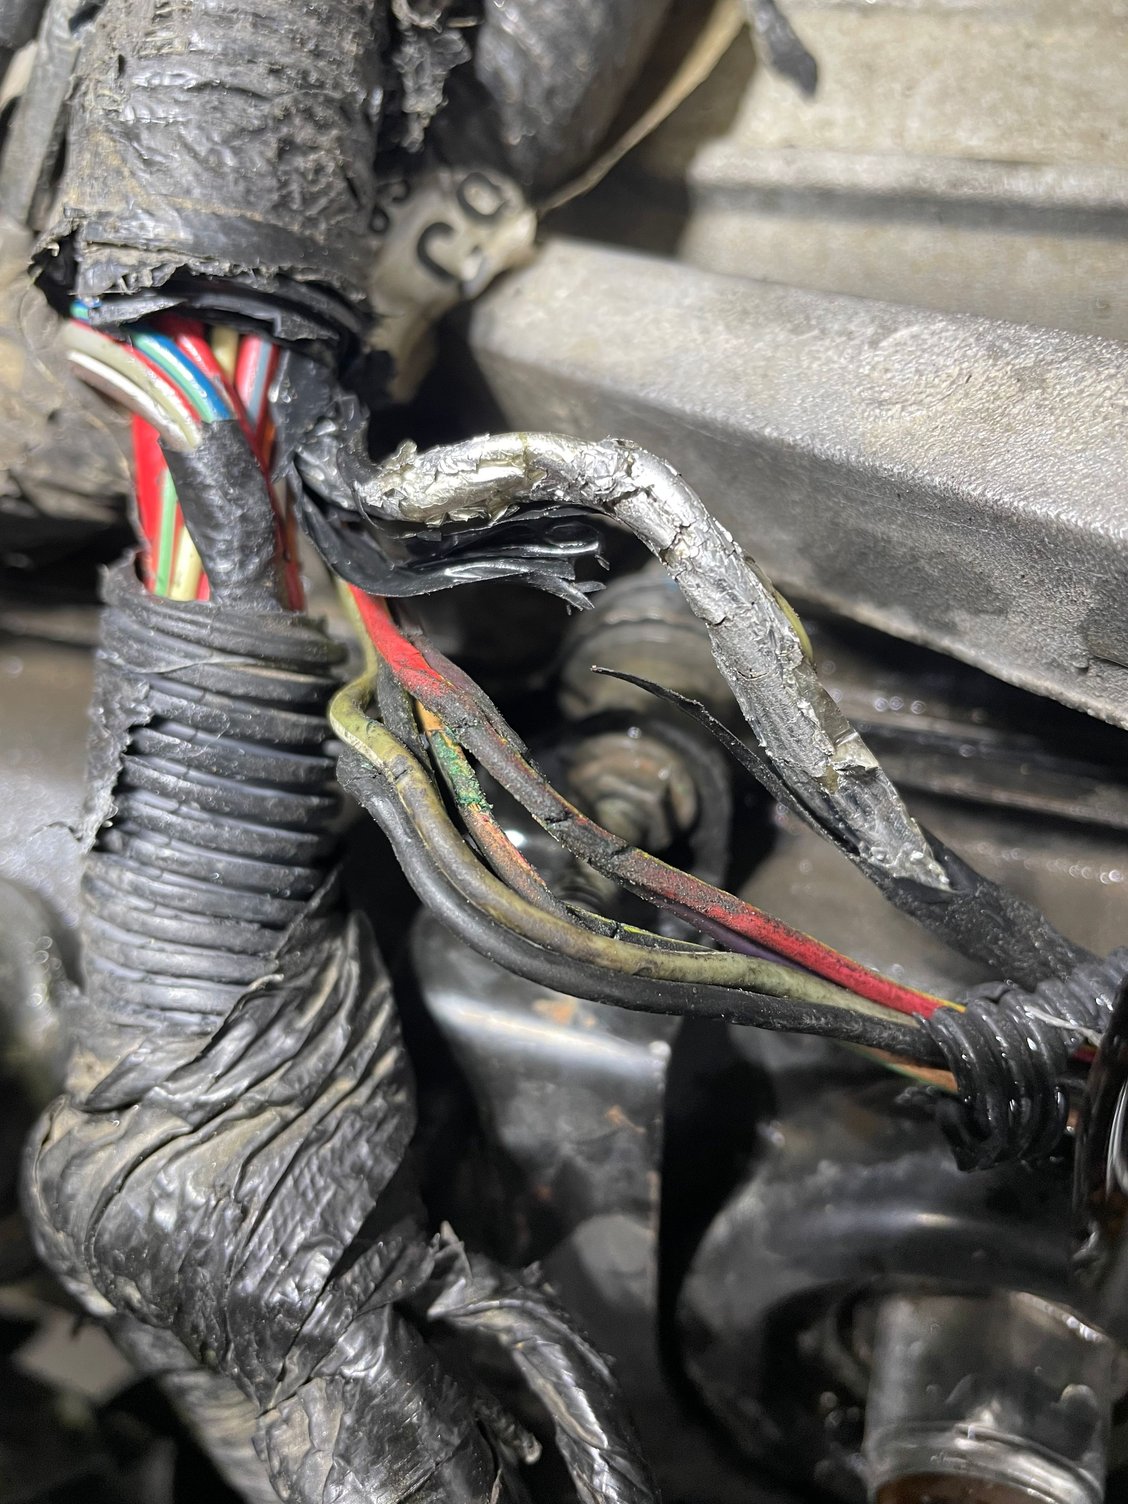
Find the Short at the Steering Column
A worn or frayed wire bundle near the shift lever is the most common cause of repeated Fuse #29 failures in 1997–2004 F150s. The harness controls the overdrive (O/D) button and transmission range indicator. Over time, vibration causes insulation to wear, exposing wires that short against the metal shift lever.
Signs you have this problem:
- Gauges fail after shifting or turning the key
- O/D button feels loose or broken
- Fuse #29 blows only when the transmission is moved
How to fix it:
- Disconnect the negative battery terminal
- Remove upper and lower steering column shrouds
- Locate the small wiring harness running to the shift lever
- Inspect for chafed, pinched, or exposed wires
- Repair with heat-shrink tubing or high-quality electrical tape
- Secure the harness away from metal contact points
- Reinstall, reconnect battery, and test with a new 5A fuse
This repair takes 30–60 minutes and costs under $20. It resolves the issue in the majority of older F150s with recurring fuse blows.
Pro Tip: Even if wires look intact, flex the harness while monitoring the fuse. A hidden short may only appear under movement.
Test for Intermittent Power Loss
Perform a Battery Disconnect Reset
Sometimes, the instrument cluster locks up due to a software glitch or power surge. A battery reset can clear temporary faults and restore normal operation.
Reset procedure:
- Turn off the ignition
- Disconnect the negative battery terminal
- Wait 5–10 minutes (allows all modules to reset)
- Reconnect the battery
- Turn the key to ON (do not start)
- Watch for the gauge sweep test—all needles should move from zero to max and back
If gauges work after the reset but fail again later, the issue is intermittent. This likely points to a loose connector, failing ground, or heat-sensitive internal fault.
For Keyless Start Models: Press and hold the start button for 5 seconds (no brake), release, repeat once, then start. Some users report this clears soft faults.
Examine Cluster Connectors and Grounds
Check Behind the Dashboard
Loose, corroded, or damaged connectors are a frequent cause of partial or total gauge failure, especially after dash work or repairs.
Steps to inspect:
- Disconnect battery
- Remove dashboard trim around the cluster using plastic trim tools
- Unscrew mounting screws and gently pull the cluster forward
- Disconnect all electrical connectors
- Inspect for:
– Bent or pushed-out pins
– Corrosion or moisture
– Loose fit
Use electrical contact cleaner to clean terminals if needed.
Ground points to check:
- Instrument panel ground strap (near firewall)
- Main engine ground
- Chassis ground under dash
A poor ground can cause flickering, erratic readings, or complete failure. Use a multimeter to test continuity between the cluster ground pin and the battery negative terminal. It should read less than 0.1 ohms.
Diagnose Internal Cluster Failure

Spot PCB and Stepper Motor Issues
If fuses, wiring, and connectors check out, the problem may be inside the instrument cluster, especially in 2004–2008 models known for heat-related PCB failure.
Common signs:
- Gauges stick or drift (e.g., fuel gauge reads full when empty)
- Needles twitch but do not sweep
- LCD segments missing on odometer
- Intermittent function (works when cold, fails when hot)
Root causes:
- Cracked solder joints on the printed circuit board
- Failed stepper motors (one per gauge)
- Burned-out backlight LEDs
These require disassembly and repair.
Test Stepper Motors and PCB
Isolate Internal Faults
Each analog gauge (speedo, tach, temp, fuel) uses a stepper motor to move the needle. A single failed motor disables one gauge.
DIY test:
- Remove the cluster
- Apply 5V power to motor leads (use a bench power supply or 9V battery with resistor)
- Observe needle movement
No movement? The motor or its driver circuit is likely dead.
Heat test for intermittent PCB failure:
- Use a hairdryer to gently heat the cluster PCB
- Watch for gauge behavior changes
- If gauges start working when warm or fail when hot, solder joints are cracked
Expert Fix: Resolder cracked joints or send the cluster to a repair service.
Rule Out Sensor and CAN Bus Issues
Scan for DTCs and Communication Errors
Modern F150s (2004+) rely on the Controller Area Network (CAN bus) to send data from sensors to the cluster. A communication fault can kill gauges while leaving warning lights intact.
What to check:
- Vehicle Speed Sensor (VSS): No signal means dead speedometer
- Fuel Level Sensor: Open circuit means gauge stuck at empty or full
- Transmission Range Sensor (TRS): Misaligned means gear indicator issues
Use an OBD2 scanner:
- Look for U-codes (e.g., U0100 – Lost Communication with PCM)
- Verify VSS signal is present
- Check if PCM, BCM, and IPC are communicating
If modules are not talking, test CAN bus voltage:
- CAN H: 2.5–3.5V
- CAN L: 1.5–2.5V
- Resistance between CAN H and L: about 60Ω
Abnormal readings indicate wiring damage, module failure, or termination resistor issues.
For 2012+ Models: Focus on BCM power faults and module programming. These trucks often need VIN-specific cluster programming after replacement.
Replace or Repair the Cluster

Weigh Your Options
If diagnostics point to internal failure, decide between repair, rebuild, or replace.
| Option | Best For | Cost | Notes |
|---|---|---|---|
| DIY Repair | 2004–2008 PCB/stepper issues | $0–$50 | Requires soldering skills |
| Mail-In Repair (e.g., UpFix) | All models, retain mileage | $150–$300 | Fast, expert fix |
| Remanufactured Cluster | Quick plug-and-play | $200–$500 | May need programming |
| New OEM Cluster | Full warranty, latest firmware | $600–$1,200+ | Requires VIN sync |
UpFix Service: Ships a repair kit or accepts your cluster. Repairs include PCB fixes, motor replacement, and calibration. Turnaround is 2–3 days.
Avoid Common Mistakes
Do Not Waste Time or Money
- Never install a 10A fuse instead of 5A. This risks melting wires or fire.
- Do not replace the cluster first. About 90% of early-model cases are fuse or harness related.
- Do not ignore model-year differences. Fuse locations, wiring, and modules change drastically.
- Do not skip the self-test. Watch for needle sweep at startup. No sweep means power or cluster issue.
Expert Warning: “Tried everything” is not a diagnosis. Without proper tools and service manuals, you are guessing.
Prevent Future Failures
Keep Your Cluster Reliable
- Inspect the shift lever harness annually, especially if the O/D button feels loose
- Park in shade or use sunshades. Heat kills PCBs.
- Seal dashboard seams to prevent moisture
- Secure all harnesses after dash or column work
- Use OEM-spec fuses. No upgrades.
After any repair involving the steering column, double-check all connectors and grounds before reassembly.
Final Diagnosis Roadmap
Quick-Reference Flow
- Do warning lights work?
– No: Check main power, fuses, ground
– Yes: Proceed - Check Fuse #29 (1997–2004) or F11/F28 (2012+)
– Blown? Replace. Still blows? Inspect shift harness. - Battery reset: Did gauges sweep?
– No: Check connectors and ground - Scan for DTCs: Any U-codes?
– Yes: Test CAN bus - Remove cluster: Test connectors, inspect PCB
- Bench test or send for repair
Frequently Asked Questions About Ford F150 Gauges Not Working
Why do my gauges not work but warning lights do?
This typically indicates the cluster is receiving power but not receiving data signals. Common causes include a blown Fuse #29, a short in the shift lever wiring harness, or internal cluster failure. The warning lights work because they receive power through a separate circuit.
Can I drive my F150 with broken gauges?
Yes, but with caution. You will not have accurate speedometer or fuel gauge readings, which could lead to unsafe driving conditions or running out of fuel unexpectedly. Repair the issue as soon as possible.
How much does it cost to fix Ford F150 gauges not working?
Costs vary widely. A fuse replacement costs $1–$5 (DIY). Wiring harness repair runs $0–$20. Professional cluster repair (mail-in) costs $150–$300. A remanufactured cluster runs $200–$500. A new OEM cluster costs $600–$1,200+.
Why does my Fuse #29 keep blowing?
Fuse #29 keeps blowing because of a persistent short circuit downstream. In 1997–2004 F150s, the most common cause is a worn shift lever wiring harness near the steering column. Inspect the O/D button wiring for chafing or exposed wires.
Do 2004–2008 F150s have different gauge problems?
Yes. Models from 2004–2008 are prone to PCB (printed circuit board) failure due to heat stress and vibration. Symptoms include gauges that work when cold but fail when hot, or gauges that stick and drift. These require PCB repair or cluster replacement.
Can I replace the instrument cluster myself?
Yes, with basic tools. You need to remove dashboard trim, unscrew the cluster, and disconnect connectors. However, diagnosis is the hard part. Always troubleshoot the simple causes (fuse, harness, ground) before removing the cluster.
Key Takeaways for Fixing Ford F150 Gauges Not Working
Ford f150 gauges not working is a solvable issue when you approach it systematically. Start with the simplest checks: Fuse #29, the shift lever harness, and a battery reset. These three steps resolve the majority of cases, especially in older trucks from 1997–2004.
For newer models (2012+), focus on BCM power faults, CAN bus communication, and module programming. The CAN bus system means accurate diagnosis requires model-year-specific documentation and proper tools.
Whatever your situation, avoid the temptation to replace the cluster immediately. About 90% of gauge failures stem from external issues like blown fuses, wiring shorts, or poor grounds. Only after ruling these out should you consider internal cluster repair or replacement.
With this guide, you have everything you need to diagnose and fix your dashboard. Start simple, work methodically, and you will get your gauges back in action without unnecessary expenses.


