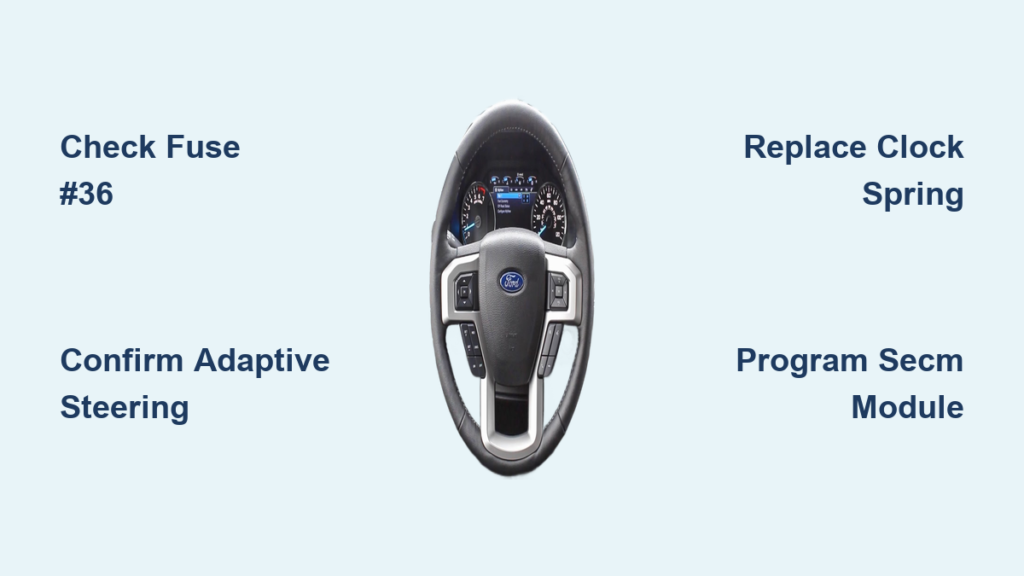
You climb into your 2017 Ford F-350 on a freezing morning, press the heated steering wheel button, and see the icon light up only to feel zero warmth. This frustrating scenario is common among Super Duty owners where the system appears active but fails to generate heat due to electrical faults or module failures.
This guide provides a precise repair path for when your 2017 F350 heated steering wheel is not working. You will learn to check Fuse #36, diagnose adaptive steering systems, replace the clock spring, and perform mandatory module programming to restore full function.
Check Fuse #36 First
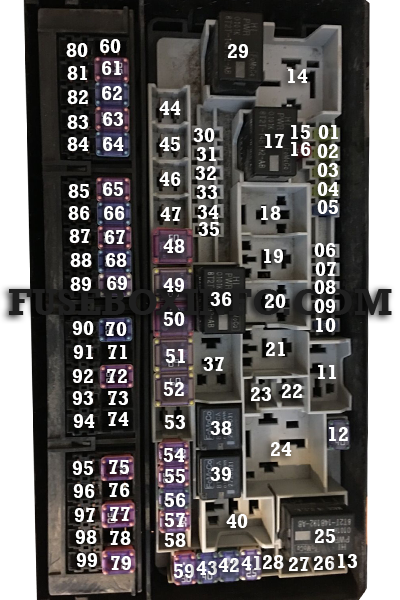
A blown fuse is the most frequent cause of failure, especially after cold snaps or electrical surges. You must verify the power supply before attempting complex component repairs.
Locate Cabin Fuse Box
The circuit for your heated wheel is protected by Fuse #36 located in the cabin fuse box. This box sits in the passenger-side footwell behind a plastic kick panel. Remove the panel to access the fuse block and consult the diagram on the cover to find position #36.
Test 15A Heated Wheel Fuse
This specific circuit uses a 15-amp blade-style fuse. Do not rely on visual inspection alone because fuses often fail internally without visible damage. Use a multimeter or fuse tester to check for continuity across the fuse terminals. Replace any blown fuse with an identical 15A unit immediately.
- Never install a higher-rated fuse as this creates a fire hazard.
- Ensure the replacement fuse seats firmly in the slot.
- Test the system immediately after replacement.
Handle Blown Fuse Recurrence
If your new fuse blows the moment you activate the system, a short circuit exists in the wiring or heating element. Continuing to swap fuses is dangerous and will not solve the underlying issue. Stop immediately and seek professional diagnostics if this occurs.
Diagnose Adaptive Steering System

If the fuse is intact, your repair path depends entirely on whether your truck has adaptive steering. This feature changes the entire diagnostic approach.
Confirm Adaptive Steering Setup
Adaptive steering systems include a motor, worm gear, and toothed tube behind the airbag. These components house the Steering Effort Control Module (SECM) inside the column. Standard repair steps for non-adaptive wheels will fail on these models.
- Look for the motor assembly behind the airbag.
- Identify the complex wiring harness connected to the column.
- Verify your trim level includes adaptive features.
Run SECM Self-Test
Connect a professional-grade OBD2 scanner capable of Ford-specific diagnostics. Access the Steering Effort Control Module menu and run a self-test to check for internal errors. A passing test does not guarantee the heating circuit is functional.
Avoid Misdiagnosis Pitfalls
Many technicians assume no Diagnostic Trouble Codes (DTCs) means the system is healthy. This is incorrect for adaptive systems where physical heating elements can fail despite a passing module test. Always confirm the presence of adaptive steering before proceeding with parts replacement.
Replace Clock Spring and SECM
Vehicles with adaptive steering require replacing both the clock spring and the SECM. This process demands strict adherence to safety and procedural steps.
Extract Module Data First
You must perform Plug-in Module Installation (PMI) before removing any hardware. Use a Ford-capable scanner to access Module Programming and select the Steering Effort Control Module.
- Confirm the Vehicle Identification Number matches your truck.
- Verify the ignition type is set to Push-Button Start.
- Run the PMI procedure to prepare the network for new hardware.
- Wait for the system to confirm data extraction is complete.
Skipping this step will result in module incompatibility and repair failure.
Remove Steering Wheel Safely
Safety is critical when working near airbags. Turn the ignition off and disconnect the battery for at least 10 minutes to disable the airbag system completely.
- Remove the three 5.5 mm bolts securing the steering wheel shroud.
- Loosen the lower shroud to expose the internal connectors.
- Disconnect the tight clock spring connector using two hands.
- Unplug the secondary connector leading to the clock spring.
Remove Airbag and Motor
Accessing the motor requires removing the airbag module carefully. Insert a 3 mm Allen wrench into the side access holes to release the locking mechanism.
- Depress the release on one side and expect the horn to sound.
- Repeat on the opposite side to fully release the airbag.
- Pull the airbag forward and disconnect the orange connector.
- Remove the T56 Torx bolt securing the steering effort motor.
Remove the upper shroud if the wheel resists removal since the clock spring extends into it.
Install New Clock Spring
Align the new clock spring with the three mounting holes and insert the rubber dowels into their slots. Secure the unit with the mounting bolt and torque it to exactly 35 ft-lbs.
- Listen for an audible click when reconnecting the hard connector.
- Reinstall the airbag and ensure the orange connector seats fully.
- Replace all shrouds and tighten fasteners securely.
Program New Steering Module

Hardware installation is only half the job. The new SECM requires specific programming to communicate with your truck.
Begin Module Installation
Turn the ignition to the ON position without starting the engine. The diagnostic tool will display a message stating it is installing the new module.
- Wait for the “Installing new module” prompt to appear.
- Allow the process to complete without interruption.
- Confirm the “Module installation complete” message.
- Press the checkmark and turn the ignition OFF.
This step links the new hardware to your vehicle network.
Calibrate Steering System
Two distinct calibration routines are mandatory for adaptive steering. Skipping either step causes erratic steering behavior or total system failure.
Perform Steering Wheel Angle Trim
Use your diagnostic tool to initiate the Steering Wheel Angle Trim procedure. Do not touch the throttle pedal during this process.
- Turn the wheel fully left then fully right.
- Return the wheel to the exact center position.
- Allow approximately 60 seconds for the process to finish.
- Follow all on-screen prompts precisely.
Complete Motor Angle Trim
Confirm “Yes” to all validation prompts before starting the engine. Rotate the wheel from lock to lock one more time then center it.
- Start the engine when prompted by the tool.
- Cycle the steering wheel left to right again.
- Center the wheel and turn the ignition OFF.
- Wait for the “Functions complete” confirmation.
These trims align the adaptive motor and sensors with the new module.
Verify Heating Function
Testing confirms whether your repair successfully resolved the issue.
Activate Heated Steering Wheel
Turn on the feature using the infotainment screen or dashboard control. The icon should illuminate just as it did before the repair.
Confirm Heat Output
Place your hand on the rim to check for warmth. You should feel heat building within 10 to 15 seconds. If the wheel remains cold, recheck Fuse #36, clock spring connections, and calibration status.
Prevent Future Failures
Proper maintenance helps avoid repeat issues with your heating system.
Monitor Electrical Health
Cold weather places significant stress on the heating circuit. Inspect for damaged wiring or moisture near connectors if the fuse blows again. Address any shorts immediately rather than repeatedly replacing fuses.
Use OEM Parts Only
Aftermarket clock springs often lack the calibration support required for adaptive systems. Always use Ford OEM or certified replacement parts to ensure compatibility with PMI tools.
Address Dashboard Glitches Early
Random warning lights or infotainment freezes can signal broader network issues. These symptoms sometimes accompany heating failures and may indicate grounding problems within the vehicle electrical architecture.
Frequently Asked Questions About 2017 F350 Heated Steering Wheel Issues
Why does my heated steering wheel icon light up but produce no heat?
This symptom usually indicates a blown Fuse #36 or a failed heating element within the wheel. The control switch and low-voltage command circuit are working, but power is not reaching the heating pad.
Can I replace the steering wheel without programming on adaptive models?
No, you cannot skip programming on adaptive steering systems. The Steering Effort Control Module requires Plug-in Module Installation (PMI) and dual calibration to function correctly.
Where is the heated steering wheel fuse located on a 2017 F-350?
The fuse is Fuse #36, a 15-amp blade fuse located in the cabin fuse box. You can find this box in the passenger-side footwell behind the plastic kick panel.
What tools do I need to remove the airbag for clock spring replacement?
You need a 3 mm Allen wrench to release the airbag locks and a T56 Torx bit for the steering effort motor. Always disconnect the battery before starting this work.
How long does the steering calibration process take?
The dual calibration routine takes approximately 60 seconds per trim. You must complete both the Steering Wheel Angle Trim and the Motor Angle Trim for the system to work.
Key Takeaways for Fixing Your 2017 F350 Heated Steering Wheel
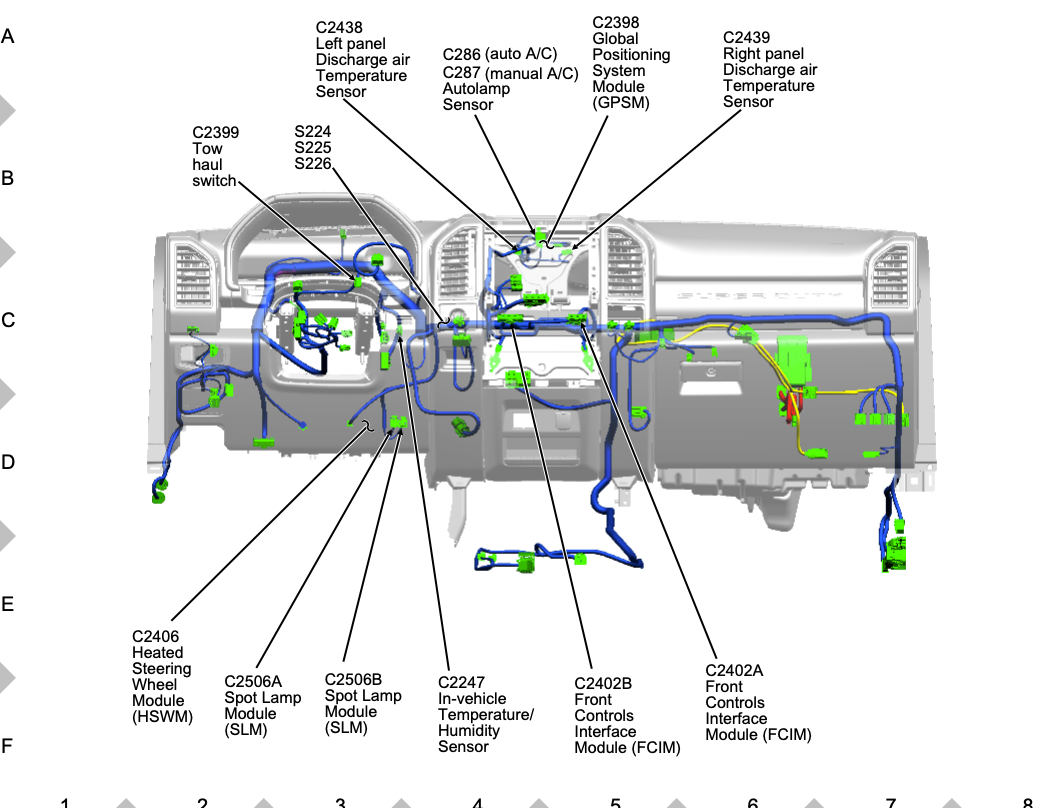
Restoring heat to your 2017 F350 heated steering wheel requires identifying whether your truck has adaptive steering. Non-adaptive systems may only need a fuse replacement, while adaptive systems demand module replacement, programming, and calibration.
Always check Fuse #36 first, but be prepared for a complex repair involving the SECM if your truck has adaptive features. Follow the PMI procedure and calibration steps exactly to ensure a successful fix. If you lack the proper diagnostic tools, consult a qualified technician familiar with Ford adaptive steering protocols.