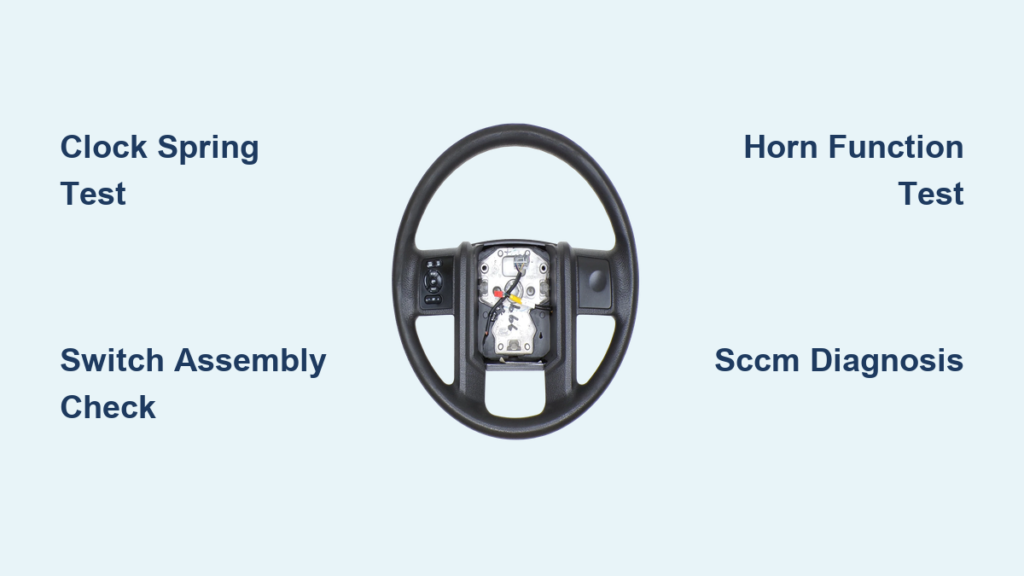
When your 2008 F250 steering wheel controls stop working, the frustration builds fast. You press the volume button and nothing happens. The cruise control refuses to engage. Yet the horn still beeps and the fuses look fine. This exact scenario plays out for thousands of Ford owners, and the root cause almost always traces back to one of three components: the clock spring, the switch assembly, or the Steering Column Control Module.
This guide walks you through a proven diagnostic sequence used by experienced F250 owners and technicians. You’ll learn how to identify the exact failure point, avoid wasting money on parts you don’t need, and complete the repair yourself in under an hour for around $106.
Begin with Essential Preliminary Checks
Verify Fuses and Horn Function
Start by ruling out the simplest causes. Locate your fuse box and inspect every fuse related to the steering wheel controls, audio system, and SCCM. In nearly every documented case of this failure, these fuses remain intact. Confirming they are good eliminates a quick fix but keeps you moving toward the real culprit.
Next, test the horn. If the horn fails along with the controls, the clock spring becomes a near-certain suspect because both circuits share the same spiral cable. However, a working horn does not clear the clock spring. Different traces inside the cable can fail independently, leaving some functions operational while others die.
Inspect Visible Wiring
Spend thirty seconds looking at the wiring harness near the steering column. Look for chafing, pinching, or loose connectors. Vibration and age occasionally damage these wires, and a visual inspection costs nothing. If you spot obvious damage, repair it before proceeding to deeper diagnostics.
Run the Clock Spring Rotation Test
How the Test Works
The rotation test is the most reliable way to confirm clock spring failure. The clock spring contains a spiral cable with copper traces that can crack or wear. At certain steering wheel angles, broken traces may reconnect, restoring function temporarily. This test exploits that mechanical behavior.
Follow these steps:
1. Turn the ignition to accessory mode (engine off is fine).
2. Slowly rotate the steering wheel in 45-degree increments (one-eighth turn).
3. At each stop, press a non-working button such as Volume Up.
4. Test in both clockwise and counter-clockwise directions.
Interpreting Your Results
If the buttons respond at certain wheel positions but not others, the clock spring has a damaged trace that reconnects when aligned. Replace the clock spring immediately. This result is diagnostic confirmation that no further testing is needed for that component.
If the buttons remain completely dead at every angle, the clock spring may be fully broken, or the fault lies elsewhere. Move on to testing the switch assembly before suspecting the SCCM.
Recognizing Erratic Behavior
Some clock spring failures produce bizarre symptoms rather than total failure. Watch for these red flags:
– Pressing “Forward” skips two or three radio stations at once
– Volume increases when you press “Down”
– Controls only work when you press hard or jiggle the wheel
These behaviors occur because worn contacts send incorrect resistance values to the SCCM. The module misinterprets the signal and executes the wrong command.
Test the Steering Wheel Switch Assembly
Identify the “Up” Failure Pattern
A distinctive failure pattern points directly at the switch assembly. When every “Up” function fails while every “Down” function works, the internal membrane or shared circuit trace for “Up” commands has degraded. Look for this combination:
– Volume Up fails, Volume Down works
– Fan Speed Up fails, Fan Speed Down works
– Temperature Up fails, Temperature Down works
– Cruise Set/Resume fails, Coast/Cancel works
This pattern indicates a localized fault in the switch pad, not a total system failure. Different buttons use different resistance values on the same circuit, so a single failure point can knock out one direction across multiple systems.
Confirm with a Multimeter
Remove the switch assembly from the steering wheel after disconnecting the battery and waiting fifteen minutes. Set your multimeter to continuity mode and probe the contacts for a non-working button. Press the button manually and listen for a beep or watch for continuity indication.
If no continuity registers when you press the button, the switch assembly is defective. If continuity appears when tested outside the vehicle but the button fails when installed, the problem sits upstream in the wiring or clock spring connection.
Evaluate the Steering Column Control Module
When the SCCM Becomes the Suspect
The SCCM interprets resistance signals from your steering wheel buttons and translates them into commands for the audio system, climate control, and cruise functions. It sits on the steering column and fails less often than the clock spring, but it does fail.
Consider the SCCM only after you have ruled out:
– Clock spring failure through the rotation test
– Switch assembly failure through multimeter testing
– Blown fuses and visible wiring damage
If both components test good and no buttons respond at any wheel position, the SCCM is the likely culprit.
Understand the Programming Requirement
Unlike the clock spring, the SCCM requires programming after installation. You cannot simply plug in a new module and drive away. Programming requires specialized equipment:
– FORScan software with a compatible OBD2 adapter
– Ford IDS (Integrated Diagnostic System) at a dealership
– A technician with advanced Ford-specific diagnostic tools
This requirement adds cost and complexity. Many owners pay for professional diagnosis before committing to a $200-plus module to avoid wasting money on the wrong part.
Replace the Clock Spring Yourself

Gather Required Tools and Parts
You will need:
– Socket wrench (typically 15mm or 18mm for airbag bolts)
– Torx T20 or T25 driver for airbag screws
– New OEM clock spring (approximately $106 from online dealers)
– Multimeter for post-repair verification
Purchase OEM parts whenever possible. Aftermarket clock springs sometimes lack proper resistance calibration, which can cause the same erratic behavior you are trying to fix.
Follow Critical Safety Steps
Before touching any airbag components:
1. Disconnect the negative battery terminal
2. Wait ten to fifteen minutes for the airbag capacitor to discharge
3. Never power on the vehicle during removal
Skipping the wait period risks accidental airbag deployment and serious injury.
Remove the Airbag and Steering Wheel
Remove the airbag module from the center of the steering wheel. Most 2008 F250 models use two to four Torx screws on the back of the wheel. Set the airbag face up on a clean, stable surface. Never place it face down.
Mark the steering wheel alignment with tape or a paint marker before unbolting it. Use a steering wheel puller if necessary, then lift the wheel off to expose the clock spring behind it.
Install the New Clock Spring
Align the new clock spring using the centering marks on the unit. The spiral cable must sit in the neutral position. Misalignment can throw off the steering angle sensor, causing crooked reverse camera guidelines or stability control issues on later models.
Snap the new unit into place, reinstall the steering wheel, and torque the bolt to factory specification. Reconnect the airbag and battery.
Test Every Function
Turn the ignition on and verify:
– Volume Up and Down
– Station Seek
– Cruise Control Set, Resume, and Cancel
– Horn operation
– Phone and Mute buttons (if equipped)
The clock spring requires no programming. If all functions respond correctly, you have completed the repair.
Replace a Faulty Switch Assembly
Remove the Old Switch Pad
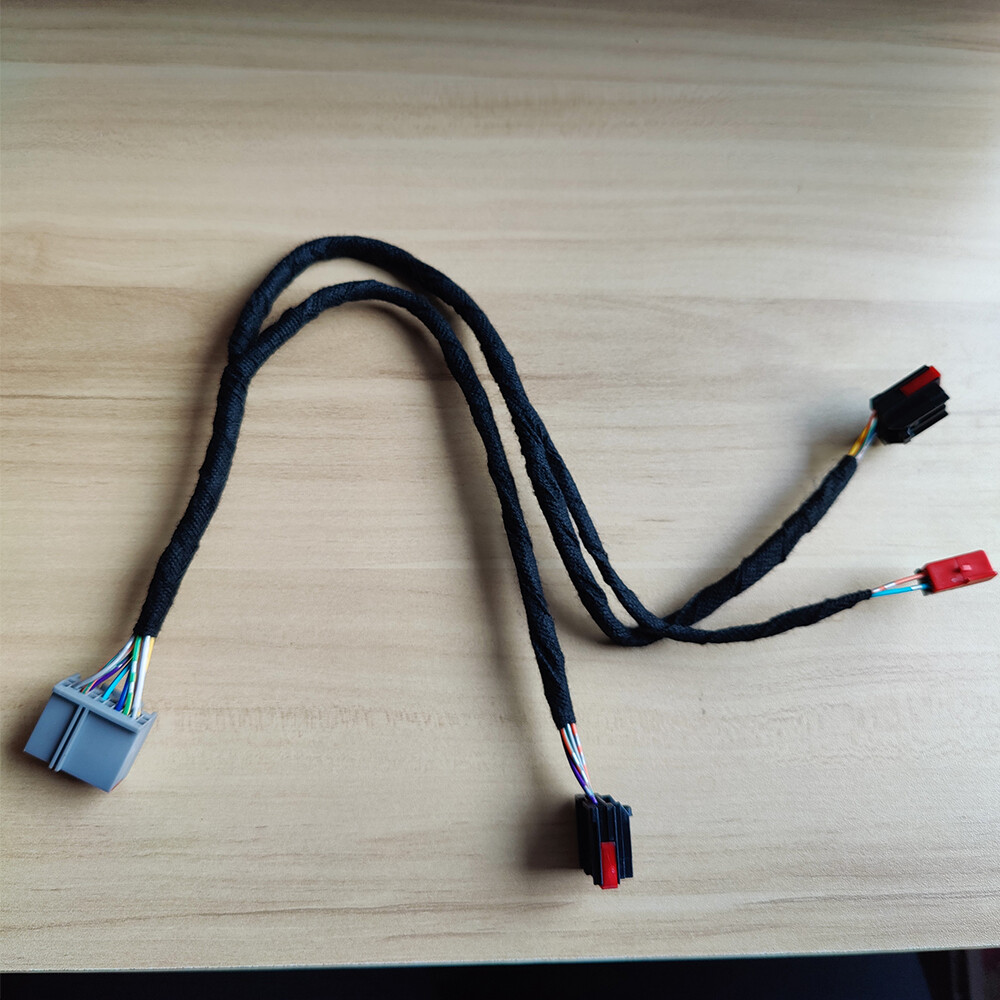
If multimeter testing confirmed a bad switch, disconnect the battery and wait fifteen minutes. Remove the airbag and steering wheel using the same procedure as clock spring replacement. Unplug the switch harness and remove the old pad from the steering wheel.
Some switches are sold as complete left and right clusters. Replace only the affected side if your vehicle uses that configuration.
Verify Before Full Reassembly
Plug in the new switch and test every button before reinstalling the airbag. This step takes one minute and prevents the frustration of repeating the entire teardown if the part is defective or incompatible with your vehicle.
Avoid Costly Repair Mistakes
Do Not Replace the SCCM First
The most common expensive mistake is jumping straight to the SCCM. Owners spend $200 or more on a module only to discover the clock spring was the actual problem. Always complete the rotation test and switch testing before considering the SCCM.
Skip the Dealership for Clock Spring Replacement
Dealers often charge $300 to $500 for clock spring labor on a job that takes forty-five minutes. The repair is straightforward for anyone comfortable with basic tools and safety protocols. Reserve dealership visits for SCCM programming when no other option exists.
Watch for Misalignment After Installation
If your reverse camera guidelines appear crooked after clock spring replacement, the spiral cable was not centered during installation. Remove the steering wheel and reset the clock spring to the neutral position. This issue affects models with dynamic camera lines that rely on steering angle data.
Real-World Repair Case Studies
Case Study: 2016 F-350 with Intermittent Right Buttons
An owner reported that left buttons worked perfectly while right buttons (Seek and Volume) required hard pressing to respond. The phone button functioned normally. The rotation test revealed that buttons worked at a 90-degree turn, confirming clock spring failure. After replacing the OEM clock spring for $106, all functions returned to normal operation.
Case Study: 2004 F-150 with “Up” Button Failure
This vehicle exhibited a clear pattern: Volume Up, Fan Up, and Temperature Up all failed while every “Down” function worked. The horn operated normally. Multimeter testing showed no continuity on the “Up” traces. Replacing the switch assembly restored all “Up” functions without touching the clock spring.
These cases demonstrate why pattern recognition and systematic testing matter more than guesswork when diagnosing steering wheel control failures.
Follow This Diagnostic Flowchart
Use this sequence to reach the correct diagnosis efficiently:
- Are the fuses intact? If yes, continue.
- Does the horn work? Note the result and continue.
- Does the rotation test show intermittent function? If yes, replace the clock spring.
- Do only “Up” buttons fail across multiple systems? If yes, test and replace the switch assembly.
- Do no buttons respond at any position with no clear pattern? If yes, have the SCCM professionally diagnosed.
Frequently Asked Questions About 2008 F250 Steering Wheel Controls
Why do my steering wheel buttons work sometimes but not always?
Intermittent operation strongly indicates a failing clock spring. The spiral cable inside contains copper traces that crack with age. At certain steering wheel angles, broken traces reconnect and restore function. The rotation test confirms this diagnosis.
Can I drive my truck with broken steering wheel controls?
Yes. Steering wheel controls are convenience features, not safety-critical systems. Your horn, turn signals, headlights, and braking remain fully operational. However, cruise control failure means you must manage speed manually with the accelerator pedal.
How long does clock spring replacement take?
Most experienced DIYers complete the job in thirty to forty-five minutes. First-timers should budget sixty to ninety minutes to allow for careful airbag handling and proper alignment verification.
Do I need to program a new clock spring?
No. The clock spring is a passive electrical component that requires no programming. However, you must center the spiral cable during installation to ensure accurate steering angle sensor readings.
Will aftermarket clock springs work as well as OEM?
Aftermarket units vary in quality. Some lack proper resistance calibration, which can cause the same erratic behavior (skipping stations, reversed commands) that you are trying to fix. OEM parts from online dealers cost around $106 and provide reliable performance.
What happens if I replace the wrong component?
Replacing the clock spring when the switch assembly is bad wastes $106 and an hour of labor. Replacing the SCCM unnecessarily costs $200 or more and requires a dealership visit for programming. Following the diagnostic sequence in this guide prevents both mistakes.
Final Thoughts on Restoring Your 2008 F250 Steering Wheel Controls
When your 2008 F250 steering wheel controls stop working, the clock spring is the most likely culprit, especially if symptoms include intermittent operation, erratic command execution, or total loss of function with good fuses. The switch assembly is the secondary suspect when only “Up” functions fail across multiple systems. The SCCM should remain your last consideration due to its programming requirements and higher cost.
Start with the rotation test. It takes five minutes and provides definitive answers about clock spring health. If that test proves inconclusive, move to multimeter testing of the switch assembly. Only after both components are ruled out should you investigate the SCCM, and at that point, professional diagnosis saves money.
With a $106 OEM part and basic tools, most owners can complete this repair in under an hour. Test before you replace, and you will avoid unnecessary costs while restoring full functionality to your steering wheel controls.